
Bright & Zesty Paula Deen Lemon Bars Recipe
Zesty Paula Deen’s lemon bars burst with sunshine-infused flavor, transforming ordinary dessert moments into extraordinary culinary experiences.
These tantalizing treats blend Southern charm with citrusy elegance, creating a symphony of taste that dances across your palate.
A buttery, tender crust cradles a silky lemon filling that whispers of sweet-tart perfection.
Each bar carries the warmth of homemade comfort, inviting you to savor its delicate layers of richness.
Simple ingredients magically combine to produce a dessert that looks far more complicated than its straightforward preparation.
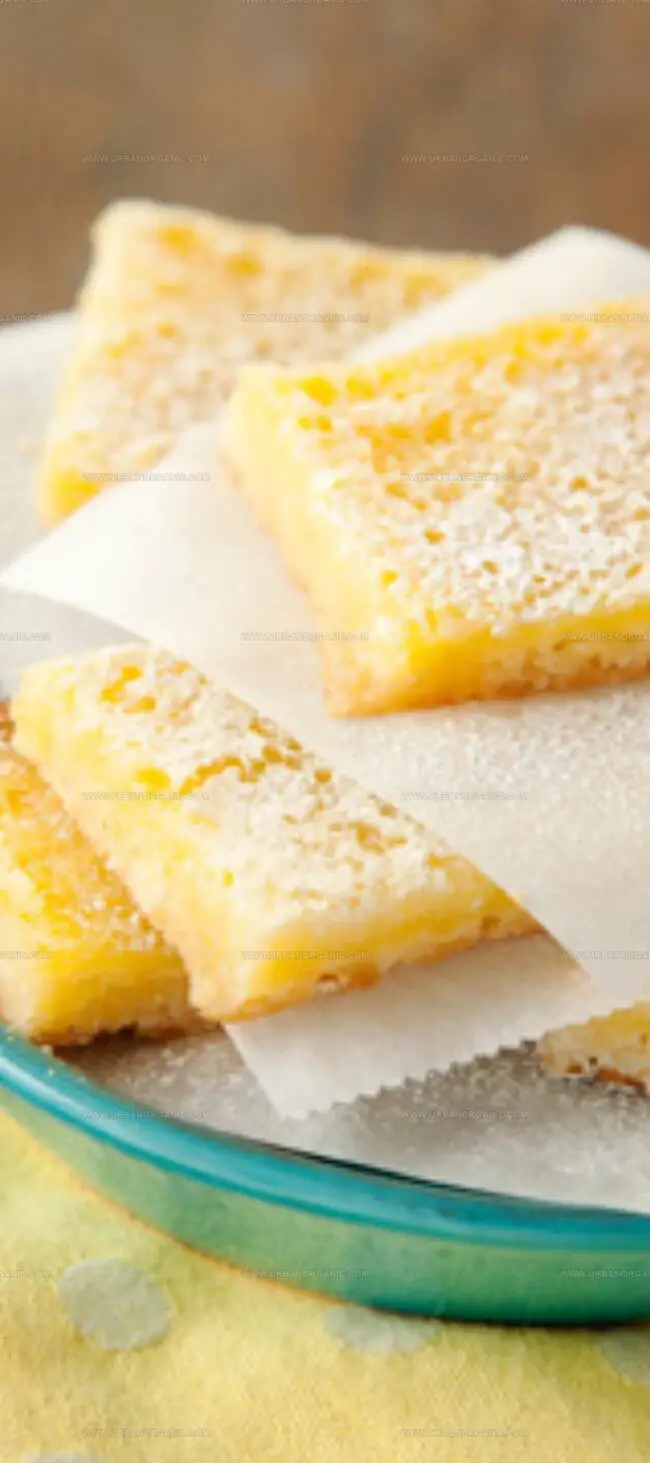
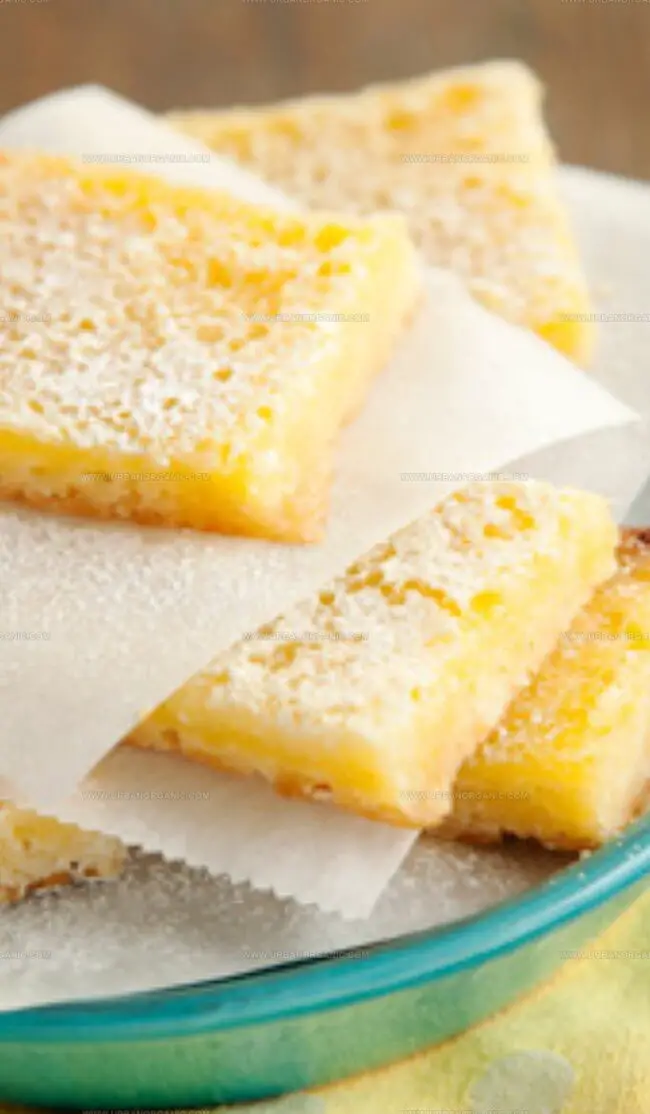
The bright, golden filling nestled on a crumbly base promises a delightful escape from mundane sweets.
Check out this irresistible recipe and let these lemon bars become your new favorite indulgence.
Quick Recipe Overview
What’s Inside Paula Deen’s Lemon Bars
For Crust Base:For Zesty Filling:For Finishing Touch:Tools for Making Lemon Bars
How to Bake Lemon Bars the Paula Deen Way

Crank the oven to a toasty 350°F. Snag a baking pan and give it a quick spray or butter massage to keep things from sticking.
Dive into mixing flour, powdered sugar, and a whisper of salt. Chop cold butter into the dry mix until it looks like sandy crumbs. Press this magical mixture firmly into the pan, using floured fingers if things get sticky. Bake until the edges turn a warm golden color, about 15-20 minutes.
Grab eggs and sugar, then blend with flour and a splash of bright lemon juice. Whisk everything until silky smooth. If you’re feeling adventurous, toss in some lemon zest for an extra flavor punch.
Pour the vibrant lemon mixture over the just-baked crust, spreading it evenly across the surface. Pop back into the oven for about 25 minutes. You’re looking for a filling that’s set but still has a gentle wiggle in the center.
Let the pan chill out at room temperature until completely cooled. Once it’s reached the perfect temperature, shower the top with a fluffy dusting of powdered sugar. Slice into delightful squares and get ready to wow your taste buds.
Tips and Flavor Ideas for Paula Deen’s Lemon Bars
Ways to Serve Paula Deen’s Lemon Bars
How to Store Paula Deen’s Lemon Bars Properly
Print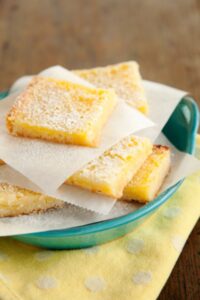
Vibrant Paula Deen Lemon Bars Recipe
- Total Time: 55 minutes
- Yield: 11 1x
Description
Zesty paula deen lemon bars showcase a buttery shortbread crust topped with tangy, silky lemon filling. Creamy and refreshing, these classic dessert squares will delight you with their perfect balance of sweet and tart flavors.
Ingredients
- 4 eggs
- 2 cups (473 ml/16 fl oz) granulated sugar
- 6 tbsps (90 ml/3 fl oz) fresh lemon juice
- 2 cups (240 g/8.5 oz) all purpose flour
- 1 cup (120 g/4.2 oz) confectioner’s sugar
- 1 pinch salt
- 2 sticks (226 g/8 oz) butter, at room temperature
- Butter (additional amount) for greasing
Instructions
- Crust Preparation: Combine flour, powdered sugar, and salt in a mixing bowl. Cut cold butter into the dry ingredients until the mixture resembles coarse crumbs. Press the mixture evenly into a greased 9x13x2-inch baking pan, using flour-dusted fingers to create a uniform base.
- Initial Baking Phase: Place the crust in a preheated 350°F (175°C) oven and bake for 15-20 minutes until achieving a light golden appearance. Remove and let rest momentarily while preparing the filling.
- Lemon Filling Creation: Whisk eggs, granulated sugar, flour, and freshly squeezed lemon juice until achieving a smooth, silky consistency. Carefully pour the vibrant mixture over the pre-baked crust, ensuring complete and even coverage.
- Final Baking Process: Return the pan to the oven and continue baking for 25 minutes. Watch for the filling to set and lose its liquid wobble, indicating perfect doneness.
- Cooling and Finishing: Allow the lemon bars to cool completely within the pan, which helps stabilize the filling’s structure. Once thoroughly cooled, generously dust the surface with powdered sugar. Slice into precise, uniform squares to reveal the delectable layers of buttery crust and tangy lemon filling.
Notes
- Chill Butter for Flakiness: Use cold, cubed butter to create a crumbly, tender crust that provides a delicate texture and prevents greasy results.
- Zest Boost Option: Add lemon zest to intensify the citrus flavor and enhance the filling’s aromatic profile for a more vibrant taste experience.
- Even Pressing Technique: Use the back of a measuring cup or flat-bottomed glass to press the crust evenly, ensuring uniform thickness and perfect baking.
- Cooling is Crucial: Allow bars to cool completely at room temperature before cutting to help the filling set properly and maintain clean, crisp edges.
- Prep Time: 10 minutes
- Cook Time: 45 minutes
- Category: Desserts, Snacks
- Method: Baking
- Cuisine: American
Nutrition
- Serving Size: 11
- Calories: 320
- Sugar: 35 g
- Sodium: 150 mg
- Fat: 18 g
- Saturated Fat: 11 g
- Unsaturated Fat: 6 g
- Trans Fat: 0 g
- Carbohydrates: 43 g
- Fiber: 1 g
- Protein: 3 g
- Cholesterol: 120 mg
Jessica Martinez
Pastry Chef & Recipe Developer
Expertise
Organic Baking Techniques, Gluten-Free Recipe Development, Southwestern Dessert Specialties, Food Styling and Photography
Education
Santa Fe Community College (SFCC)
Jessica brings the sweet side to Urban Organic with her passion for baking and love for the Southwest. She trained at Santa Fe Community College and has built a career creating beautiful, gluten-free, and organic desserts that feel both nostalgic and new.
She believes baking should be fun, creative, and open to everyone, no matter your diet or skill level. Jessica’s recipes are simple enough to follow, but special enough to remember.