Indulge in Pioneer Woman’s Dreamy Chocolate Pudding Recipe
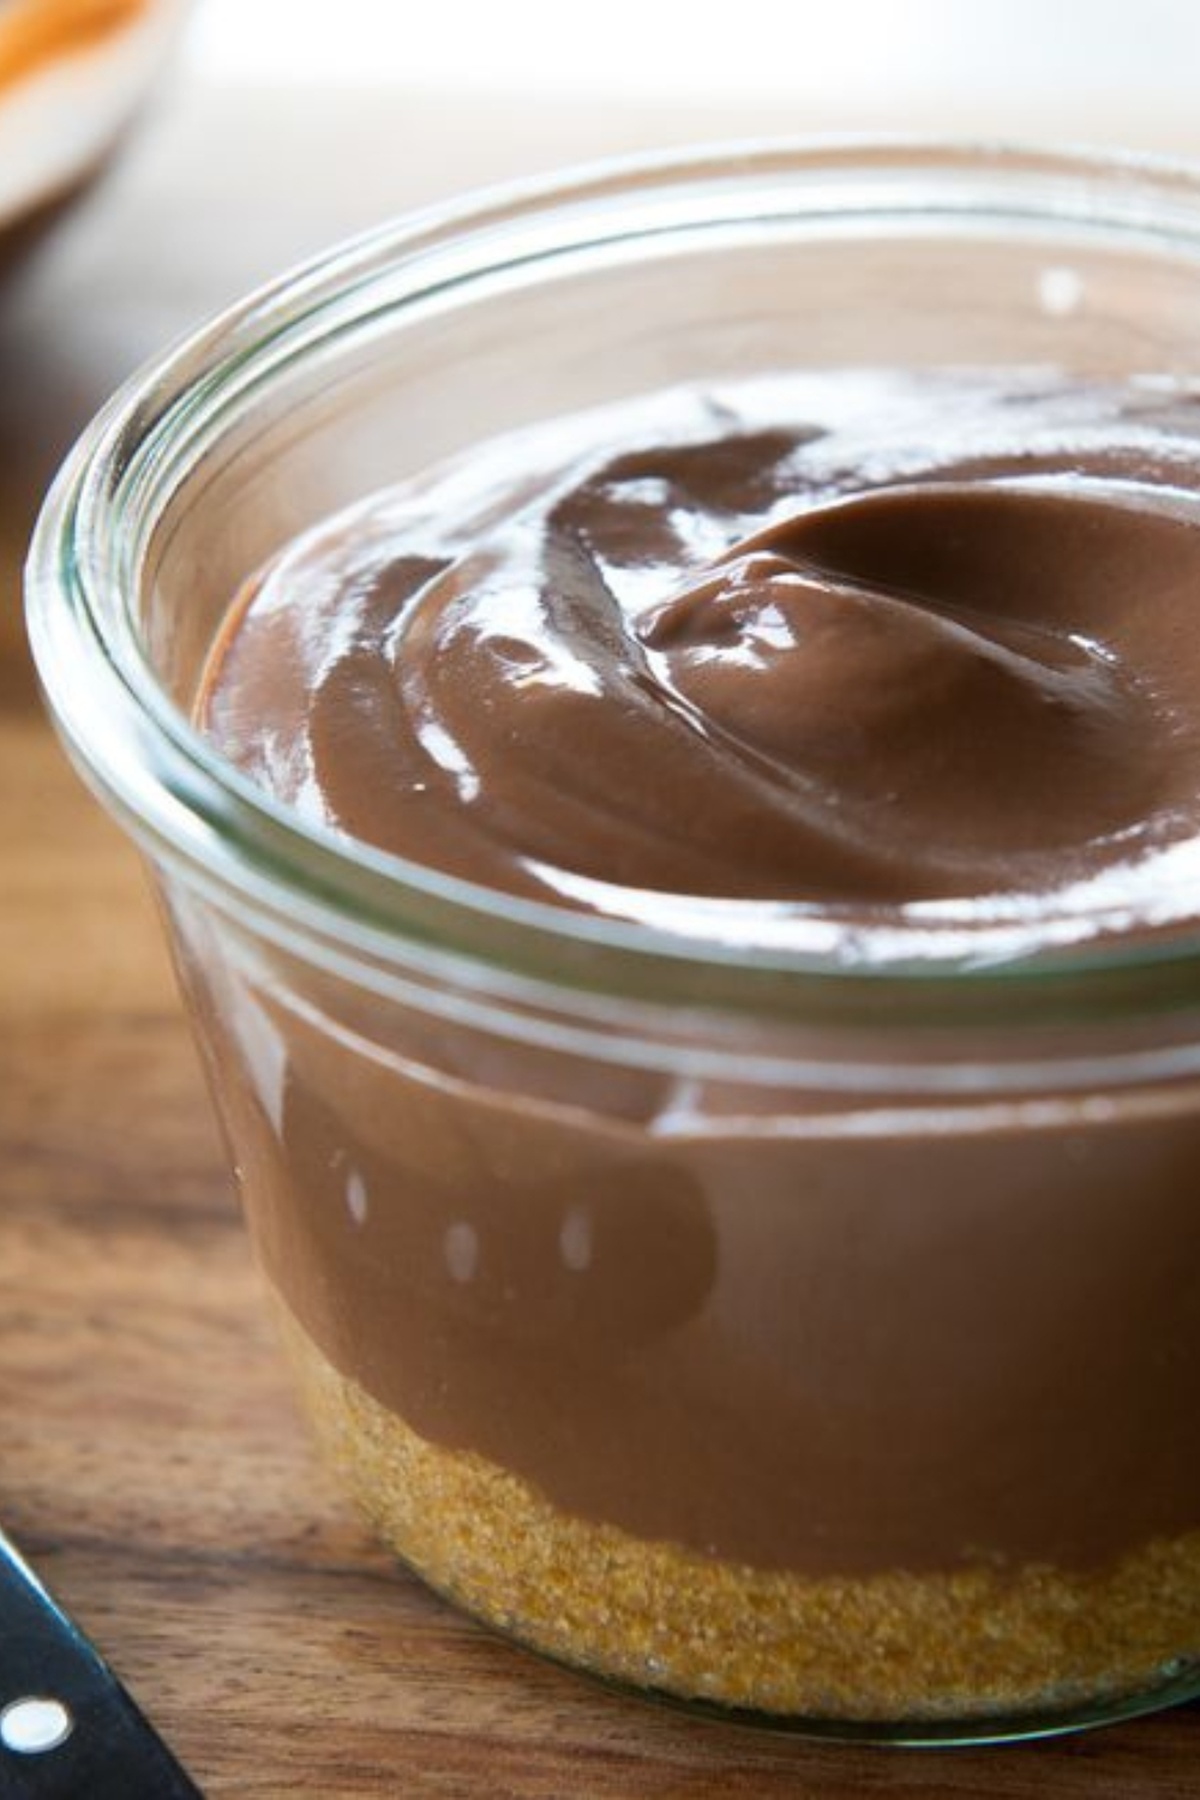
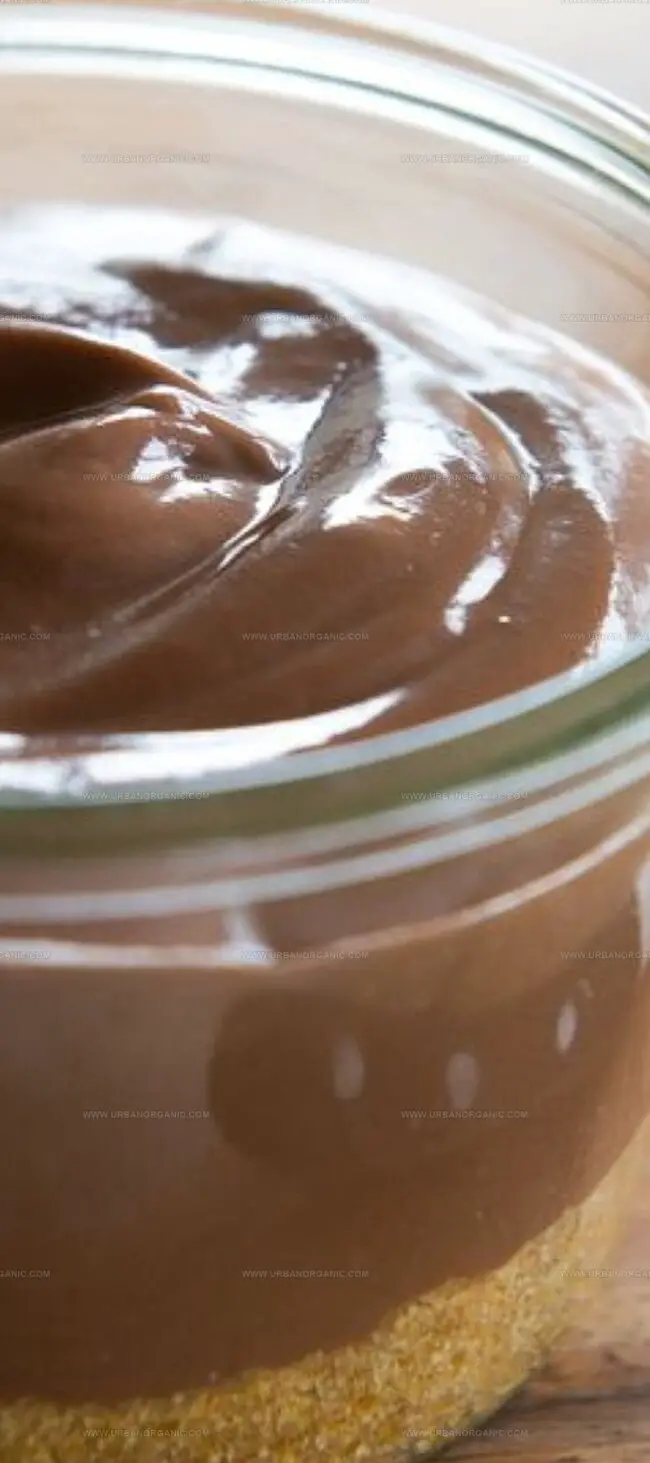
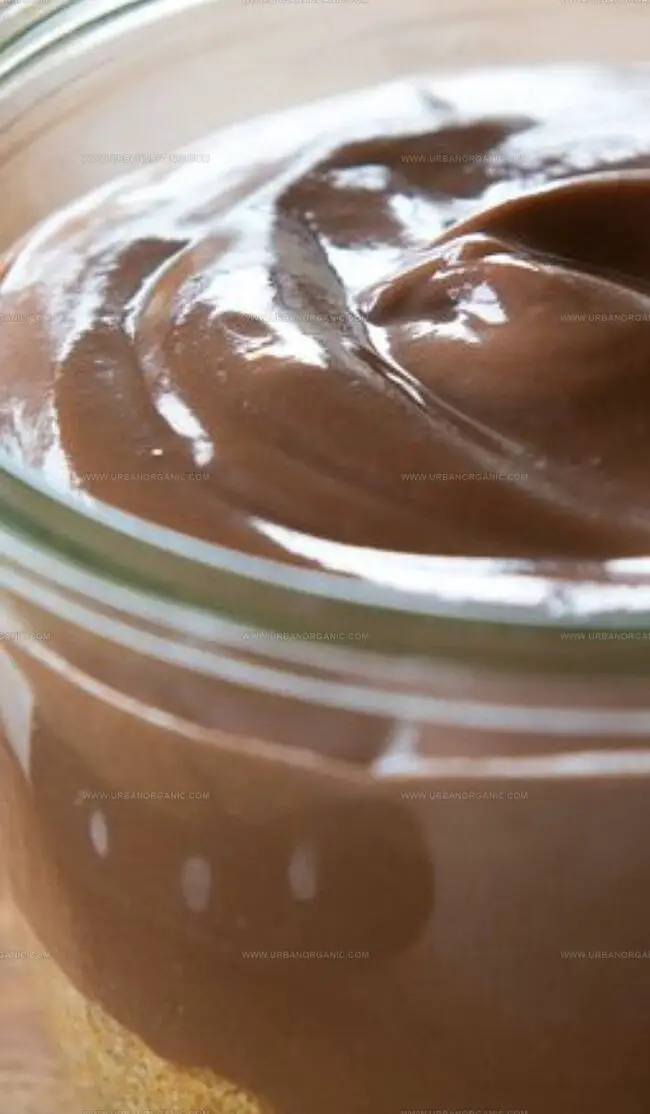
Pioneer Woman’s chocolate pudding is a decadent symphony of flavor that turns mundane ingredients into pure dessert magic.
Silky smooth and intensely rich, this creamy concoction promises an unparalleled chocolatey journey.
Each spoonful cascades with velvety intensity, melting instantly on your palate.
The recipe transforms ordinary kitchen staples into an extraordinary treat that beckons chocolate enthusiasts.
Its luxurious texture whispers elegance with every delicate bite.
Crafted with simplicity and passion, this pudding elevates dessert from routine to remarkable.
Check out this chocolatey masterpiece and let your taste buds embark on an unforgettable adventure.
Quick Recipe Overview

Ingredients for Chocolate Pudding
For Egg Base:For Chocolate Mixture:For Finishing Touches:Tools for Making Smooth Chocolate Pudding
How to Cook Creamy Chocolate Pudding
Craft Silky Chocolate Pudding
Grab a mixing bowl and energetically whisk egg yolks until they transform into a light, creamy yellow color. Blend in milk and cornstarch, creating a smooth, glossy mixture that promises delectable results.
In a saucepan, combine sugar, cocoa powder, salt, and remaining milk. Heat gently over medium-high heat, watching for tiny bubbles dancing around the edges, which signal the perfect temperature approaching.
Carefully stream the hot milk mixture into the egg base, whisking constantly to prevent any egg scrambling. This delicate technique ensures a luxuriously creamy texture that will make taste buds dance.
Transfer the blended mixture back to the saucepan, cooking over medium heat while stirring continuously. Watch as the liquid gradually thickens, transforming into a rich, velvety pudding that promises pure indulgence.
Remove from heat and swirl in vanilla extract for an extra flavor boost. Pour the pudding into serving bowls, covering the surface with plastic wrap to prevent skin formation. Refrigerate until chilled and ready to delight hungry dessert lovers.
Flavor Boosts for Chocolate Pudding

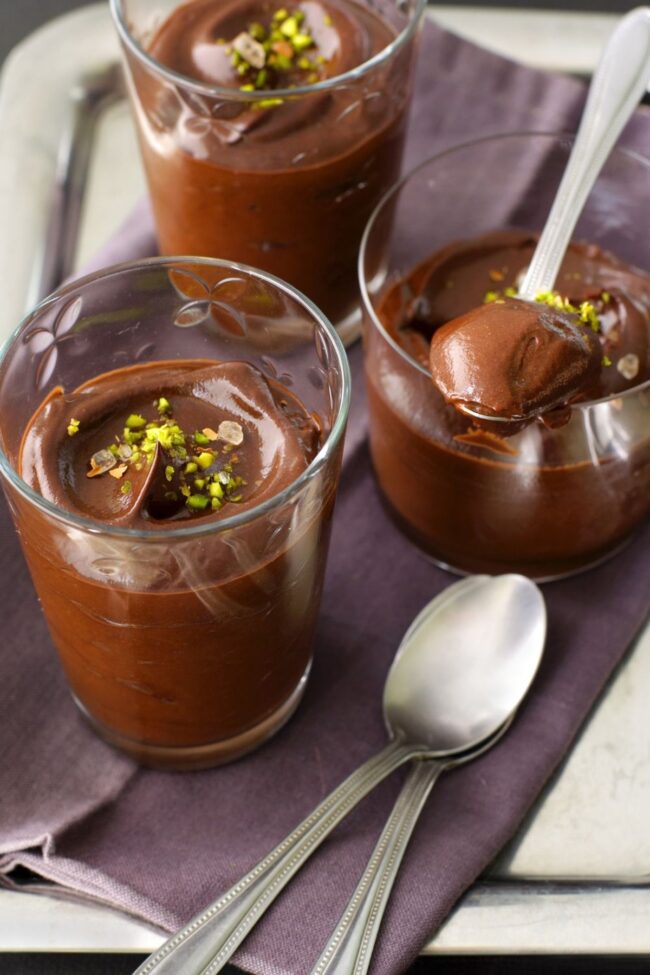
Serving Tips for Chocolate Pudding
Storing and Cooling Chocolate Pudding

Silky Pioneer Woman Chocolate Pudding Recipe
- Total Time: 20 minutes
- Yield: 4 1x
Description
Hearty pioneer woman chocolate pudding brings rich, creamy comfort straight from classic American kitchens. Homemade dessert delivers silky chocolate indulgence with simple ingredients and nostalgic warmth you’ll savor completely.
Ingredients
- 2 cups (480 ml) whole milk
- 2 large egg yolks
- ½ cup (100 g) sugar
- ¼ cup (30 g) unsweetened cocoa powder
- 2 tbsps (16 g) cornstarch
- ¼ tsp salt
- 2 tsp chocolate extract (or vanilla extract)
Instructions
- Egg Base Preparation: Whisk egg yolks in a medium bowl until pale and silky. Blend cornstarch and milk into the yolks, creating a smooth, uniform mixture without lumps.
- Liquid Foundation: Combine sugar, cocoa powder, and salt with milk in a heavy-bottomed saucepan. Heat to medium-high, monitoring temperature until delicate bubbles emerge around the pan’s edges, reaching 180-190 degrees Fahrenheit.
- Tempering Process: Slowly stream the hot milk into the egg mixture while whisking continuously, preventing curdling and ensuring a homogeneous blend. Return the combined liquid to the saucepan, cooking over medium-high heat.
- Thickening Stage: Stir persistently until the mixture reaches a rolling boil, then reduce heat. Continue whisking until the pudding transforms into a luxurious, spoon-coating consistency. Incorporate chocolate or vanilla extract for depth of flavor.
- Cooling and Setting: Transfer pudding to a serving dish, pressing plastic wrap directly onto the surface to prevent skin formation. Refrigerate for 1-2 hours, allowing the dessert to chill completely and develop a rich, smooth texture.
Notes
- Whisk Vigilantly: Constant, aggressive whisking prevents egg scrambling during tempering and ensures a smooth, silky pudding texture.
- Temperature Precision: Use a digital thermometer to hit the exact 180-190°F range for perfect milk and egg integration without scorching.
- Skin Prevention Trick: Press plastic wrap directly onto the pudding’s surface while cooling to block air exposure and eliminate undesirable skin formation.
- Flavor Enhancement: Optional chocolate or vanilla extract can elevate the pudding’s depth, adding subtle complexity to the rich chocolate base.
- Prep Time: 10 minutes
- Cook Time: 10 minutes
- Category: Desserts
- Method: Simmering
- Cuisine: American
Nutrition
- Serving Size: 4
- Calories: 270
- Sugar: 24 g
- Sodium: 150 mg
- Fat: 10 g
- Saturated Fat: 6 g
- Unsaturated Fat: 3 g
- Trans Fat: 0 g
- Carbohydrates: 39 g
- Fiber: 2 g
- Protein: 7 g
- Cholesterol: 130 mg
Michael Thompson
Founder & Culinary Director
Expertise
Classical & Contemporary Cooking Techniques, Global Cuisine Appreciation, Nutrition & Menu Engineering, Sustainable Cooking Practices, Farm-to-Table Cuisine
Education
Southwestern Oregon Community College
Michael grew up in Oregon, where he learned early that food tastes better when it’s fresh, local, and made with care.
After earning his degree from the Southwestern Oregon Community College, he focused his career on teaching others how to cook with the seasons, reduce food waste, and reconnect with what’s on their plate.
Michael keeps his cooking simple, sustainable, and full of flavor. His favorite part of the process? Watching people realize how easy and satisfying it can be to cook a single great meal from scratch.