Mexican Chicken Casserole Recipe for Fiesta Night
Comfort comes alive in this soul-warming mexican chicken casserole that promises a fiesta of flavors.
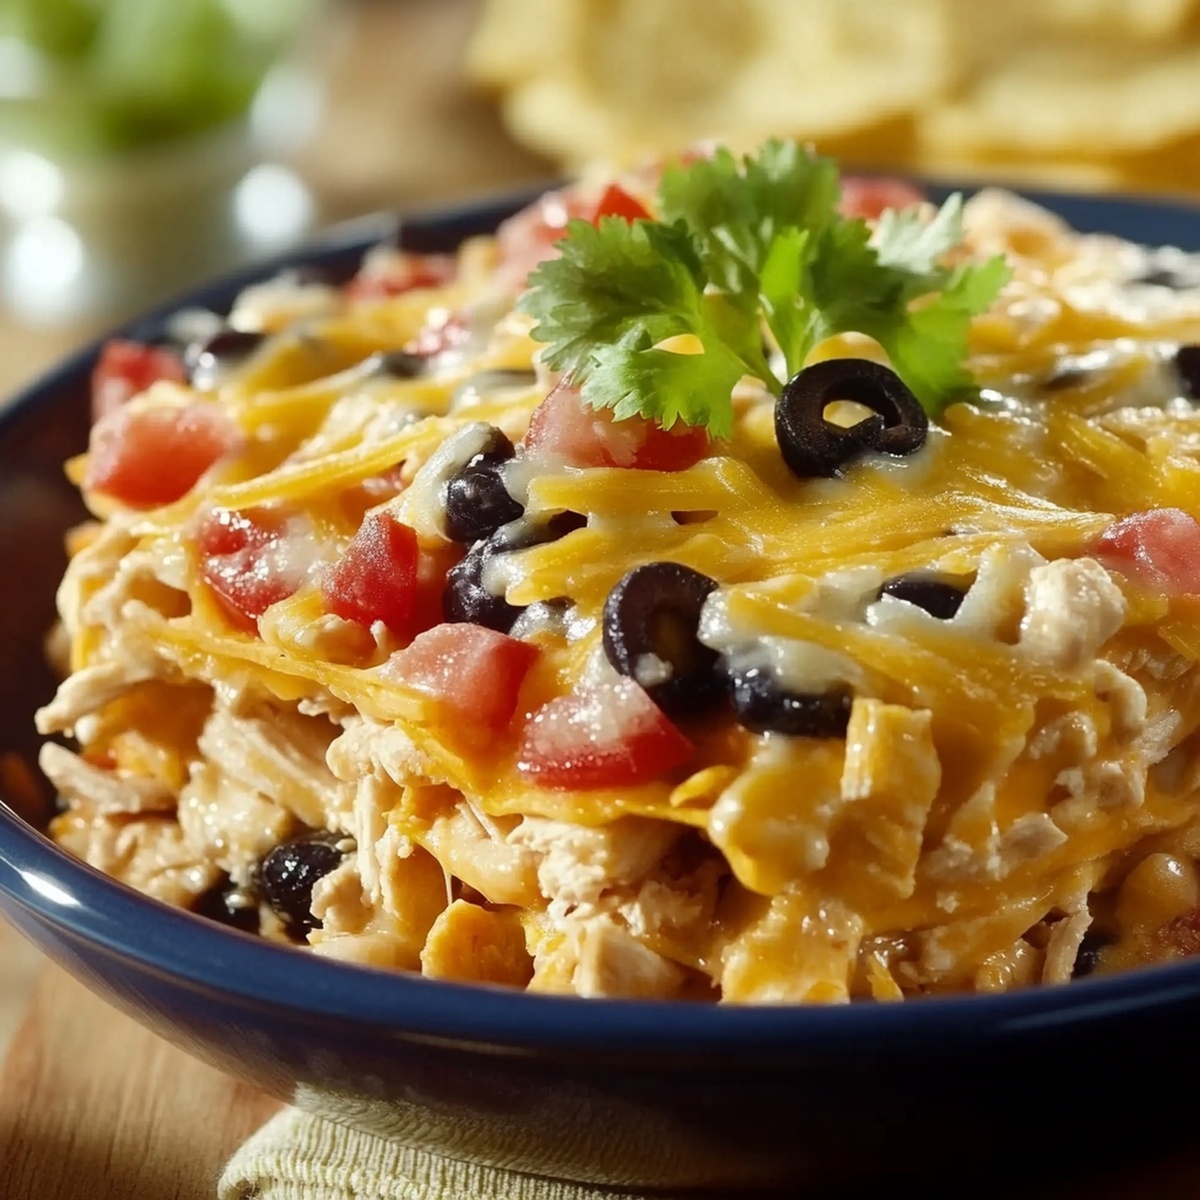
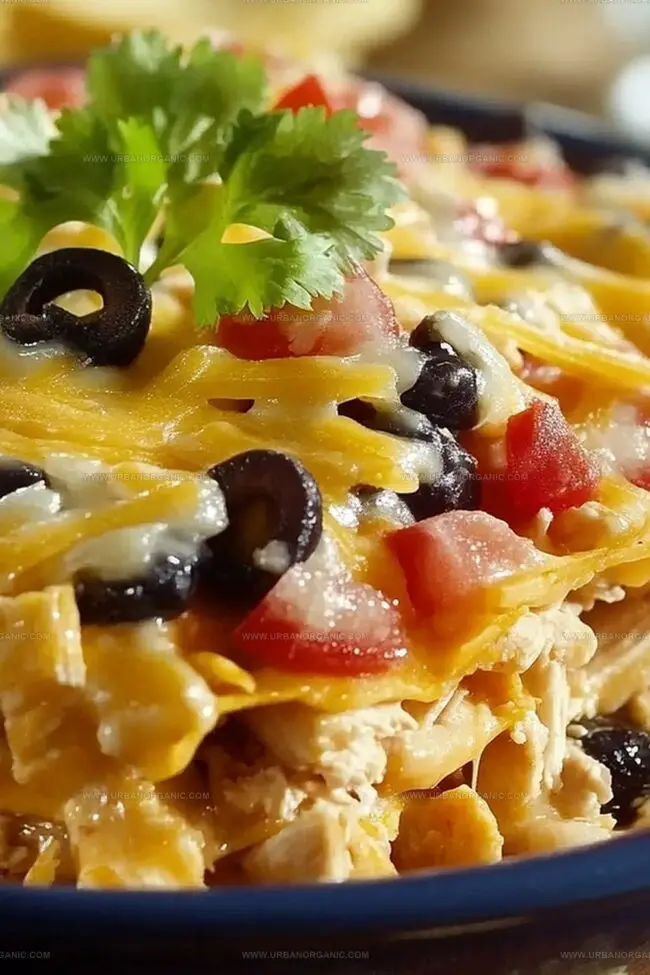
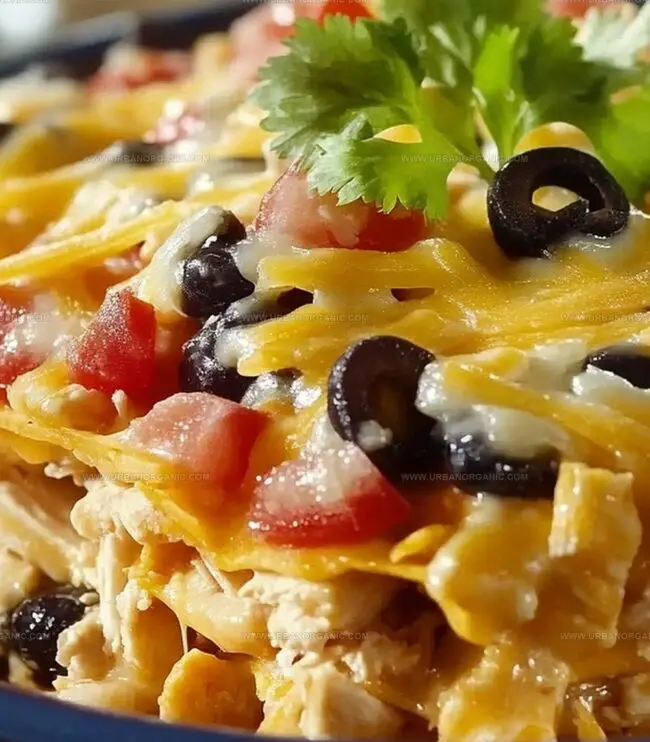
Layers of tender chicken, melted cheese, and zesty spices create a delicious melody on your plate.
Weeknight dinners just got an exciting upgrade with this hearty dish.
Cheesy, spicy, and incredibly satisfying, the recipe combines simple ingredients into something magical.
Family members will cheer when this casserole lands on the dinner table.
Crispy tortilla edges and rich, creamy filling make every bite a celebration of southwestern cuisine.
Prepare to fall in love with this crowd-pleasing meal that brings joy to your kitchen.
Why Mexican Chicken Casserole Hits All the Right Notes
What You’ll Need for a Spicy Chicken Casserole
Protein Base:Dairy and Cream Components:Vegetable and Flavor Enhancers:Spice Blend:Additional Components:Optional Garnish:Layering a Bold Mexican Chicken Casserole
Step 1: Warm Up the Oven
Preheat the oven to 375°F (190°C).
Step 2: Create Flavor Explosion
In a large mixing bowl, combine:Mix ingredients thoroughly until everything is evenly distributed.
Step 3: Prepare Baking Vessel
Generously grease a 9×13-inch casserole dish with cooking spray or butter.
Step 4: Build First Layer
Spread a base layer of crushed tortilla chips or corn tortillas across the bottom of the dish.
Step 5: Add First Chicken Layer
Spoon half of the chicken mixture over the chip layer.
Sprinkle one cup of shredded cheese on top.
Step 6: Create Second Layer
Repeat the layering process with remaining chips and chicken mixture.
Top with the final cup of cheese.
Step 7: Bake Under Wraps
Cover the dish with aluminum foil.
Bake for 25 minutes.
Step 8: Crisp and Melt
Remove foil and continue baking for 10-15 minutes until cheese is golden and bubbly.
Step 9: Rest and Garnish
Allow casserole to rest for 5-10 minutes.
Optional: Garnish with fresh cilantro, chopped green onions, or diced avocado before serving.
Tips for Melty Cheese and Juicy Chicken
How to Store and Reheat a Mexican Casserole
What to Serve on the Side
Creative Twists for a Casserole Night
Chicken Casserole FAQs for Busy Cooks
Yes, rotisserie chicken works perfectly and saves time. Shred the chicken meat and use it as a quick protein option.
The heat level depends on the salsa and Rotel you choose. Select mild versions if you prefer less spice, or use hot varieties for more kick.
Absolutely! Assemble the casserole, cover, and refrigerate up to 24 hours before baking. Just add 5-10 extra minutes to cooking time.
Corn tortillas work great as a replacement. Tear or cut them into smaller pieces and layer just like the chips in the original recipe.
Print
Mexican Chicken Casserole Recipe
- Total Time: 50 minutes
- Yield: 6 1x
Description
Sizzling Mexican chicken casserole brings zesty flavors straight from home kitchens south of the border. Layers of tender chicken, melted cheese, and spicy seasonings create a comforting meal you’ll crave again and again.
Ingredients
Proteins and Main Ingredients:
- 3 cups (720 milliliters) cooked shredded chicken
- 2 cups (480 milliliters) shredded Mexican blend cheese
- 1 can (15 ounces/425 grams) black beans, drained and rinsed
Vegetables and Aromatics:
- 1 cup (240 milliliters) frozen corn (thawed) or 1 can corn, drained
- 1 can (10 ounces/285 grams) Rotel (diced tomatoes with green chilies), drained
- 1 teaspoon cumin
- 1 teaspoon chili powder
- Salt and pepper, to taste
Binding and Flavor Ingredients:
- 1 cup (240 milliliters) sour cream
- 1 cup (240 milliliters) salsa
- 3 cups (720 milliliters) crushed tortilla chips or 8 small flour tortillas, torn
Instructions
- Heat oven to 375F (190C) and prepare a 9×13-inch baking dish with cooking spray.
- In a spacious mixing bowl, thoroughly combine shredded chicken, black beans, corn, Rotel tomatoes, sour cream, salsa, cumin, chili powder, salt, and pepper until ingredients are evenly distributed.
- Create the first base layer by spreading crushed tortilla chips or tortillas across the bottom of the greased dish.
- Distribute half of the seasoned chicken mixture uniformly over the chip layer, ensuring even coverage.
- Sprinkle the first portion of shredded cheese generously across the chicken mixture.
- Construct a second layer by adding remaining tortilla chips or crushed tortillas over the cheese.
- Top the chip layer with remaining chicken mixture, spreading carefully to cover entire surface.
- Finish the casserole by covering the top with the final layer of shredded cheese.
- Cover the dish with aluminum foil and bake for 25 minutes in the preheated oven.
- Remove foil and continue baking for an additional 10-15 minutes until cheese is fully melted and edges are golden brown.
- Allow casserole to rest for 5-10 minutes after removing from oven to help set and cool slightly.
- Optional: Garnish with fresh cilantro, chopped green onions, or diced avocado before serving.
Notes
- Swap tortilla chips for gluten-free alternatives to make the casserole celiac-friendly and accommodate dietary restrictions.
- Use Greek yogurt instead of sour cream to reduce fat content and boost protein while maintaining creamy texture.
- Customize spice levels by adjusting chili powder and cumin amounts, catering to individual heat preferences without overwhelming the dish.
- Prepare chicken mixture ahead of time and refrigerate for more intense flavor development and convenient meal planning.
- Prep Time: 15 minutes
- Cook Time: 35 minutes
- Category: Dinner, Lunch
- Method: Baking
- Cuisine: Mexican
Nutrition
- Serving Size: 6
- Calories: 335
- Sugar: 5 g
- Sodium: 950 mg
- Fat: 24 g
- Saturated Fat: 8 g
- Unsaturated Fat: 14 g
- Trans Fat: 0 g
- Carbohydrates: 13 g
- Fiber: 3 g
- Protein: 18 g
- Cholesterol: 60 mg
Jessica Martinez
Pastry Chef & Recipe Developer
Expertise
Organic Baking Techniques, Gluten-Free Recipe Development, Southwestern Dessert Specialties, Food Styling and Photography
Education
Santa Fe Community College (SFCC)
Jessica brings the sweet side to Urban Organic with her passion for baking and love for the Southwest. She trained at Santa Fe Community College and has built a career creating beautiful, gluten-free, and organic desserts that feel both nostalgic and new.
She believes baking should be fun, creative, and open to everyone, no matter your diet or skill level. Jessica’s recipes are simple enough to follow, but special enough to remember.