Jamie Oliver Chocolate Cheesecake Recipe: Sweet Bliss Made Simple
Jamie Oliver’s chocolate cheesecake explodes with decadent flavors that transform simple ingredients into culinary magic.
Velvety chocolate and cream cheese dance together in a mesmerizing symphony of sweetness.
Luxurious layers promise an indulgent journey through rich, silky textures that melt on your tongue.
Professional and amateur bakers alike fall in love with this recipe’s elegant simplicity.
Each forkful delivers a harmonious blend of dense, luscious filling and crisp, buttery crust.
Chocolate lovers will find themselves swept away by the intense, creamy masterpiece that turns ordinary dessert into an extraordinary experience.
Check out this irresistible creation and let your taste buds celebrate pure chocolate bliss.
Quick Recipe Overview

Jamie Oliver’s Chocolate Cheesecake Ingredient List
For The Base:For The Filling:For The Chocolate Decoration:Tools to Make Jamie Oliver Chocolate Cheesecake
Baking Jamie Oliver Chocolate Cheesecake
Fire up your oven to a cozy 180°C, creating the perfect toasty environment for your delightful dessert.
Pulverize your biscuits into fine, sandy crumbs using a food processor, turning ordinary cookies into a magical base.
Melt butter gently and blend it with your biscuit crumbs, creating a rich, buttery mixture that will form the backbone of your cheesecake.
Press the biscuit mixture firmly into your tart tin, making sure to cover every nook and cranny with a smooth, even layer using the back of a spoon.
In a large bowl, blend cream cheese with sugar and vanilla, whipping in cream until the mixture becomes silky smooth and irresistibly creamy.
Carefully melt white and dark chocolate in separate bowls over simmering water, stirring in cream until they transform into a luxurious, glossy mixture.
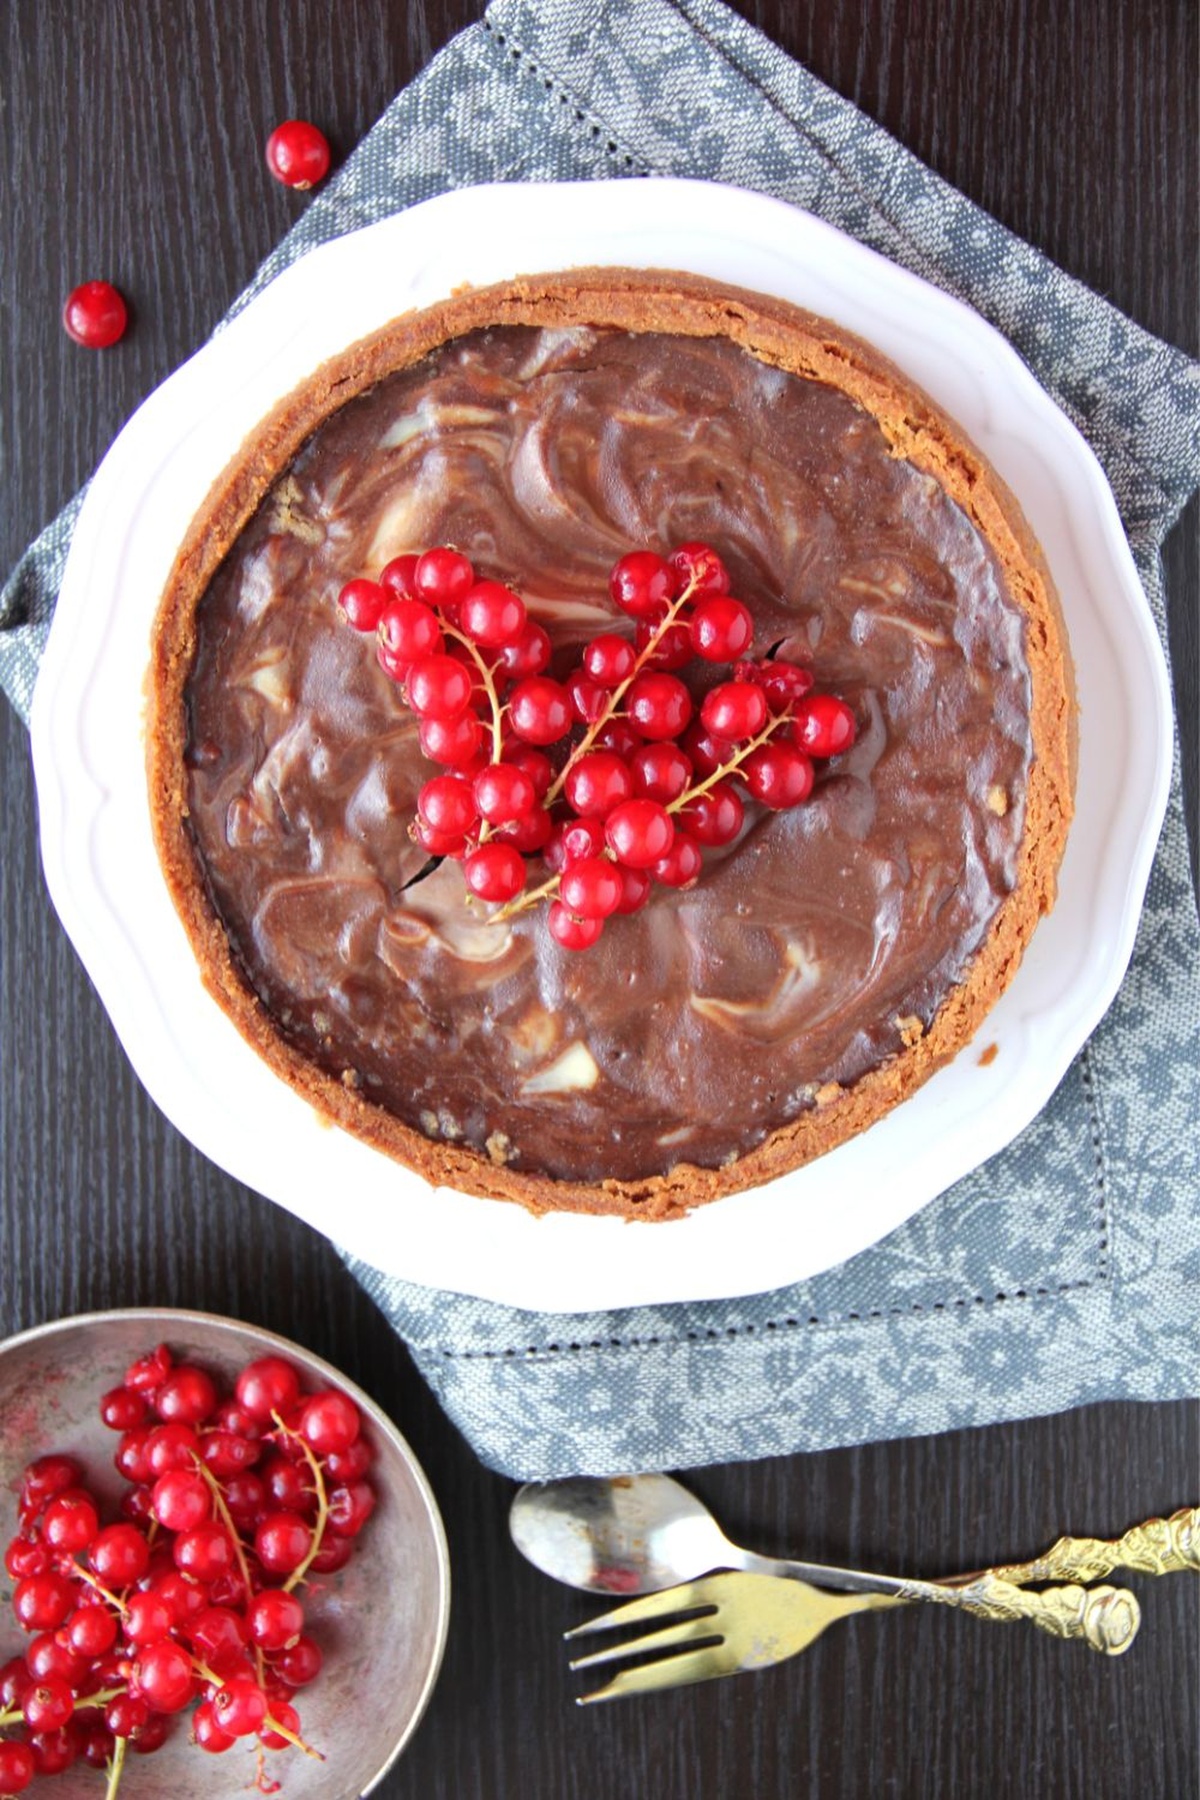
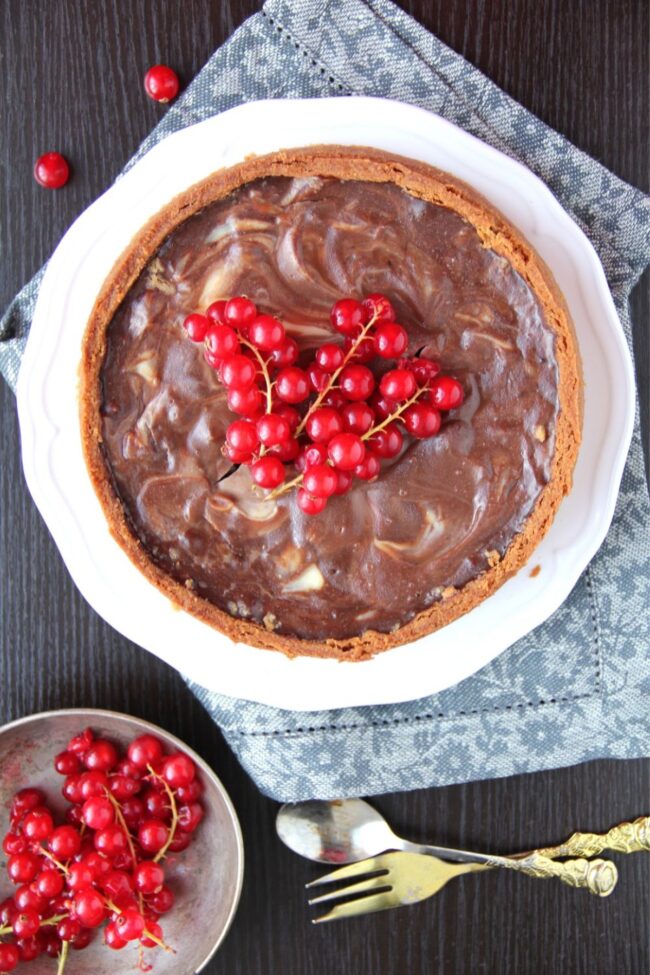
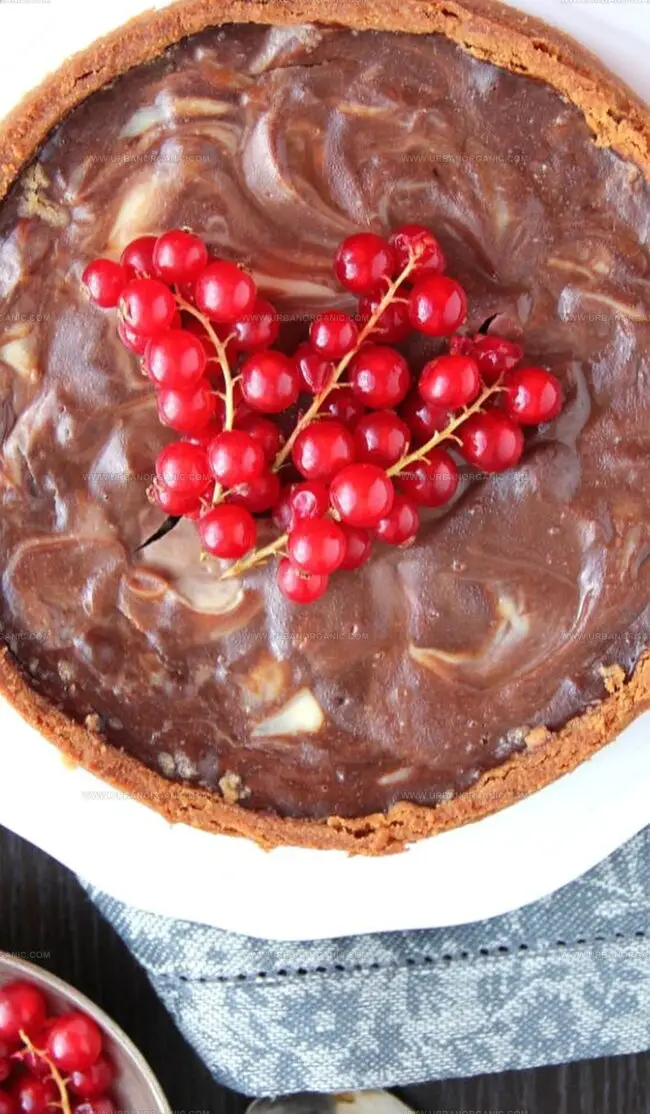
Pour the cream cheese mixture into your perfectly baked crust, gently incorporating melted dark chocolate. Drizzle white chocolate on top and create mesmerizing swirls using a chopstick.
Let your masterpiece rest in the refrigerator for a couple of hours until it sets perfectly. Slice and enjoy the decadent layers of flavor and texture.
Tips for Jamie Oliver’s Chocolate Cheesecake

Exciting Twists and Pro Tips
Experiment with different cookie types like digestive, graham crackers, or chocolate cookies to create unique flavor profiles that match your mood.
Replace dark and white chocolate with milk chocolate, caramel chocolate, or even flavored chocolate bars to transform the cheesecake’s taste and appearance.
Add chopped nuts, crushed candy, or dried fruit to the biscuit base for extra crunch and surprising bursts of flavor in every bite.
Garnish with fresh berries, chocolate shavings, edible gold dust, or a drizzle of caramel sauce to elevate the cheesecake’s visual appeal and make it Instagram-worthy.
Serve Jamie Oliver Chocolate Cheesecake Right
Storing Jamie Oliver Chocolate Cheesecake for Freshness
Print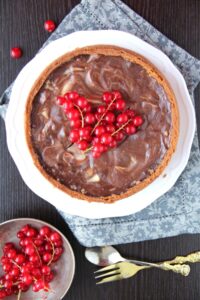
Heavenly Jamie Oliver Cheesecake Chocolate Recipe
- Total Time: 38 minutes
- Yield: 8 1x
Description
Jamie Oliver’s chocolate cheesecake delivers a luxurious dessert experience that blends rich chocolate with creamy texture. Home bakers can easily craft this indulgent treat, creating memories around a delectable slice of pure chocolate pleasure.
Ingredients
- 200 g (7 oz) dark chocolate (70%)
- 300 g (10.5 oz) cream cheese
- 350 g (12.3 oz) digestive biscuits
- 300 ml (10 fl oz) double cream
- 100 g (3.5 oz) unsalted butter
- 100 g (3.5 oz) white chocolate
- 2 tbsps caster sugar
- 1 tbsp vanilla extract
Instructions
- Crust Preparation: Pulverize biscuits into fine crumbs, then merge with melted butter to create a cohesive mixture. Press evenly into a 25-centimeter loose-bottomed tart tin, ensuring uniform coverage across base and sides.
- Crust Baking: Roast the crust in a preheated oven at 180 degrees Celsius for 8 minutes until achieving a light golden hue. Allow to cool completely at room temperature.
- Filling Creation: Whisk cream cheese, sugar, and vanilla essence until achieving a silky smooth consistency. Gently incorporate cream, beating to maintain a light, airy texture.
- Chocolate Infusion: Melt white and dark chocolate using a double-boiler method. Blend respective portions of cream into each chocolate variety, stirring until achieving a glossy, homogeneous mixture.
- Assembly and Decoration: Carefully pour cream cheese mixture into the cooled crust, creating an even layer. Artfully drizzle melted dark and white chocolates across the surface, using a chopstick to create elegant swirled patterns.
- Chilling and Serving: Refrigerate the cheesecake for a minimum of 2 hours until fully set. Before presentation, slice into wedges and add optional garnishes to enhance visual appeal.
Notes
- Chill Thoroughly: Refrigerate the cheesecake for at least 2 hours to ensure the filling sets perfectly and develops a rich, creamy texture.
- Chocolate Melting Technique: Use a double boiler or heat-safe bowl over simmering water to melt chocolate gently, preventing burning and maintaining smooth consistency.
- Crust Preparation Tip: Press the biscuit mixture firmly and evenly using the back of a spoon to create a compact, stable base that won’t crumble when serving.
- Room Temperature Ingredients: Allow cream cheese to soften at room temperature before mixing to achieve a smoother, lump-free filling that blends effortlessly.
- Prep Time: 30 minutes
- Cook Time: 8 minutes
- Category: Desserts, Snacks
- Method: Baking
- Cuisine: British
Nutrition
- Serving Size: 8
- Calories: 669
- Sugar: 27 g
- Sodium: 174 mg
- Fat: 50 g
- Saturated Fat: 30 g
- Unsaturated Fat: 18 g
- Trans Fat: 0 g
- Carbohydrates: 51 g
- Fiber: 2 g
- Protein: 8 g
- Cholesterol: 148 mg
Michael Thompson
Founder & Culinary Director
Expertise
Classical & Contemporary Cooking Techniques, Global Cuisine Appreciation, Nutrition & Menu Engineering, Sustainable Cooking Practices, Farm-to-Table Cuisine
Education
Southwestern Oregon Community College
Michael grew up in Oregon, where he learned early that food tastes better when it’s fresh, local, and made with care.
After earning his degree from the Southwestern Oregon Community College, he focused his career on teaching others how to cook with the seasons, reduce food waste, and reconnect with what’s on their plate.
Michael keeps his cooking simple, sustainable, and full of flavor. His favorite part of the process? Watching people realize how easy and satisfying it can be to cook a single great meal from scratch.