
Elegant Jamie Oliver Chicken Ballotine Recipe for Gourmet Feasts
Jamie Oliver’s chicken ballotine elevates home cooking from mundane to magnificent with its elegant culinary magic.
This rolled poultry masterpiece transforms simple ingredients into a restaurant-worthy sensation.
Precise techniques turn basic chicken into an impressive centerpiece that sparks conversation.
Tender meat gets carefully layered with vibrant herbs and seasonings.
Skilled cooks can recreate this gourmet delight without professional training.
The combination of textures and flavors promises a memorable dining experience.
You’ll fall in love with this showstopping dish that looks complicated but comes together surprisingly easily.
Quick Recipe Overview
Chicken Ballotine Ingredients by Jamie Oliver
For Aromatic Vegetable Base:For Protein and Seasoning:For Cooking Support:Tools for Crafting Jamie Oliver Chicken Ballotine
Jamie Oliver’s Chicken Ballotine Steps
Sizzle diced aromatics in a skillet until they soften and release their rich essence. Let the vegetable medley cool completely, creating a flavor base that will elevate the entire dish.
Skillfully separate chicken skin from meat, keeping the delicate skin intact. Gently remove the bone while preserving the meat’s beautiful structure. Transform the leg into a blank culinary canvas ready for transformation.
Pulse chicken meat with the cooled vegetable mixture in a food processor. Create a smooth, well-blended filling that promises incredible taste and texture. Season with a perfect balance of salt and pepper to enhance the natural flavors.
Spread chicken skins flat and carefully distribute the meat mixture. Fold the skin with precision, creating elegant parcels that completely enclose the flavorful filling. Ensure each bundle is tightly sealed with no exposed meat.
Position the chicken bundles on a prepared rack in a hot oven. Bake until the skin turns gloriously golden and crispy, and the internal temperature signals safe, delicious doneness. Watch as these culinary gems transform into a mouthwatering masterpiece that will impress and delight.
Tips for Making Jamie Oliver Chicken Ballotine
How to Present Jamie Oliver Chicken Ballotine
How to Store Jamie Oliver Chicken Ballotine Leftovers
Print
Elegant Jamie Oliver Chicken Ballotine Recipe
- Total Time: 50 minutes
- Yield: 4 1x
Description
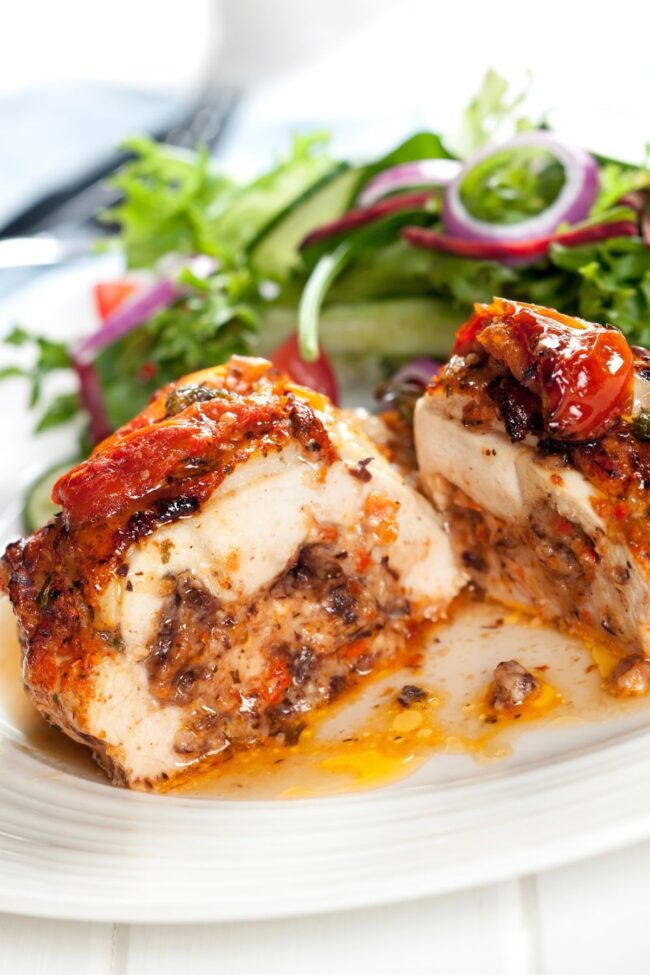
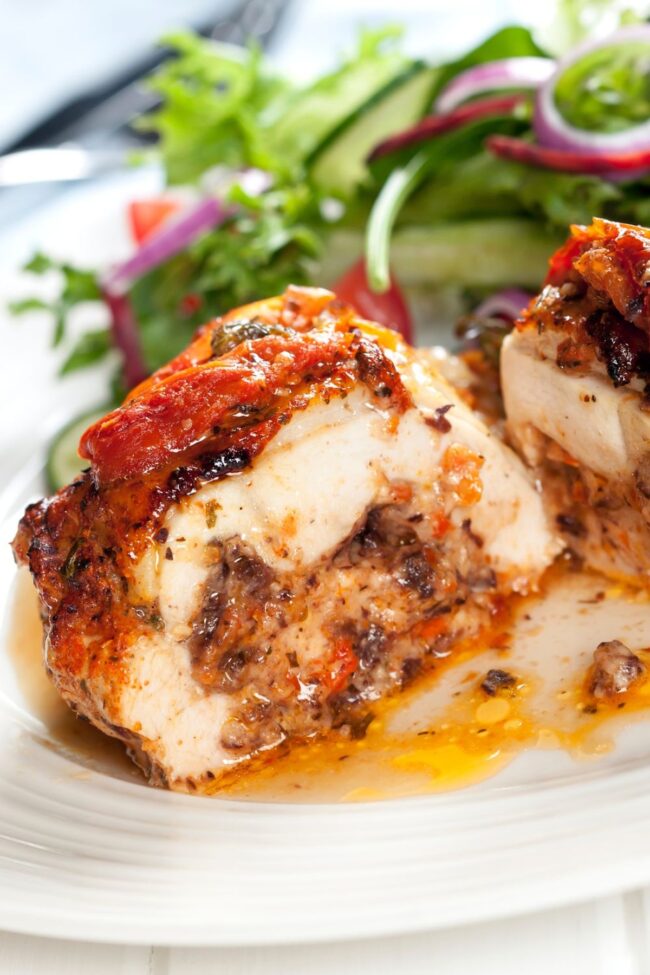
Jamie Oliver’s chicken ballotine showcases Italian culinary artistry with carefully rolled chicken breast stuffed with prosciutto and herbs. Delicate flavors and precise techniques make this dish a gourmet experience you’ll savor with each elegant bite.
Ingredients
- 4 chicken thighs (bone-in, skin-on)
- 1 shallot (medium, finely chopped)
- 1 carrot (medium, finely chopped)
- 3 garlic cloves (medium, finely chopped)
- 2 tbsps (30 ml) butter
- 0.5 tsp (2.5 ml) kosher salt (divided, plus more for seasoning skin)
- olive oil or vegetable oil (for brushing the rack)
Instructions
- Vegetable Preparation: Sauté onion, carrot, and garlic with kosher salt in a large skillet over medium-low heat until tender and translucent. Cool completely.
- Chicken Deboning: Carefully separate chicken leg skin from meat, expose the bone, and remove it precisely without tearing the skin. Chop the deboned meat into substantial pieces.
- Filling Creation: Combine chicken thigh meat, sautéed vegetables, salt, and black pepper in a food processor. Pulse until finely ground but not pureed, ensuring ingredient uniformity.
- Ballotine Assembly: Lay chicken skins flat, divide meat mixture into portions, and centrally place on each skin. Fold skin edges to completely encase the filling, creating neat parcels.
- Oven Preparation: Preheat oven to 425°F (218°C). Line a baking sheet with parchment paper and position an oven-safe wire rack, lightly coated with cooking oil.
- Roasting Process: Position wrapped chicken portions on the rack with sealed edges facing downward. Sprinkle additional salt and pepper over the skin surface.
- Final Cooking: Roast for 25-30 minutes until skin turns golden and crispy, and internal temperature reaches 165°F (74°C) when checked with a quick-read thermometer.
Notes
- Master Skin Technique: Delicately separate chicken skin from meat without tearing, ensuring a perfect wrapper for the flavorful filling.
- Precise Seasoning Balance: Use exact salt measurements to enhance taste without overpowering the chicken’s natural flavors.
- Temperature Control Critical: Monitor oven heat and chicken’s internal temperature to achieve golden, crispy skin and fully cooked meat.
- Texture Matters: Pulse meat mixture carefully to maintain chunky consistency, avoiding over-processing which can make filling dense and rubbery.
- Prep Time: 20 minutes
- Cook Time: 30 minutes
- Category: Dinner
- Method: Baking
- Cuisine: British
Nutrition
- Serving Size: 4
- Calories: 380
- Sugar: 2g
- Sodium: 600mg
- Fat: 25g
- Saturated Fat: 10g
- Unsaturated Fat: 15g
- Trans Fat: 0g
- Carbohydrates: 8g
- Fiber: 1g
- Protein: 30g
- Cholesterol: 130mg
Michael Thompson
Founder & Culinary Director
Expertise
Classical & Contemporary Cooking Techniques, Global Cuisine Appreciation, Nutrition & Menu Engineering, Sustainable Cooking Practices, Farm-to-Table Cuisine
Education
Southwestern Oregon Community College
Michael grew up in Oregon, where he learned early that food tastes better when it’s fresh, local, and made with care.
After earning his degree from the Southwestern Oregon Community College, he focused his career on teaching others how to cook with the seasons, reduce food waste, and reconnect with what’s on their plate.
Michael keeps his cooking simple, sustainable, and full of flavor. His favorite part of the process? Watching people realize how easy and satisfying it can be to cook a single great meal from scratch.