
Timeless Julia Child White Bread Recipe for Classic Loaves
Julia Child’s white bread emerges as a culinary symphony that elevates home baking to an art form.
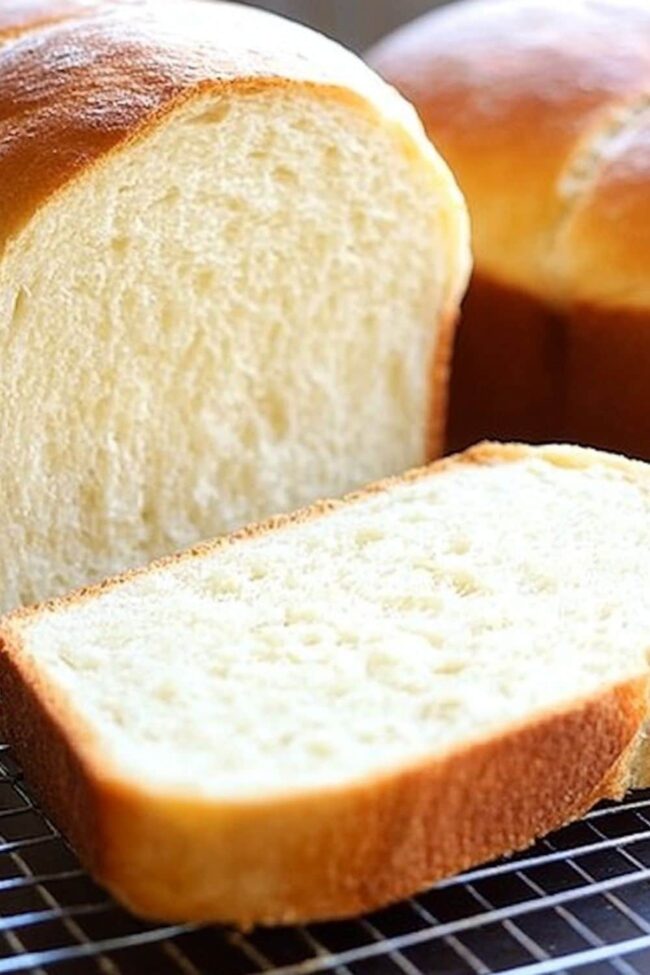
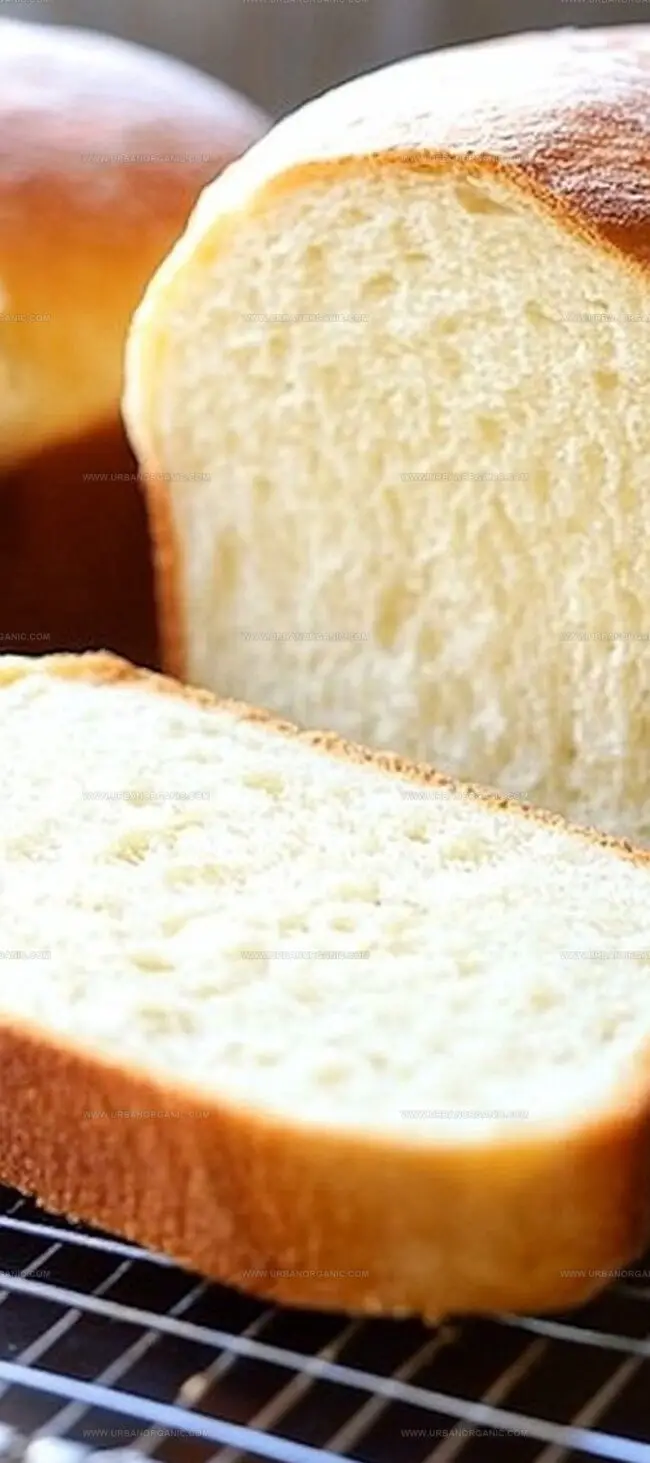
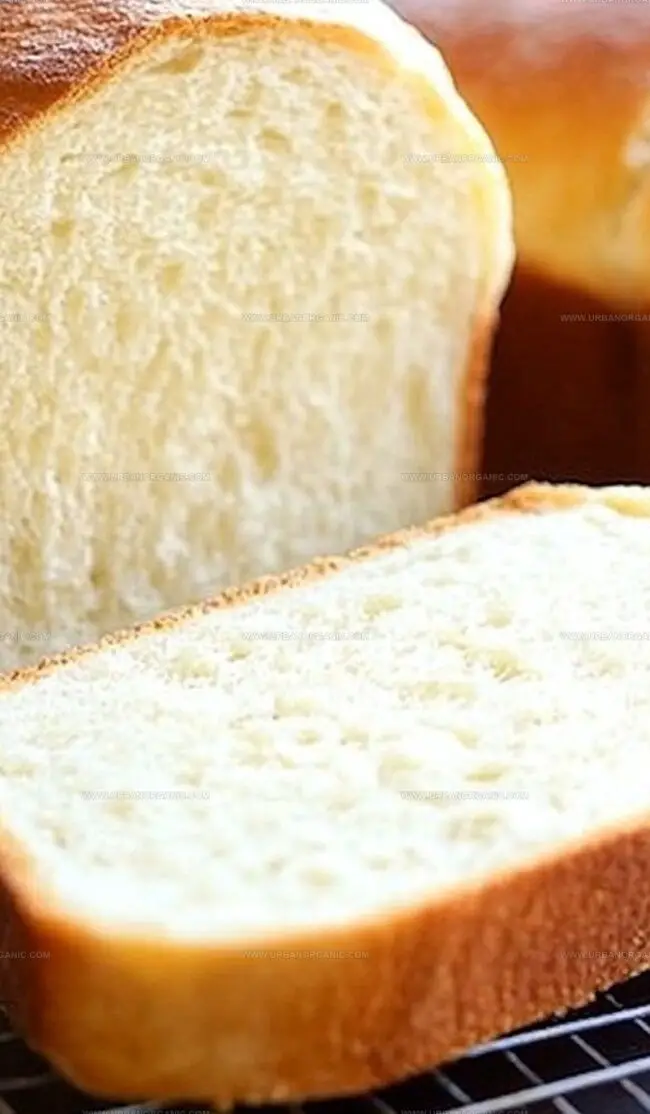
Soft, pillowy loaves whisper stories of tradition and comfort from her cherished kitchen.
Her masterful technique transforms basic ingredients into a magical bread experience that feels both simple and profound.
Warm, golden crusts promise a sensory journey that tingles taste buds and warms hearts.
Each slice carries the essence of classic baking techniques refined through decades of passionate cooking.
Novice and experienced bakers alike can unlock the secrets of this timeless recipe with confidence and joy.
Check out this delectable adventure and let your kitchen become a canvas of delicious creativity.
Quick Recipe Overview
Julia Child White Bread Ingredient Breakdown
For Yeast Activation:For Dry Ingredients:For Wet Ingredients:Bread Tools for a French Touch
Steps for Julia’s Simple White Bread

Splash warm water into a mixing bowl and sprinkle yeast on top. Let the mixture sit quietly for a few minutes until it transforms into a frothy, creamy texture that signals the yeast is ready to work its magic.
Blend all base ingredients into the yeast mixture, stirring with enthusiasm until everything melds together smoothly. Use a mixer or your hands to combine ingredients, creating a unified and soft dough that promises deliciousness.
Start working the dough with confident movements, either using a dough hook or your hands. Gradually incorporate additional flour, kneading persistently until the dough becomes silky and elastic. The perfect dough will pull away from bowl edges and feel wonderfully smooth.
Transfer the dough to a lightly greased bowl, ensuring every surface gets a gentle coating of oil. Cover and let the dough rest in a cozy, warm spot. Watch as it expands and doubles in size, transforming from a simple mixture into a puffy, promising bread base.
Gently deflate the risen dough on a floured surface. Divide into portions, rolling each into a neat rectangle. Roll tightly from the short end, sealing edges and tucking ends underneath. Nestle the shaped loaves into greased pans, preparing them for their final transformation.
Let loaves rise again in a warm space until they puff up beautifully. Preheat the oven and position the rack strategically. Brush loaves with melted butter and bake until they turn a gorgeous golden brown, filling your kitchen with an irresistible aroma.
Rescue the freshly baked bread from the oven, brushing with another layer of butter. Allow loaves to cool slightly in their pans before transferring to a cooling rack. Slice when completely cooled and savor the homemade goodness you’ve created.
Rising Tips and Texture Tweaks
Explore exciting twists and professional baking secrets for perfect homemade bread.
Replace all-purpose flour with whole wheat or bread flour for different textures and nutritional profiles. Whole wheat adds nutty flavor and more fiber, while bread flour creates a chewier, more robust loaf.
Ensure precise yeast activation by using a kitchen thermometer. Warm water between 105-110°F creates the ideal environment for yeast growth without killing the delicate microorganisms.
Experiment with herbs, seeds, or cheese mixed directly into the dough. Rosemary, sunflower seeds, or sharp cheddar can transform your basic bread into a gourmet experience.
Wrap cooled bread in plastic wrap or store in an airtight container at room temperature for 3-4 days. For longer preservation, slice and freeze up to one month, ensuring fresh bread whenever you crave a slice.
How to Serve White Bread Fresh
Best Way to Store Homemade White Bread
Print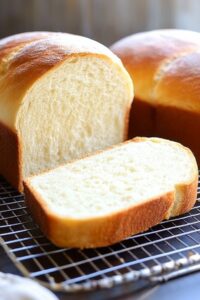
Timeless Julia Child White Bread Recipe
- Total Time: 1 hour 10 minutes
- Yield: 15 1x
Description
Homemade julia child white bread brings classic French bakery techniques to American kitchens with simple ingredients. Bakers can create golden, tender loaves by following her precise method and kneading techniques.
Ingredients
- 9 to 10 cups all-purpose flour
- 4.5 tsp instant yeast (2 × 0.25 oz packets)
- 3 tbsps unsalted butter, cubed, at room temperature
- 3 tbsps unsalted butter, melted, for brushing
- 0.75 cup warm water
- 2.67 cups warm water
- 0.25 cup granulated sugar
- 1 tbsp salt
Instructions
- Yeast Activation: Dissolve active dry yeast in lukewarm water, letting it bloom until foamy and aromatic, approximately 5 minutes.
- Initial Mixing: Combine yeast mixture with warm water, sugar, salt, softened butter, and a portion of flour in a stand mixer. Blend thoroughly until ingredients form a cohesive, preliminary dough consistency.
- Dough Development: Progressively incorporate remaining flour using a dough hook, kneading on low speed until the mixture transforms into a supple, elastic dough that effortlessly separates from the bowl’s interior, roughly 7-10 minutes.
- First Fermentation: Transfer dough to a lightly greased bowl, ensuring complete surface coverage. Drape with plastic wrap and position in a warm, sheltered location. Permit dough to rise until volume doubles, approximately 45-60 minutes.
- Shaping: Gently deflate dough on a floured surface. Partition into two equal segments. Flatten each portion into a rectangular shape, then tightly roll from the shorter edge. Seal seams and edges, tucking underneath, and nestle into greased loaf pans.
- Second Fermentation: Loosely cover loaves and return to a warm environment. Allow a second rise until dough volume expands, typically 30-45 minutes.
- Baking Preparation: Position oven rack at lowest setting and preheat to 200 degrees Celsius. Delicately brush loaves with melted butter.
- Baking Process: Bake for 30-35 minutes, rotating pans midway. Bread is complete when achieving a rich golden-brown exterior and reaching an internal temperature of 90 degrees Celsius.
- Finishing: Immediately after removing from oven, brush with additional melted butter. Rest loaves in pans for 10 minutes, then transfer to a wire rack for complete cooling before slicing.
Notes
- Master Yeast Activation: Ensure water temperature is between 100-110°F to activate yeast perfectly without killing it.
- Dough Consistency Check: Look for a soft, slightly tacky texture that cleanly pulls away from the bowl’s sides during kneading.
- Rising Environment Matters: Choose a consistently warm, draft-free spot around 80-85°F for optimal dough expansion and flavor development.
- Butter Brush Technique: Apply melted butter before and after baking for a golden, glossy crust that enhances both appearance and taste.
- Prep Time: 30 minutes
- Cook Time: 40 minutes
- Category: Breakfast, Lunch, Dinner, Snacks
- Method: Baking
- Cuisine: American
Nutrition
- Serving Size: 15
- Calories: 150
- Sugar: 1 g
- Sodium: 400 mg
- Fat: 4.5 g
- Saturated Fat: 3 g
- Unsaturated Fat: 1.5 g
- Trans Fat: 0 g
- Carbohydrates: 26 g
- Fiber: 1 g
- Protein: 4 g
- Cholesterol: 10 mg
Michael Thompson
Founder & Culinary Director
Expertise
Classical & Contemporary Cooking Techniques, Global Cuisine Appreciation, Nutrition & Menu Engineering, Sustainable Cooking Practices, Farm-to-Table Cuisine
Education
Southwestern Oregon Community College
Michael grew up in Oregon, where he learned early that food tastes better when it’s fresh, local, and made with care.
After earning his degree from the Southwestern Oregon Community College, he focused his career on teaching others how to cook with the seasons, reduce food waste, and reconnect with what’s on their plate.
Michael keeps his cooking simple, sustainable, and full of flavor. His favorite part of the process? Watching people realize how easy and satisfying it can be to cook a single great meal from scratch.