
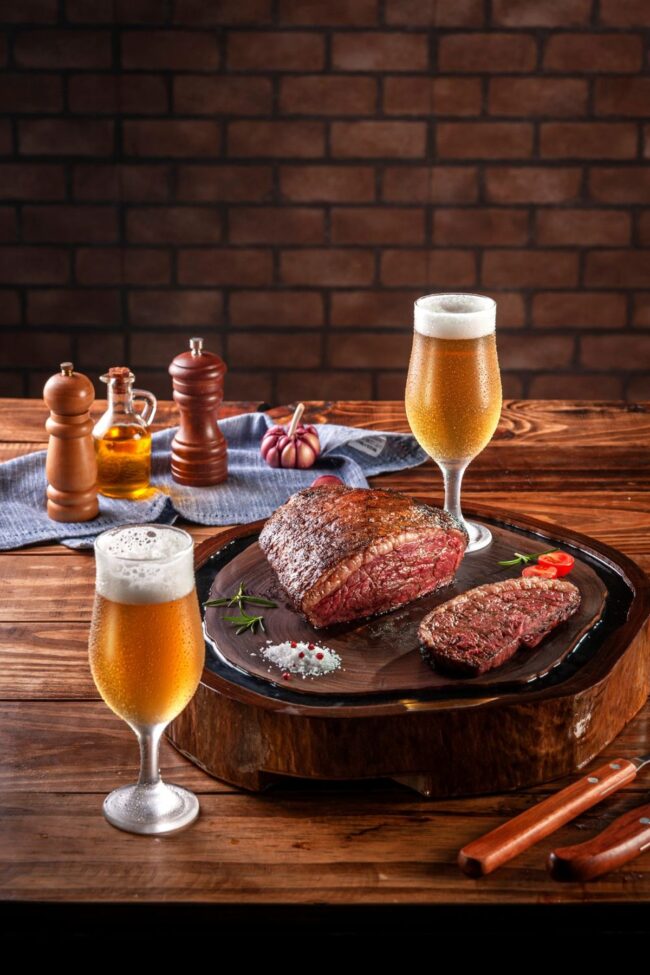
Juicy Pioneer Woman Rump Roast Recipe for Sunday Dinner
Rump roast elevates weeknight dinners from mundane to magnificent with its robust flavor profile.
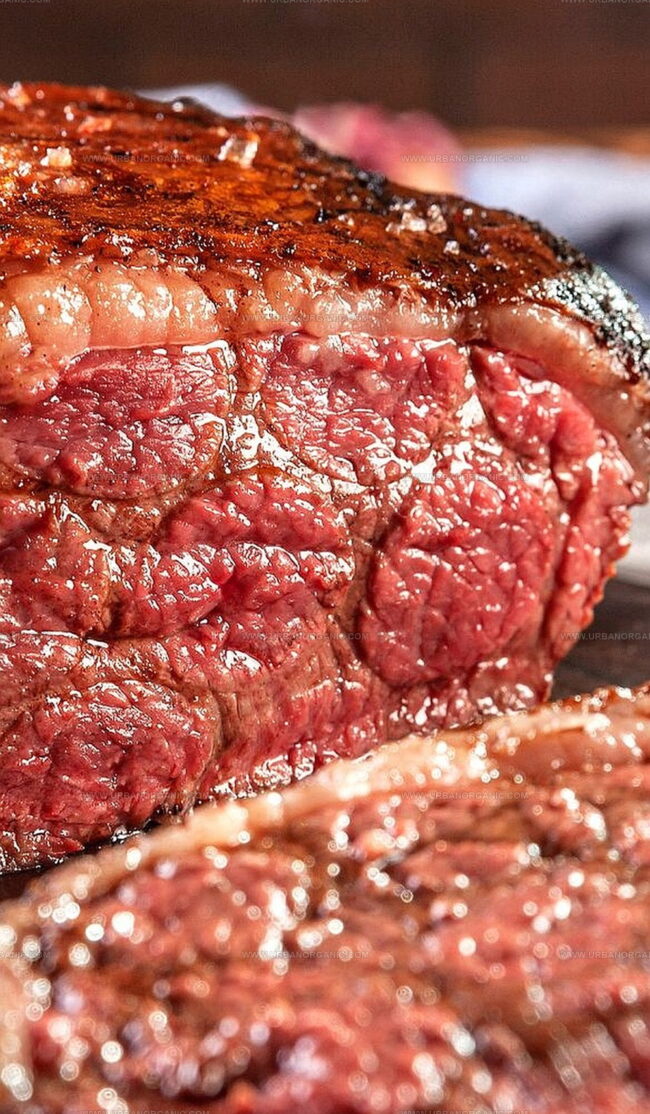
This succulent beef cut promises a symphony of taste that dances on your tongue.
Professional kitchens and home cooks alike treasure the versatility of this classic protein.
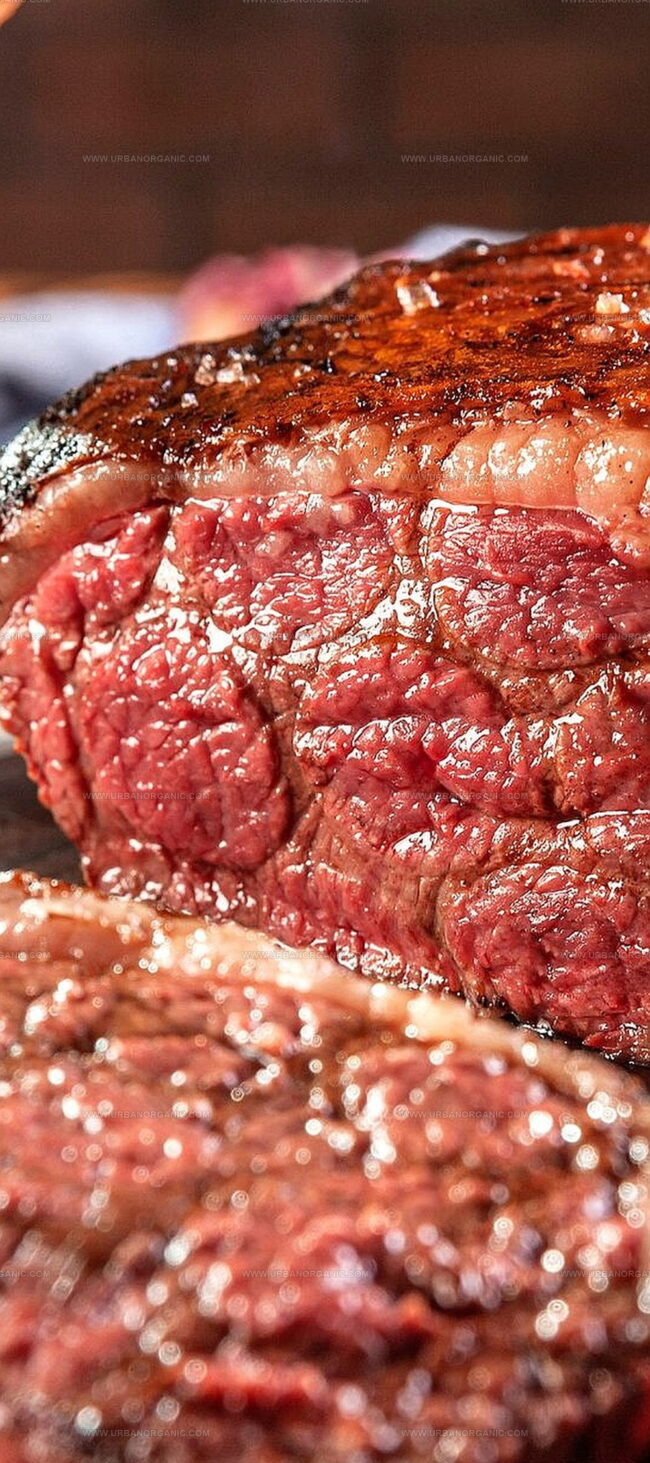
Slow-cooking techniques transform tough muscle fibers into melt-in-your-mouth tenderness that sparks culinary excitement.
Strategic seasoning amplifies the meat’s natural richness, creating a sensory experience that lingers long after the last bite.
Each slice tells a story of comfort and deliciousness.
Prepare to embark on a gastronomic journey that will leave everyone at the table craving more.
Quick Recipe Overview
Ingredient List for Pioneer Woman Rump Roast
For Meat Base:For Spice Blend:For Cooking Liquids:Kitchen Tools for Pioneer Woman Rump Roast
How to Make Pioneer Woman Rump Roast
Lay the rump roast on a clean surface, ready to transform into a mouth-watering masterpiece. Pat the meat dry with paper towels to help seasonings stick perfectly.
Blend an exciting mix of seasonings – brown sugar, dried herbs, smoked paprika, and garlic powder. The key is layering flavors that will make taste buds dance with excitement.
Lovingly coat every inch of the roast with the spice blend. Press the seasonings deeply into the meat, ensuring each fiber becomes a flavor carrier. Let the roast sit and absorb the incredible seasoning for an hour at room temperature.
Warm the grill to a gentle heat around 275°F. Place the roast carefully, allowing it to cook slowly and develop a gorgeous outer crust. Grill for approximately 90 minutes until the meat reaches a perfect medium-rare temperature.
Transfer the roast to a deep cooking pan. Pour in a splash of rich beef broth and strong coffee to create a luxurious cooking liquid. This adds depth and keeps the meat incredibly juicy.
Cover the pan and slide into a 325°F oven. Let the roast continue its flavor journey for another 90 minutes. The low and slow method guarantees melt-in-your-mouth tenderness.
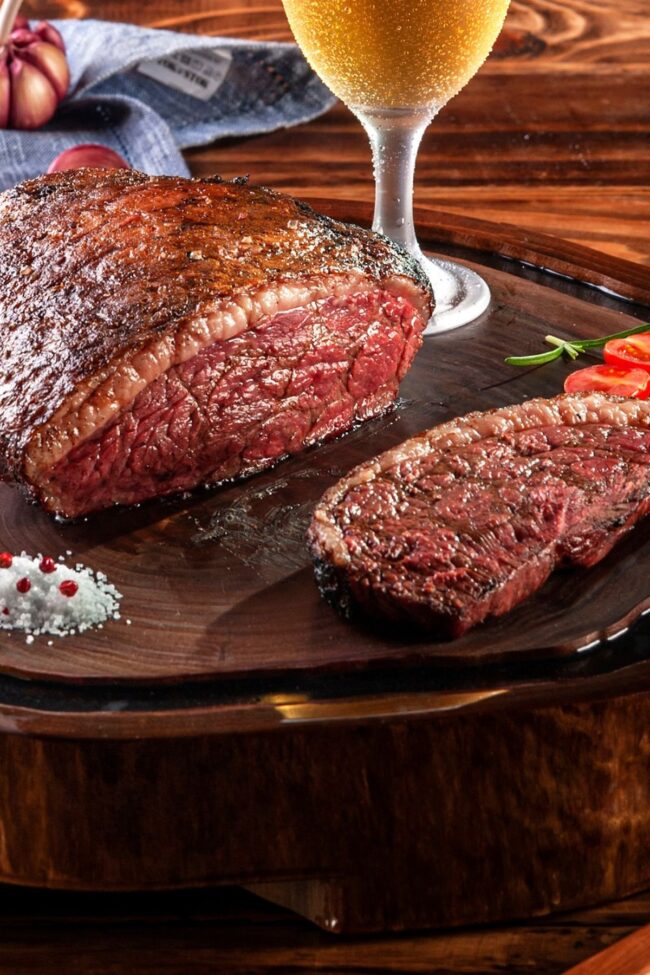
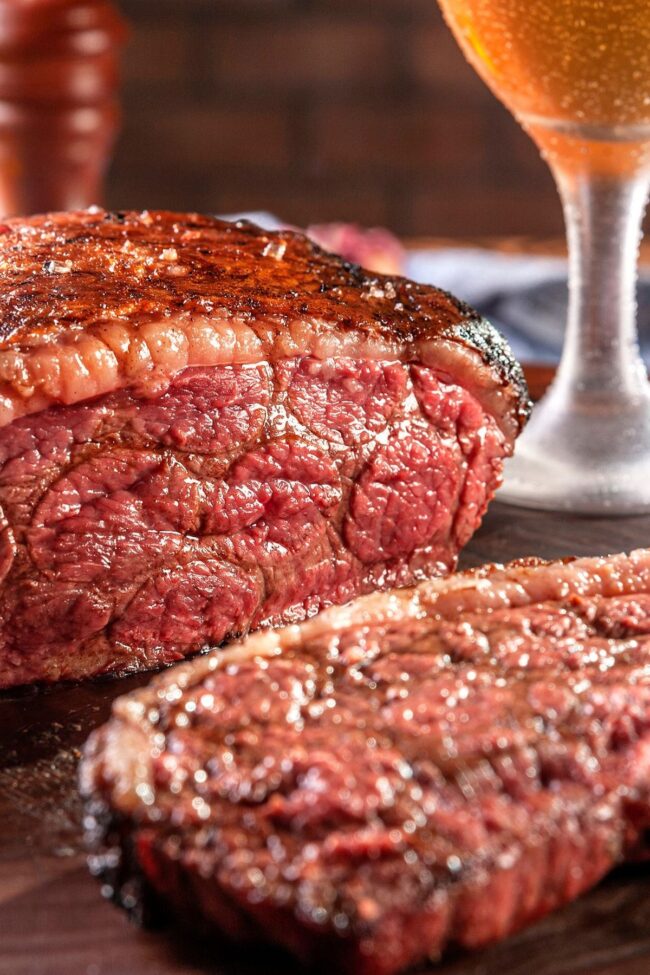
Rescue the roast from the oven and let it rest, tented with foil. This crucial pause allows juices to redistribute, ensuring each slice is succulent and packed with flavor. Slice against the grain and watch everyone’s eyes light up with anticipation.
Tips and Tweaks for Pioneer Woman Rump Roast
How to Plate and Serve Pioneer Woman Rump Roast
Storing and Saving Pioneer Woman Rump Roast

Tender Pioneer Woman Rump Roast Recipe
- Total Time: 3 hours 15 minutes
- Yield: 8 1x
Description
Hearty pioneer woman rump roast delivers classic midwestern comfort on a plate. Slow-cooked beef melts with rich gravy, inviting diners to savor robust ranch-style flavors you will crave again.
Ingredients
- 4 lbs (1.8 kg) beef rump roast
- 4 tbsps brown sugar
- 2 tbsps Mrs Dash Seasoning Blend
- 1 tbsp smoked paprika
- 1 tbsp granulated garlic
- 1 tsp Lawry’s Season Salt
- 1 tsp coarse sea salt
Instructions
- Preparation: Arrange rump roast on a cutting board, ensuring a surface that can capture meat juices.
- Seasoning Fusion: Blend brown sugar, Mrs. Dash, smoked paprika, granulated garlic, Lawry’s Seasoned Salt, and coarse sea salt into a comprehensive spice mixture.
- Flavor Infusion: Thoroughly coat the entire roast with the seasoning blend, pressing firmly to guarantee complete coverage and deep spice penetration.
- Marination: Allow meat to rest at room temperature for one hour or refrigerate overnight to develop robust flavor profiles.
- Initial Cooking: Grill the roast at 250°F to 300°F, maintaining a slow-cooking approach for 1 to 1.5 hours until internal temperature reaches 140°F to 145°F.
- Braising Process: Transfer roast to a Dutch oven, introducing beef broth, coffee, or water to enhance moisture and tenderness.
- Oven Finishing: Bake covered at 325°F for approximately 1.5 hours, ensuring the internal temperature stabilizes at 145°F for optimal doneness.
- Resting Stage: Remove from oven, loosely tent with aluminum foil, and let stand for 10 minutes to redistribute internal juices before slicing.
Notes
- Seasoning Power: Mix spices thoroughly to create a bold, even flavor profile that penetrates deep into the meat for maximum taste explosion.
- Marinating Magic: Refrigerate overnight or rest at room temperature to allow spices to fully infuse, transforming an ordinary roast into a flavor-packed masterpiece.
- Temperature Precision: Use a meat thermometer to nail the perfect doneness, aiming for 140-145°F to ensure juicy, tender meat that melts in your mouth.
- Resting Ritual: Always let the roast rest after cooking to lock in juices, guaranteeing each slice is incredibly moist and intensely flavorful.
- Prep Time: 15 minutes
- Cook Time: 3 hours
- Category: Dinner
- Method: Roasting, Braising
- Cuisine: American
Nutrition
- Serving Size: 8
- Calories: 396
- Sugar: 4 g
- Sodium: 900 mg
- Fat: 22 g
- Saturated Fat: 9 g
- Unsaturated Fat: 10 g
- Trans Fat: 1 g
- Carbohydrates: 8 g
- Fiber: 0 g
- Protein: 39 g
- Cholesterol: 110 mg
Michael Thompson
Founder & Culinary Director
Expertise
Classical & Contemporary Cooking Techniques, Global Cuisine Appreciation, Nutrition & Menu Engineering, Sustainable Cooking Practices, Farm-to-Table Cuisine
Education
Southwestern Oregon Community College
Michael grew up in Oregon, where he learned early that food tastes better when it’s fresh, local, and made with care.
After earning his degree from the Southwestern Oregon Community College, he focused his career on teaching others how to cook with the seasons, reduce food waste, and reconnect with what’s on their plate.
Michael keeps his cooking simple, sustainable, and full of flavor. His favorite part of the process? Watching people realize how easy and satisfying it can be to cook a single great meal from scratch.