
Fluffy Buttermilk Scones Recipe: Homemade Bakery Magic
Golden mornings call for something special, and these buttermilk scones burst with delightful flavor and texture.
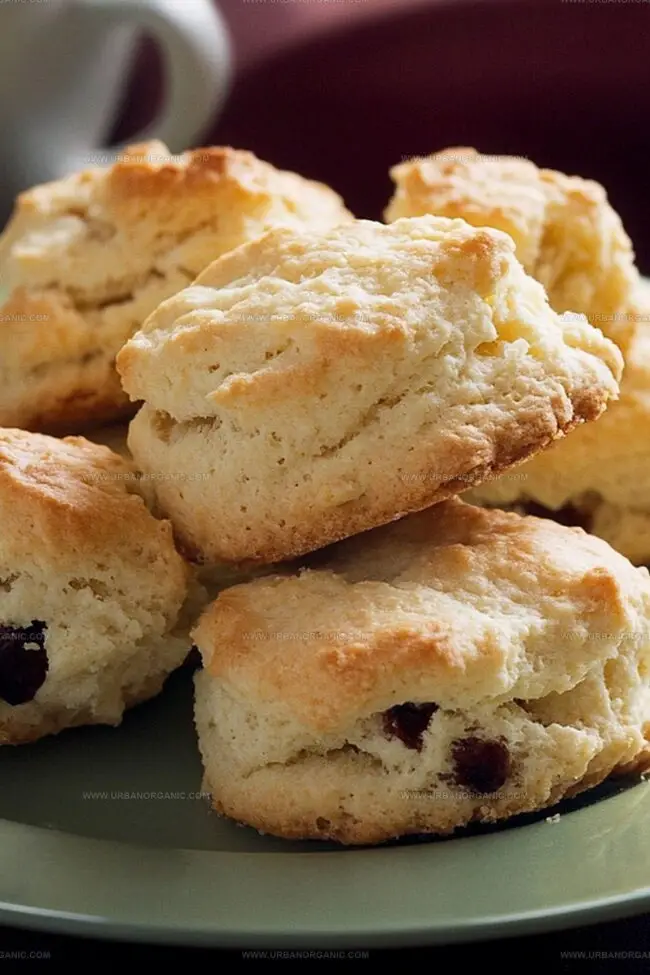
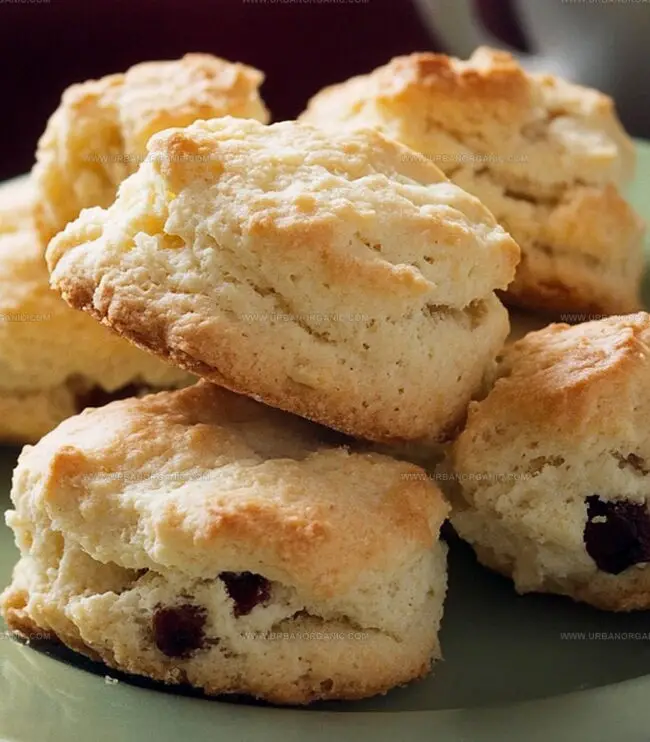
Soft, flaky buttermilk scones melt in your mouth with every delectable bite.
The secret lies in combining simple ingredients with gentle mixing techniques that preserve their delicate structure.
Each scone emerges from the oven with a perfectly golden exterior and an incredibly tender crumb.
Rich, buttery notes dance across your palate, complemented by a subtle tangy essence from fresh buttermilk.
Warm, freshly baked scones invite you to slow down and savor a moment of pure culinary comfort.
This recipe promises a breakfast treat that transforms an ordinary morning into something truly extraordinary.
Quick Recipe Overview
Buttermilk Scones Start with These Bakery Staples
For Dry Ingredients:For Wet Ingredients:For Enriching Ingredient:Tools That Help You Cut and Bake Buttermilk Scones
How to Make Buttermilk Scones with a Tender Crumb
Crank the oven to a toasty 400F and line a baking sheet with parchment paper, creating the perfect stage for your delicious scones.
Grab a big bowl and whisk together the flour, sugar, baking powder, baking soda, and salt until they’re best friends.
Toss in cold butter cubes and work them into the dry mixture using your fingers or a pastry cutter until it looks like rough, sandy crumbs.
Pour in buttermilk and vanilla, stirring gently until just combined. If you’re feeling adventurous, fold in any extra goodies like fruit or chocolate.
Dust your counter with flour and pat the dough into a circle about 3/4 inch thick. Slice into 8 wedges like a pie.
Arrange the wedges on your prepared baking sheet and give them a quick buttermilk wash for a gorgeous golden finish.
Pop the scones in the oven for 15-18 minutes until they turn a beautiful golden brown and smell heavenly.
Let them cool briefly, then serve warm with butter, jam, or whatever makes your taste buds dance.
Ideas for Toppings and Mix-Ins in Buttermilk Scones
Ways to Serve Buttermilk Scones for Breakfast or Tea
Storage Tips for Buttermilk Scones to Stay Fluffy
Print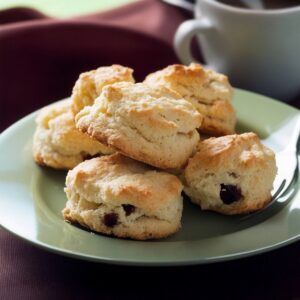
Tender Buttermilk Scones Recipe
- Total Time: 25 minutes
- Yield: 9 1x
Description
Warm, buttery buttermilk scones bring British countryside charm straight to your breakfast table. Crisp edges and tender crumb promise a delightful morning indulgence you’ll savor with each delectable bite.
Ingredients
- ½ cup (1 stick) cold unsalted butter, cut into small cubes
- ¾ cup (180 ml) buttermilk, plus extra for brushing
- 2 cups (240 g) all-purpose flour
- ¼ cup (50 g) granulated sugar
- 1 tablespoon (15 ml) baking powder
- 1 teaspoon (5 ml) vanilla extract
- ½ teaspoon baking soda
- ½ teaspoon salt
- ½ cup (75 g) add-ins (dried fruit, chocolate chips, or berries), optional
Instructions
- Preparation: Activate the oven to 400F (200C) and arrange a parchment paper liner on the baking sheet for optimal surface coverage.
- Dry Mixture: Integrate flour, sugar, baking powder, baking soda, and salt in a spacious mixing bowl, whisking thoroughly to ensure uniform distribution of dry ingredients.
- Butter Integration: Incorporate cold butter cubes into the dry mixture, using a pastry cutter or fingertips to create a textured, crumbly consistency resembling coarse breadcrumbs.
- Liquid Fusion: Blend buttermilk and vanilla in a separate container, then delicately pour into the dry ingredients, stirring minimally to maintain a light texture. Gently fold in any additional mix-ins like dried fruits, nuts, or chocolate chips.
- Dough Formation: Transfer the mixture onto a lightly dusted surface, performing a gentle kneading to unify the dough. Carefully shape into a circular disk approximately 3/4-inch thick.
- Portioning and Brushing: Segment the disk into 8 symmetrical wedges, positioning them on the prepared baking sheet. Softly brush the scone surfaces with buttermilk to enhance golden coloration.
- Baking Process: Position the baking sheet in the preheated oven, allowing the scones to transform into a rich, golden-brown delicacy within 15-18 minutes.
- Serving: Allow minimal cooling time and present warm, accompanied by preferred spreads or complementary garnishes.
Notes
- Use extremely cold butter, straight from the refrigerator, to ensure flaky and tender scones. Cold butter creates pockets of steam during baking, resulting in a light, airy texture.
- Avoid overmixing the dough, which can lead to tough, dense scones. Stir ingredients just until they come together, keeping the mixture slightly shaggy for the best results.
- Experiment with mix-ins like dried fruits, chocolate chips, or nuts. Gently fold additions into the dough to prevent overmixing and maintain the scones’ delicate structure.
- Use a sharp knife or bench scraper to cut wedges cleanly. Press straight down without twisting to ensure even rising and a beautiful final shape.
- Prep Time: 10 minutes
- Cook Time: 15 minutes
- Category: Breakfast, Snacks, Desserts
- Method: Baking
- Cuisine: British
Nutrition
- Serving Size: 9
- Calories: 210
- Sugar: 5 g
- Sodium: 200 mg
- Fat: 9 g
- Saturated Fat: 5 g
- Unsaturated Fat: 3 g
- Trans Fat: 0 g
- Carbohydrates: 30 g
- Fiber: 1 g
- Protein: 4 g
- Cholesterol: 25 mg
Michael Thompson
Founder & Culinary Director
Expertise
Classical & Contemporary Cooking Techniques, Global Cuisine Appreciation, Nutrition & Menu Engineering, Sustainable Cooking Practices, Farm-to-Table Cuisine
Education
Southwestern Oregon Community College
Michael grew up in Oregon, where he learned early that food tastes better when it’s fresh, local, and made with care.
After earning his degree from the Southwestern Oregon Community College, he focused his career on teaching others how to cook with the seasons, reduce food waste, and reconnect with what’s on their plate.
Michael keeps his cooking simple, sustainable, and full of flavor. His favorite part of the process? Watching people realize how easy and satisfying it can be to cook a single great meal from scratch.