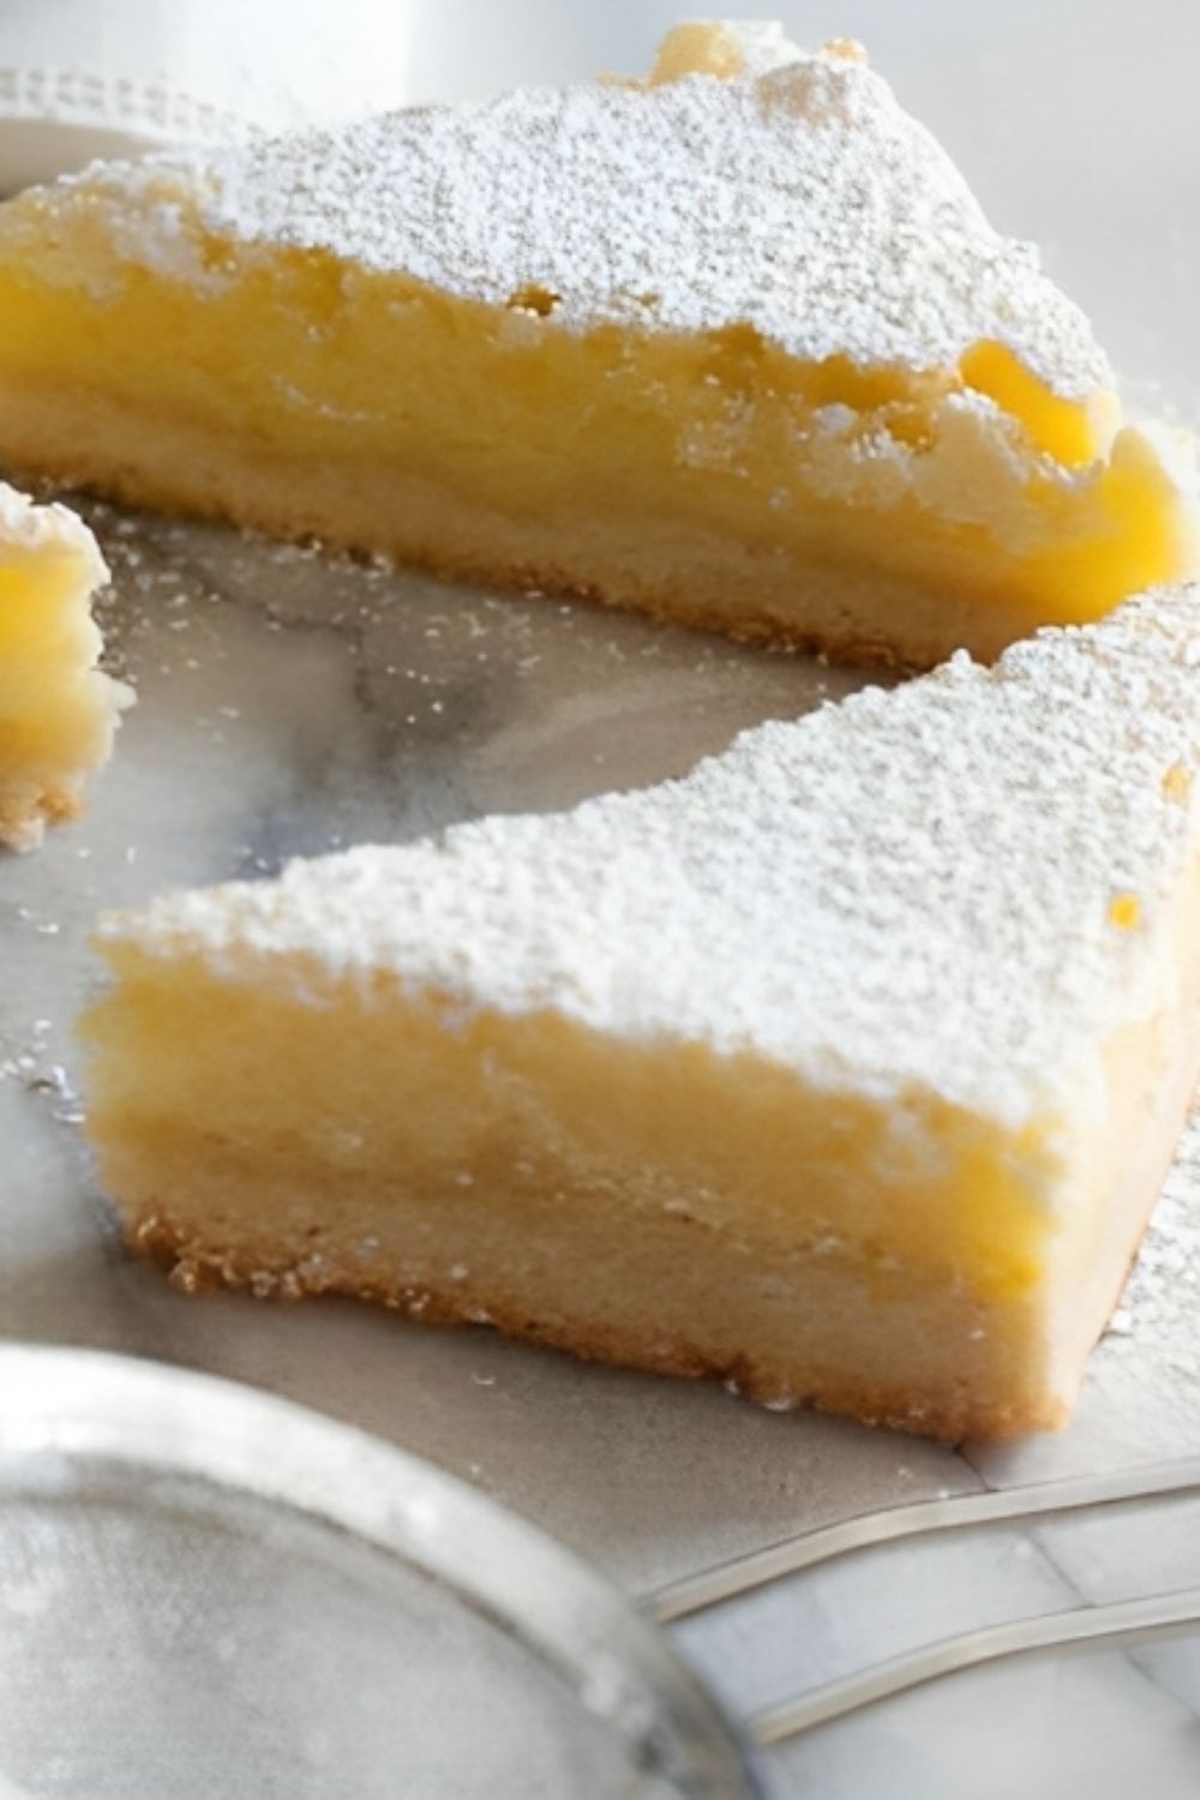
Tangy Lemon Bars: Ina Garten’s Foolproof Recipe
Lemon bars burst with vibrant citrus energy, promising a tantalizing dance of sweet and tart flavors.
These golden-hued delicacies capture sunshine in every delectable morsel.
Zesty lemons mingle with buttery crust, creating a symphony of culinary perfection.
Silky smooth and irresistibly creamy, each square delivers a luxurious sensory experience.
The delicate balance of sharp citrus and tender pastry elevates this dessert from ordinary to extraordinary.
Crumbly edges and glossy tops beckon with an elegant promise of pure indulgence.
You’ll fall in love with this simple yet sophisticated treat that transforms humble ingredients into a gourmet masterpiece.
Let’s whip up a batch of these legendary lemon bars that’ll make your taste buds sing.
Quick Recipe Overview
All You Need for Ina Garten’s Lemon Bars
For Crust Base:For Lemon Filling:For Finishing Touch:Essential Baking Gear for Ina’s Lemon Bars
Instructions for Zesty Lemon Bars, Ina Garten Style

Get your oven ready by setting the temperature to a cozy 350°F. Make sure the rack sits right in the middle so everything bakes evenly and beautifully.
Grab a mixing bowl and blend softened butter with sugar until the mixture looks fluffy and has a gorgeous pale yellow color. This is where the magic begins for your delightful lemon bars.
Fold flour and a pinch of salt into your butter mixture. Work the ingredients gently until they form a soft, touchable dough that sticks together when you press it. Spread this delicate base into your baking pan, making sure to create a gentle raised edge around the sides.
In another bowl, whisk eggs with sugar, lemon zest, and fresh lemon juice. Keep mixing until everything blends into a silky smooth liquid without any pesky lumps. This vibrant mixture will give your bars that signature zesty kick.
First, chill the crust for a quick 15-minute rest. Bake until the edges turn a light golden brown. Then pour your lemony mixture over the crust, making sure it covers every inch. Pop it back in the oven and bake until the filling sets perfectly.
Let your lemon bars cool completely, which allows the filling to firm up beautifully. Once cooled, slice into delightful squares and dust with a snowfall of powdered sugar. Your tangy, sweet treat is ready to enjoy!
Tips to Elevate Your Lemon Bars

Explore delightful twists and expert techniques to elevate this classic dessert.
Experiment with different citrus zests like orange or lime to create unique flavor profiles that dance on your taste buds.
Swap some all-purpose flour with ground almonds or graham cracker crumbs for an extra nutty, textured base that adds depth to each bite.
Fold in fresh berries like raspberries or blueberries into the lemon filling for a colorful, burst of fruity excitement that transforms the traditional recipe.
Chill the bars completely before slicing, then use a sharp knife dipped in hot water and wiped clean between each cut to create perfectly smooth, clean-edged squares that look bakery-professional.
Serving Ideas for Ina’s Sweet-Tart Treat
Make-Ahead & Storage Tips for Lemon Bars
Print
Tangy Lemon Bars Recipe
- Total Time: 1 hour 5 minutes
- Yield: 11 1x
Description
Ina Garten’s lemon bars sparkle with zesty citrus and buttery shortbread crust, offering a classic dessert that balances tangy sweetness. Crisp edges and silky filling make one tempting treat you won’t be able to resist.
Ingredients
- 6 extra-large eggs (room temperature)
- 3 cups granulated sugar
- 1 cup lemon juice
- 2 tbsps lemon zest (from 4 to 6 lemons)
- 3 cups flour
- ½ pound (227 g) unsalted butter (room temperature)
- ½ cup granulated sugar
- 1/8 tsp kosher salt
- Confectioners’ sugar
Instructions
- Crust Foundation: Preheat oven to 350°F and cream butter and sugar until light and fluffy, creating a smooth base for the lemon bars.
- Dough Development: Fold flour and salt into the butter mixture, forming a cohesive dough that will serve as the structural foundation for the dessert.
- Pan Preparation: Press dough into a 9×13-inch baking pan, crafting a precise border and establishing an even surface for the filling.
- Initial Baking: Chill the crust briefly, then bake for 15-20 minutes until achieving a golden-brown color, creating a sturdy platform for the lemon layer.
- Filling Creation: Whisk eggs, sugar, lemon zest, lemon juice, and flour until smooth, generating a vibrant and silky mixture that will transform into the tangy topping.
- Assembly and Final Bake: Pour lemon filling over the partially baked crust, returning to the oven for 30-35 minutes until the filling sets completely and exhibits minimal wobble.
- Cooling and Presentation: Allow bars to cool to room temperature, then slice into elegant portions and dust generously with confectioners’ sugar, creating a visually stunning and delectable dessert.
Notes
- Chill the Crust: Refrigerate the prepared dough for 15-20 minutes to help maintain its structured shape and prevent spreading during baking.
- Zest Matters: Use fresh lemon zest for maximum flavor intensity, ensuring the most vibrant and aromatic citrus notes in your bars.
- Prevent Overbaking: Watch the filling carefully during the last 5 minutes of baking to achieve a perfectly set texture without becoming rubbery or dry.
- Sugar Finishing Touch: Dust confectioners’ sugar just before serving to maintain a crisp, pristine appearance and prevent early absorption into the bars.
- Prep Time: 10 minutes
- Cook Time: 55 minutes
- Category: Desserts, Snacks
- Method: Baking
- Cuisine: American
Nutrition
- Serving Size: 11
- Calories: 320
- Sugar: 37 g
- Sodium: 50 mg
- Fat: 14 g
- Saturated Fat: 8 g
- Unsaturated Fat: 6 g
- Trans Fat: 0 g
- Carbohydrates: 47 g
- Fiber: 1 g
- Protein: 4 g
- Cholesterol: 120 mg
Jessica Martinez
Pastry Chef & Recipe Developer
Expertise
Organic Baking Techniques, Gluten-Free Recipe Development, Southwestern Dessert Specialties, Food Styling and Photography
Education
Santa Fe Community College (SFCC)
Jessica brings the sweet side to Urban Organic with her passion for baking and love for the Southwest. She trained at Santa Fe Community College and has built a career creating beautiful, gluten-free, and organic desserts that feel both nostalgic and new.
She believes baking should be fun, creative, and open to everyone, no matter your diet or skill level. Jessica’s recipes are simple enough to follow, but special enough to remember.