Creamy Dream: Quick Smooth Vanilla Bean Jelly Recipe
Dessert enthusiasts adore this silky vanilla bean jelly that brings elegant sweetness to any table.
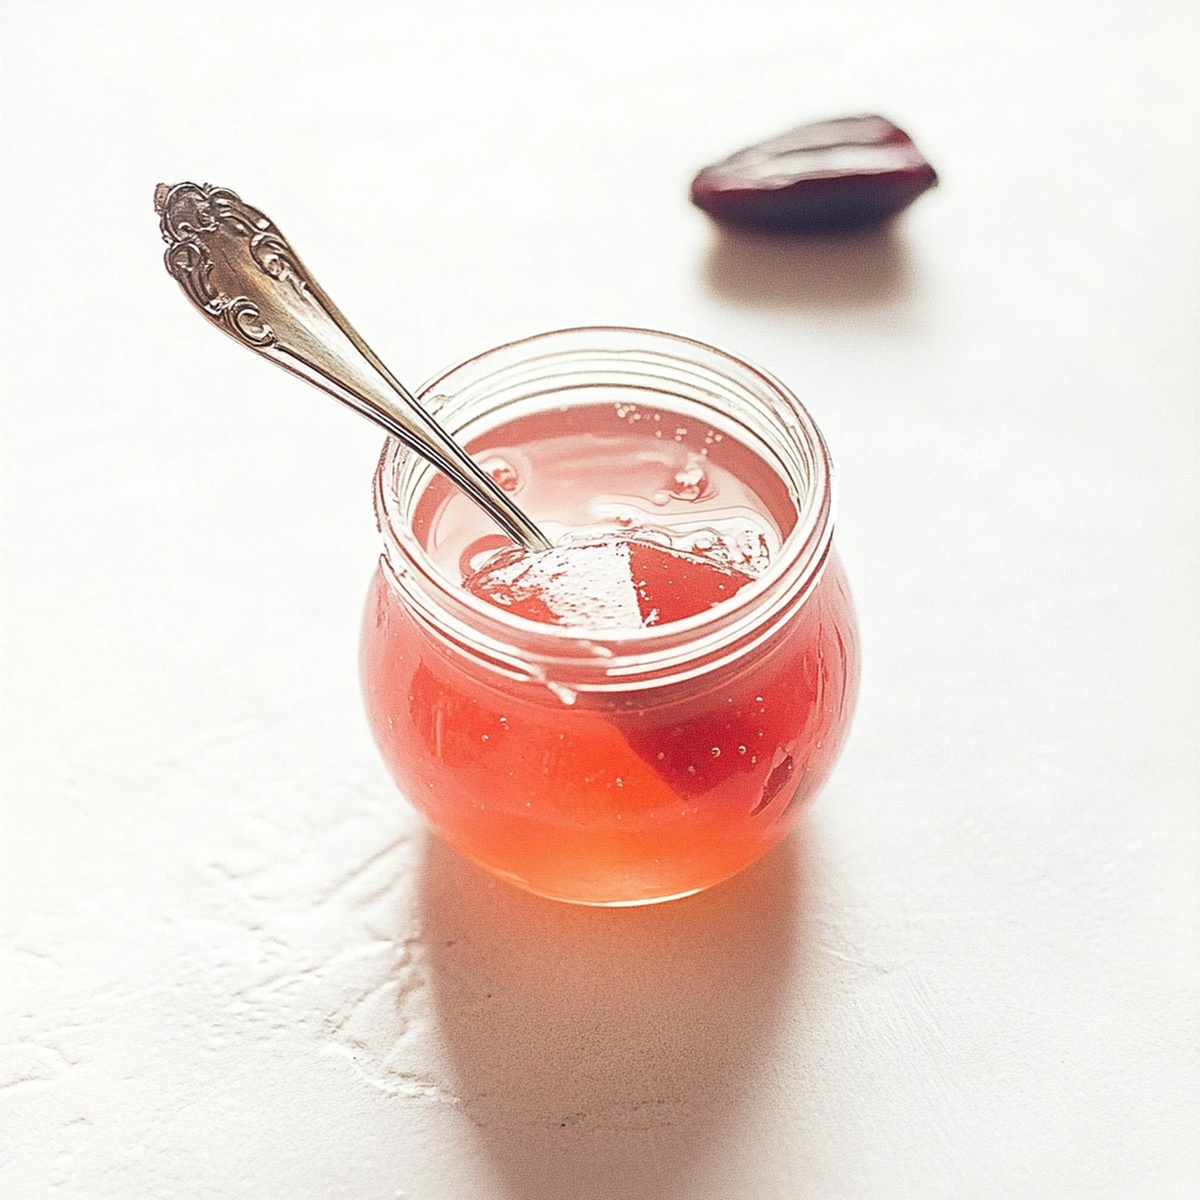
Creamy and delicate, this smooth vanilla bean jelly captures the essence of pure indulgence.
Rich vanilla pods infuse each spoonful with deep, aromatic flavor that dances across your palate.
Delicate and translucent, the jelly shimmers with subtle sophistication and gourmet charm.
The recipe combines simple ingredients to create a dessert that feels both nostalgic and luxurious.
Minimal effort yields maximum pleasure with this show-stopping treat that will impress even the most discerning dessert lovers.
Prepare to tantalize your taste buds with a delightful culinary experience that celebrates the pure, unadulterated magic of vanilla.
Quick Recipe Overview
What You’ll Need to Make Vanilla Bean Jelly Shine
For Sweeteners and Liquid Base:For Flavor Enhancers:For Thickening Agent:Tools for Making Vanilla Bean Jelly Smooth and Clear
How to Cook and Set Vanilla Bean Jelly the Right Way
Grab a medium saucepan and combine sugar with water. Swirl the mixture gently over medium heat until sugar completely dissolves and transforms into a smooth liquid.
Split a fresh vanilla bean and scrape out those incredible seeds. Drop the entire bean and its aromatic seeds into the sugar syrup, creating a luxurious infusion.
Bring the mixture to a gentle boil, then lower the heat. Let the vanilla bean dance in the liquid for 5 minutes, releasing its rich, complex flavors into the syrup.
Pluck out the vanilla bean pod. Splash in some zesty lemon juice to add a bright, tangy note that will make the jelly sing with flavor.
Crank up the heat to create a rolling boil. Quickly stir in liquid pectin and boil hard for one minute, stirring continuously to help the jelly set perfectly.
Remove from heat and skim away any frothy bubbles. Carefully pour the gleaming jelly into sterilized jars, wiping the rims clean before sealing.
Either process the jars in a boiling water bath for 5 minutes or let them cool and store in the refrigerator for immediate enjoyment.
Infusion Ideas to Complement Vanilla Bean Jelly
Serving Vanilla Bean Jelly in Jars, Tarts, or Parfaits
Storing Vanilla Bean Jelly with Flavor Locked In
Print
Smooth Vanilla Bean Jelly Recipe
- Total Time: 25 minutes
- Yield: 11 1x
Description
Sweet vanilla bean jelly dances with silky elegance, offering a luxurious spread that whispers sophistication. Cool pantry shelves welcome this delicate preserve, promising delightful moments you’ll savor with each smooth spoonful.
Ingredients
- 1 vanilla bean, split and scraped
- 1 packet (1.75 oz / 50 g) liquid fruit pectin
- 1 tbsp (15 ml) lemon juice
- 2 cups (400 g) granulated sugar
- 1 ¾ cups (420 ml) water
Instructions
- Sugar Dissolution: Meld sugar and water in a medium saucepan, gently stirring over medium heat until completely integrated and transparent.
- Vanilla Infusion: Introduce split vanilla bean and its extracted seeds to the liquid, allowing them to simmer for 5 minutes, developing a rich, aromatic essence.
- Flavor Enhancement: Discard the vanilla pod and incorporate lemon juice, then elevate the heat to generate a vigorous, rolling boil.
- Pectin Activation: Swiftly blend liquid pectin into the bubbling mixture, maintaining constant stirring for precisely one minute to ensure proper gel formation.
- Foam Removal: Eliminate heat and carefully skim any surface foam, ensuring a smooth, pristine jelly texture.
- Jarring Process: Transfer the molten jelly into sanitized glass containers, leaving minimal headspace, and meticulously cleanse jar rims before securing lids.
- Preservation: Either submerge sealed jars in a boiling water bath for 5 minutes or refrigerate immediately for swift consumption, creating a delectable vanilla-infused preserve.
Notes
- Select plump, moist vanilla beans with a rich, dark color for the most intense flavor and aromatic profile.
- Dissolve sugar slowly and evenly to prevent crystallization and ensure a smooth, glossy jelly texture.
- Watch the mixture closely during the hard boil stage to prevent scorching and achieve the perfect gel set.
- Thoroughly clean and sterilize glass jars to prevent bacterial growth and extend the jelly’s shelf life.
- Prep Time: 10 minutes
- Cook Time: 15 minutes
- Category: Desserts, Snacks
- Method: Boiling
- Cuisine: American
Nutrition
- Serving Size: 11
- Calories: 70
- Sugar: 15 g
- Sodium: 0 mg
- Fat: 0 g
- Saturated Fat: 0 g
- Unsaturated Fat: 0 g
- Trans Fat: 0 g
- Carbohydrates: 17 g
- Fiber: 0 g
- Protein: 0 g
- Cholesterol: 0 mg
Michael Thompson
Founder & Culinary Director
Expertise
Classical & Contemporary Cooking Techniques, Global Cuisine Appreciation, Nutrition & Menu Engineering, Sustainable Cooking Practices, Farm-to-Table Cuisine
Education
Southwestern Oregon Community College
Michael grew up in Oregon, where he learned early that food tastes better when it’s fresh, local, and made with care.
After earning his degree from the Southwestern Oregon Community College, he focused his career on teaching others how to cook with the seasons, reduce food waste, and reconnect with what’s on their plate.
Michael keeps his cooking simple, sustainable, and full of flavor. His favorite part of the process? Watching people realize how easy and satisfying it can be to cook a single great meal from scratch.