Decadent Joy of Cooking Fudge Recipe
Chocolate fudge emerges as a decadent symphony of sweetness that melts hearts and tantalizes taste buds.
Rich, creamy textures dance across your palate with each luxurious bite.
Crafting this divine confection transforms ordinary ingredients into an extraordinary culinary experience.
Simple yet sophisticated, fudge represents a timeless dessert that connects generations of sugar enthusiasts.
Precise temperature control and expert techniques unlock the secret to achieving that perfect, silky-smooth consistency.
The alchemy of sugar, chocolate, and cream creates a magical treat that whispers indulgence.
Chocolate lovers will find themselves enchanted by this irresistible delicacy that promises pure bliss in every mouthful.
Quick Recipe Overview
Ingredients for Creamy Chocolate Fudge
For Creamy Base Ingredients:For Chocolate and Richness Ingredients:For Finishing Flavor Ingredients:Fudge-Making Tools You’ll Want
Step-by-Step Fudge Recipe Guide
Create Creamy Chocolate Fudge
Coat an 8 x 8 inch pan with soft butter, ensuring complete coverage to prevent sticking and make removal easy.
Combine chocolate, cream, sugar, and corn syrup in a heavy saucepan. Gently heat the mixture, stirring constantly to blend ingredients smoothly and create a rich, velvety texture.
Allow steam to naturally clean pan edges by covering for a few minutes. Carefully monitor temperature using a candy thermometer, stopping when mixture reaches soft ball stage. Prevent sugar crystals by brushing pan edges with cool water if needed.
Remove from heat and let mixture cool slightly. Add butter, salt, and vanilla. Beat vigorously until fudge loses its shine and becomes thick and creamy. The transformation happens as you mix, creating a smooth, decadent texture.
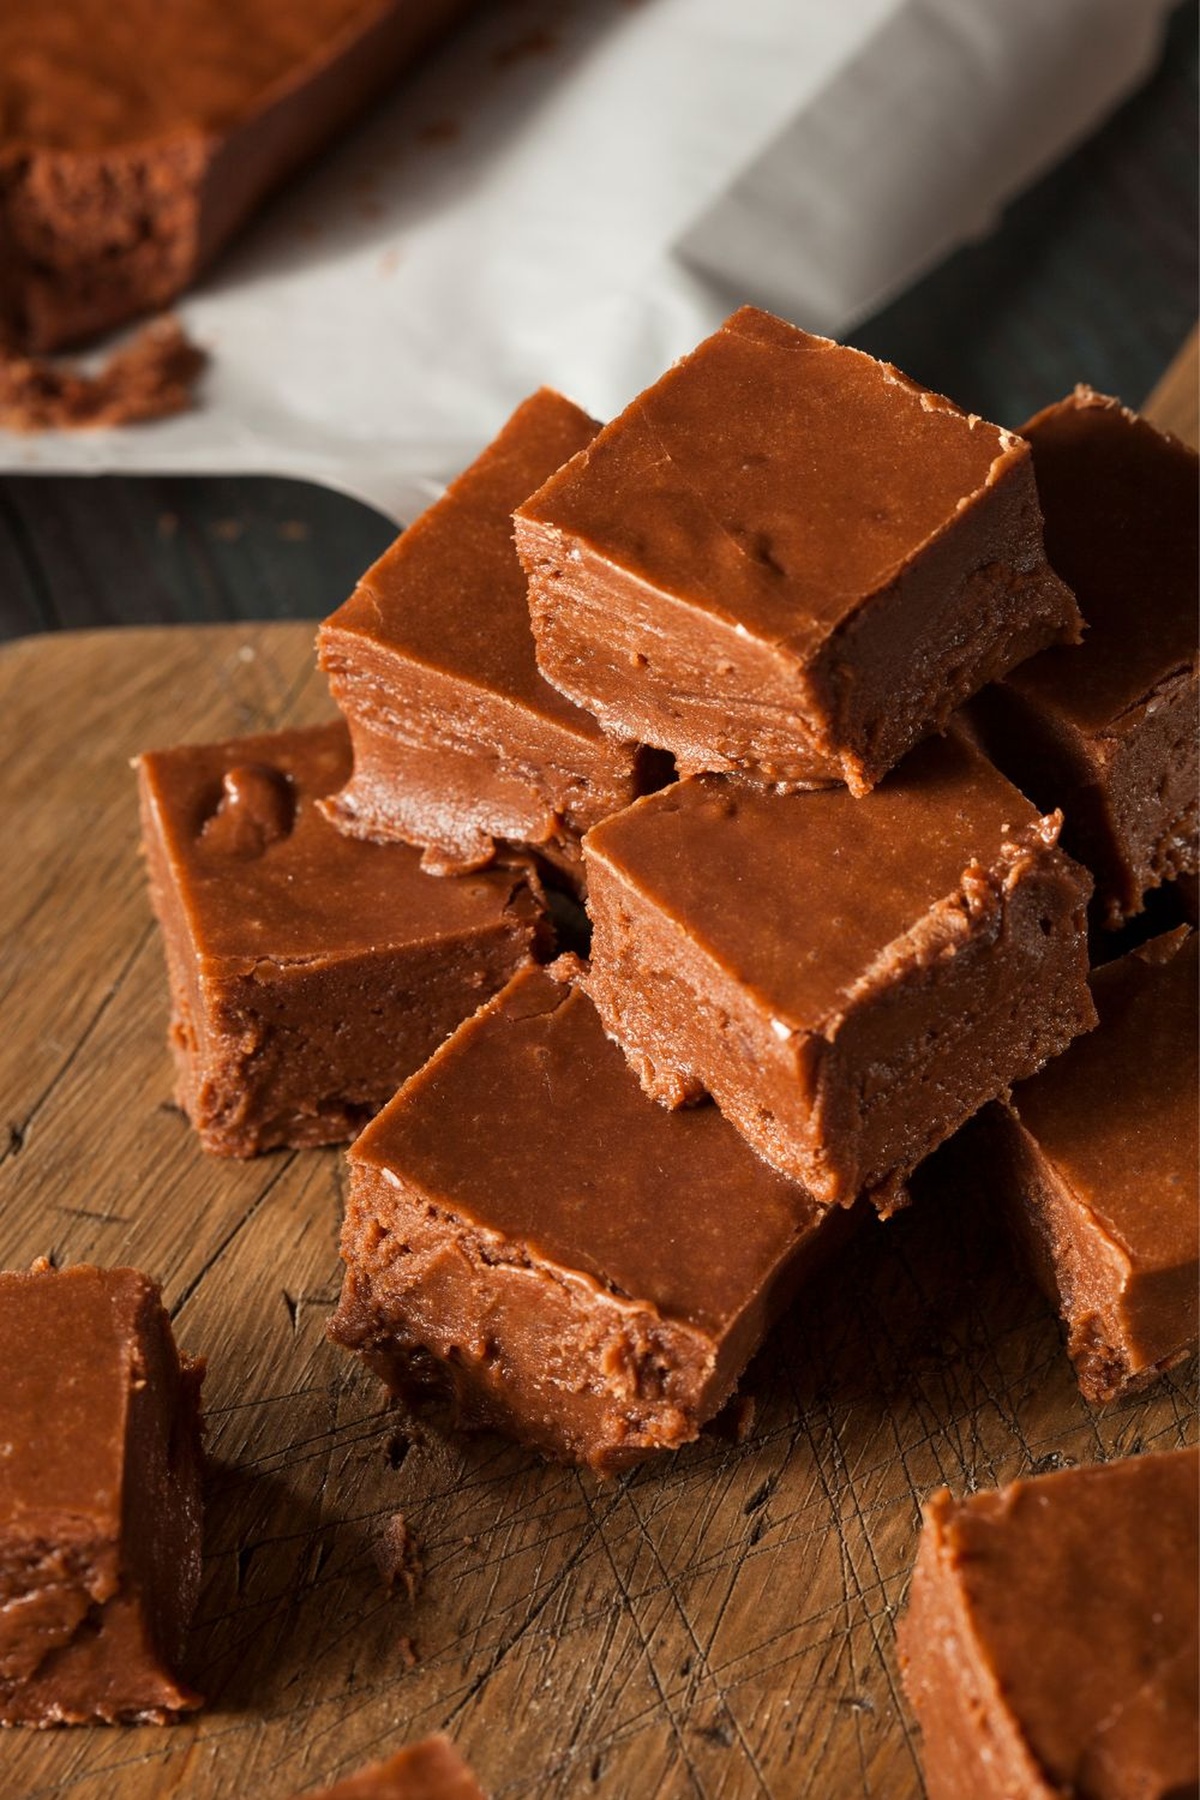
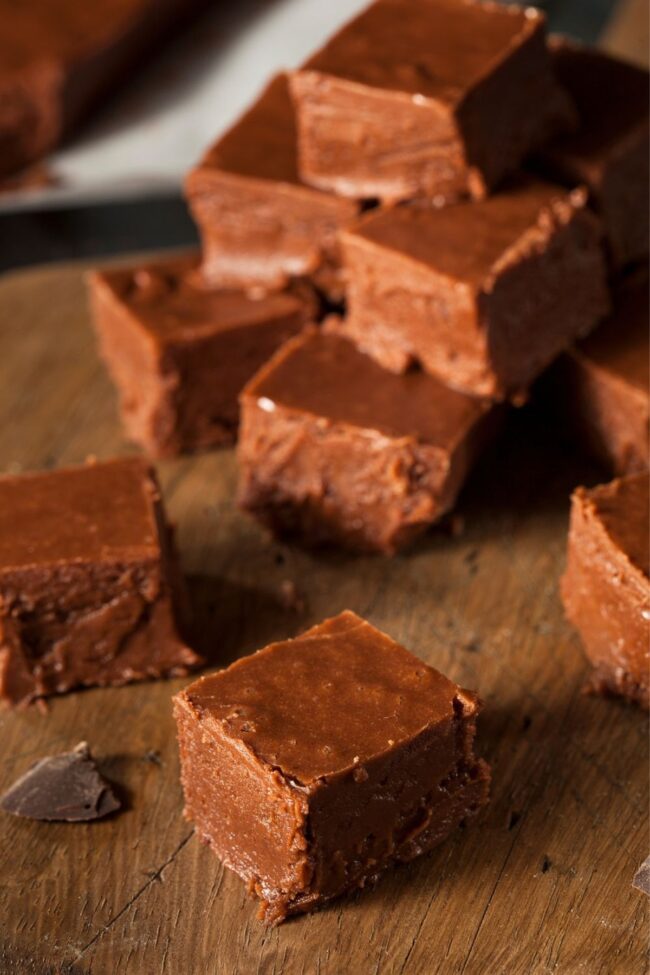
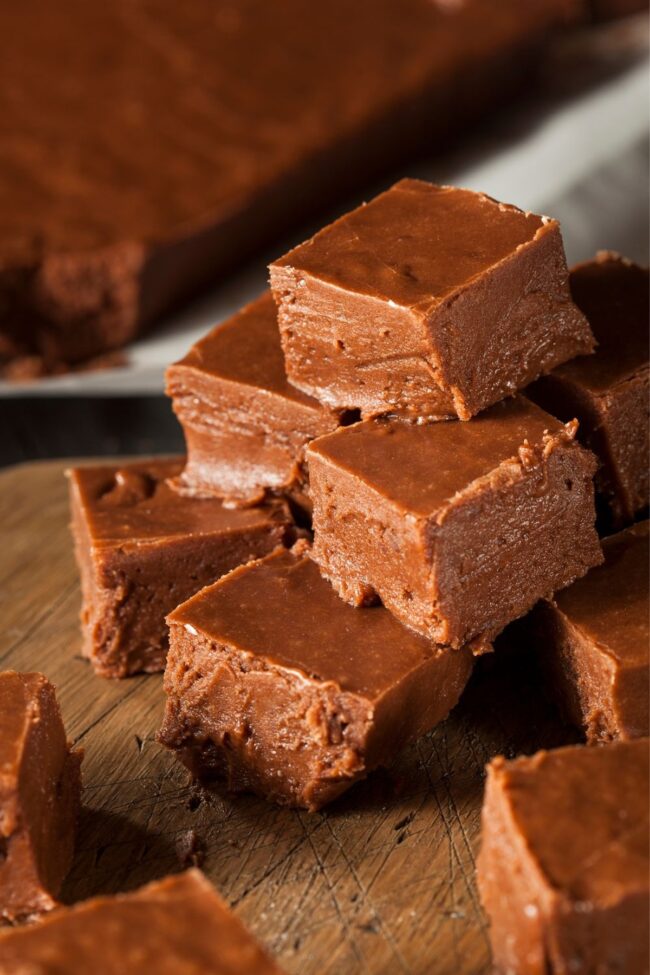
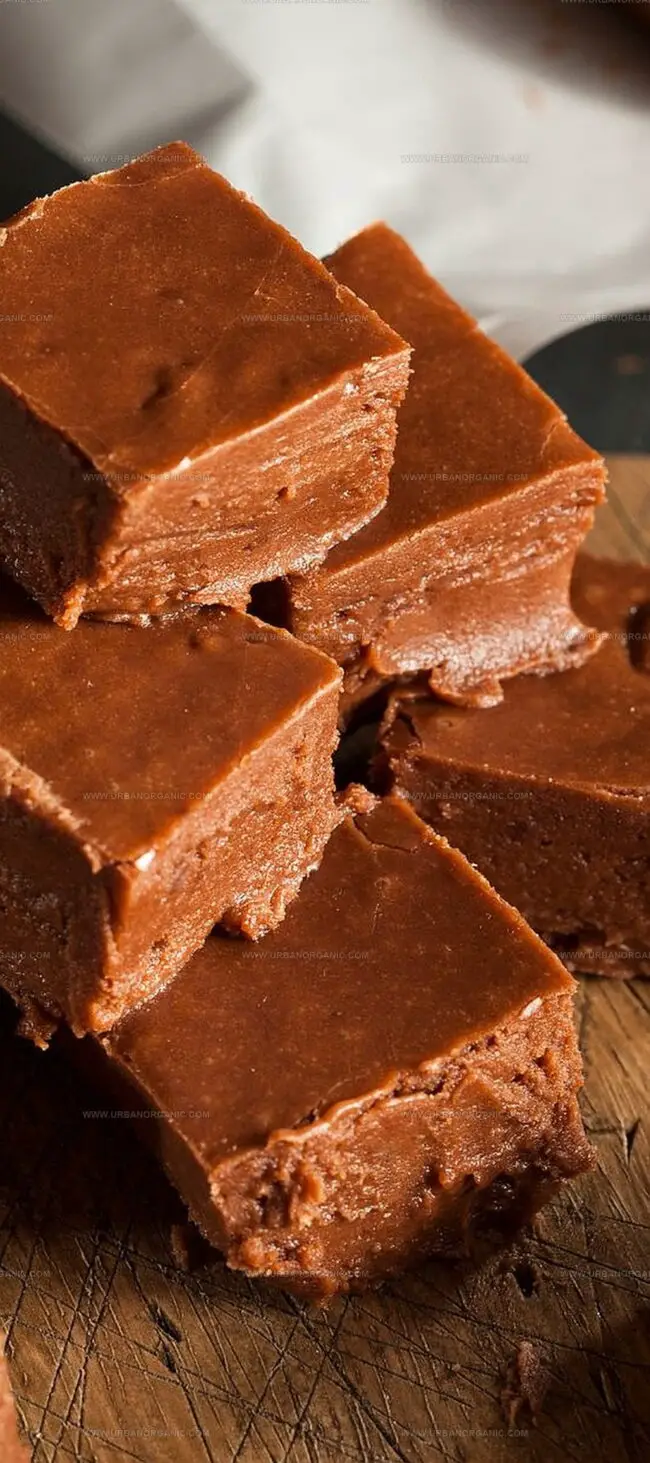
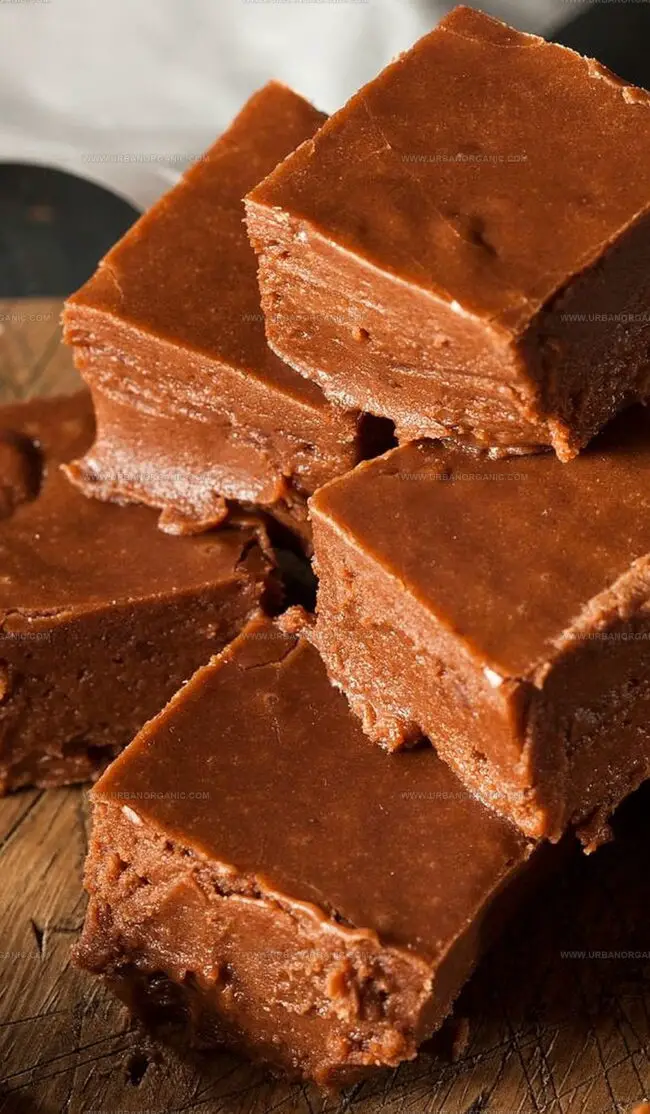
Pour the glossy mixture into the prepared pan, spreading evenly. Let fudge rest and set completely for several hours. Slice into bite-sized squares and store in an airtight container to preserve freshness and rich flavor.
Flavor Variations and Topping Tips
Experiment with dark, milk, or white chocolate varieties to create unique flavor profiles that match your taste preferences.
Fold in chopped nuts, dried fruits, or crushed peppermint for exciting texture and additional taste dimensions.
Use a digital candy thermometer for accurate temperature reading, ensuring perfect fudge consistency every single time.
If fudge turns grainy, reheat carefully and beat again or add a small amount of cream to restore smooth texture.
How to Serve and Cut Fudge Neatly
Storage Solutions for Homemade Fudge
Print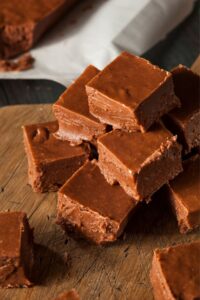
Silky Fudge Recipe
- Total Time: 35 minutes
- Yield: 15 1x
Description
Homemade chocolate fudge delivers a rich, creamy indulgence that melts perfectly on your palate. Crafted with simple ingredients and love, this classic dessert invites sweet memories of family gatherings and shared moments of pure delight.
Ingredients
- 2 cups (400 g) granulated white sugar
- 2 squares (2 oz) (60 g) unsweetened chocolate, chopped
- ⅔ cup (160 ml) half-and-half (or light cream)
- 2 tbsps (28 g) unsalted butter, cut into pieces
- 2 tbsps light corn syrup
- 1/8 tsp salt
- 1 tsp pure vanilla extract
Instructions
- Prep Pan: Thoroughly grease an 8×8 inch baking pan with unsalted butter, ensuring complete coverage to prevent sticking.
- Combine Ingredients: In a large heavy-bottomed saucepan, whisk half-and-half, sugar, chocolate, and light corn syrup until perfectly blended, creating a uniform mixture with no lumps.
- Cook and Monitor: Heat the mixture over medium-low, stirring consistently with a wooden spoon. Cover briefly to dissolve sugar crystals, then attach a candy thermometer without touching the pan’s bottom, continuing to cook without stirring until reaching 236°F (soft ball stage).
- Cool and Transform: Remove from heat, sprinkle butter across the surface, and let it melt naturally. Allow the mixture to cool to 110°F without disturbance, then vigorously beat in salt and vanilla extract until the fudge loses its shine and transforms into a smooth, dense consistency.
- Set and Serve: Pour the fudge into the prepared pan, spreading evenly, and let it set at room temperature for several hours before cutting into precise, uniform squares for serving.
Notes
- Prevent Sugar Crystallization: Cover the pan briefly to allow steam to wash down sugar crystals, ensuring a smooth, creamy fudge texture.
- Temperature Precision Matters: Use a candy thermometer and monitor closely; hitting exactly 236°F guarantees perfect soft ball stage for ideal fudge consistency.
- Handle with Care: Avoid stirring during critical heating stages to prevent sugar crystal formation and maintain a silky, glossy finish.
- Cooling is Crucial: Let fudge cool undisturbed to lukewarm temperature before beating, which helps develop the right texture and prevents graininess.
- Prep Time: 15 minutes
- Cook Time: 20 minutes
- Category: Desserts, Snacks
- Method: Boiling
- Cuisine: American
Nutrition
- Serving Size: 15
- Calories: 429
- Sugar: 88 g
- Sodium: 30 mg
- Fat: 16 g
- Saturated Fat: 10 g
- Unsaturated Fat: 6 g
- Trans Fat: 0 g
- Carbohydrates: 90 g
- Fiber: 1 g
- Protein: 3 g
- Cholesterol: 31 mg
Michael Thompson
Founder & Culinary Director
Expertise
Classical & Contemporary Cooking Techniques, Global Cuisine Appreciation, Nutrition & Menu Engineering, Sustainable Cooking Practices, Farm-to-Table Cuisine
Education
Southwestern Oregon Community College
Michael grew up in Oregon, where he learned early that food tastes better when it’s fresh, local, and made with care.
After earning his degree from the Southwestern Oregon Community College, he focused his career on teaching others how to cook with the seasons, reduce food waste, and reconnect with what’s on their plate.
Michael keeps his cooking simple, sustainable, and full of flavor. His favorite part of the process? Watching people realize how easy and satisfying it can be to cook a single great meal from scratch.