Shamrock Shake Pudding Cups Recipe

Dreamy Shamrock Shake Pudding Cups Recipe for Sweet Delight

Whipping up a festive shamrock shake pudding cups dessert brings pure magic to your kitchen!

Mint-lovers adore this playful twist on classic flavors.

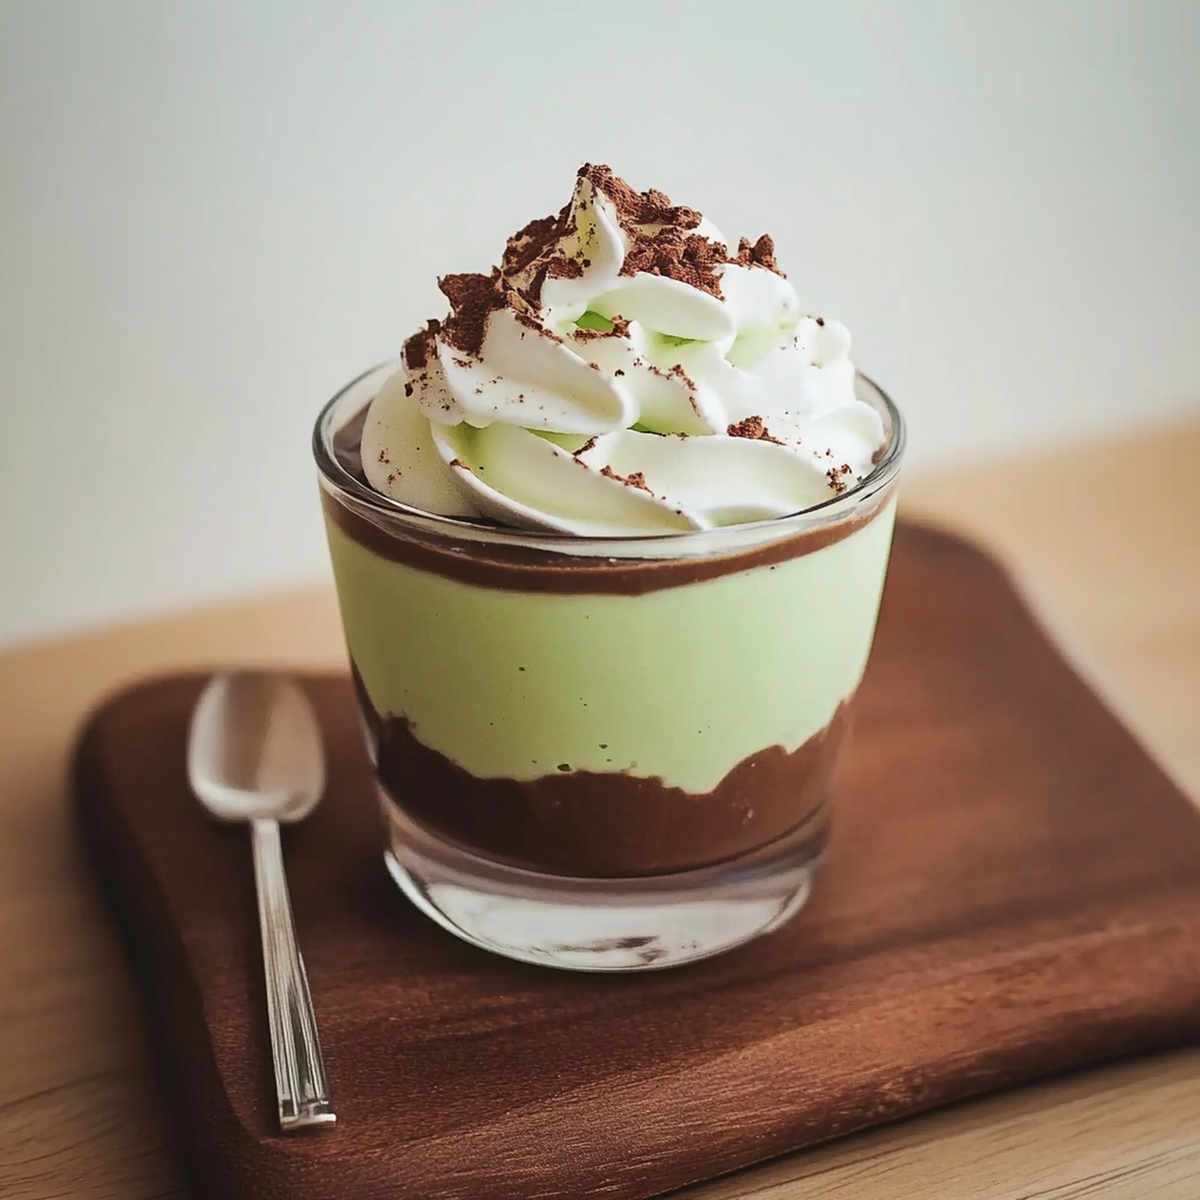
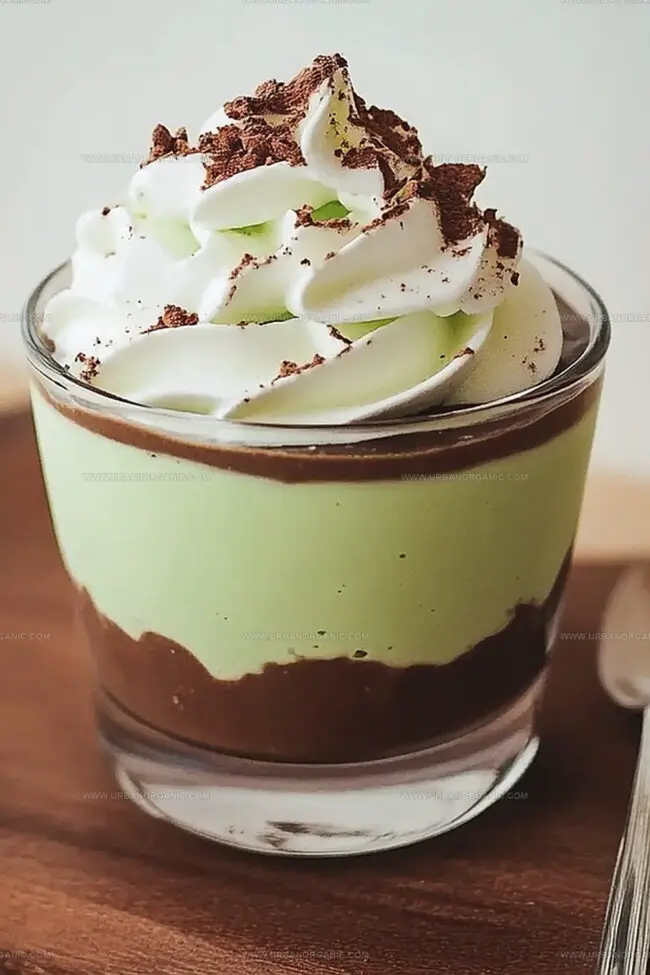
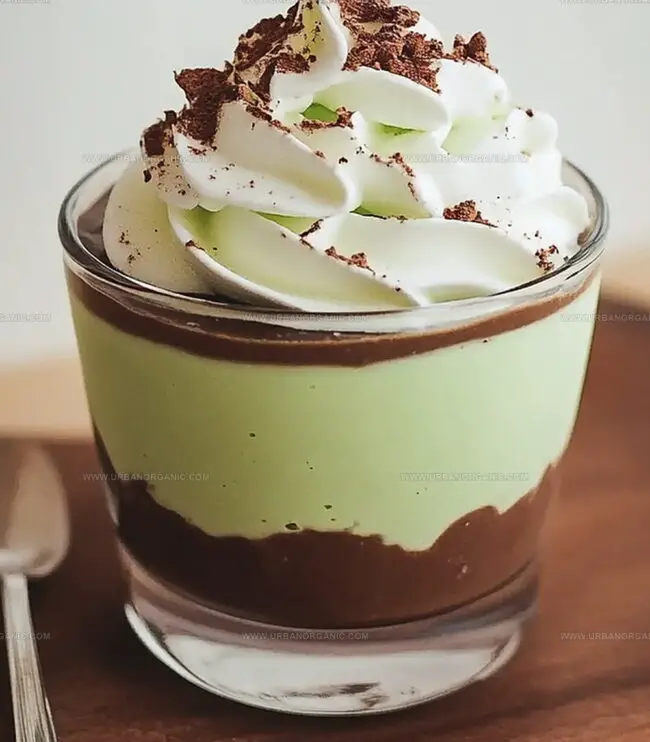
Green-tinted creamy layers promise delightful surprises in every spoonful.

Cool peppermint undertones dance with smooth pudding textures.

Crushed cookie crumbles add delightful crunch between silky layers.

Chocolate chips scattered throughout create unexpected bursts of sweetness.

You won’t believe how simple these treats come together with just a few ingredients.

Gather your mixing bowl and prepare for a delicious adventure that screams celebration!

Shamrock Shake Pudding Cups Made for Fun Celebrations

  • Perfect for St. Patrick's Day celebrations with minimal effort and maximum flavor.
  • Takes only 10 minutes of prep time, making it ideal for busy families or last-minute gatherings.
  • Simple ingredients and playful green color will excite children and create fun memories around the table.
  • Flexible recipe allows adding personal touches like different cookie bases or extra toppings to suit individual preferences.

Ingredients for Festive Shamrock Shake Pudding Cups

Base Ingredients:
  • Vanilla Pudding Mix: The foundation for creating a smooth, creamy dessert base.
  • Cold Milk: Helps activate the pudding mix and provides a rich, creamy texture.
Flavor and Color Enhancers:
  • Peppermint Extract: Adds a cool, minty flavor reminiscent of the classic Shamrock Shake.
  • Green Food Coloring: Creates the signature green color of the Shamrock Shake.
Texture and Topping Ingredients:
  • Whipped Topping (Cool Whip): Adds extra creaminess and lightness to the pudding.
  • Oreos or Graham Crackers: Provides a crunchy base and additional flavor contrast.
  • Whipped Cream: Adds a fluffy, decorative topping.
  • Green Sprinkles: Brings festive color and decorative element.
  • Maraschino Cherry: Classic garnish that adds a pop of color and traditional sundae style.

Step-by-Step Directions to Build Pudding Cups

Step 1: Create Smooth Pudding Base

  • Grab a mixing bowl
  • Pour vanilla pudding mix
  • Add cold milk
  • Whisk vigorously for 2 minutes until mixture thickens and becomes smooth

Step 2: Boost Flavor and Color

  • Drop peppermint extract into pudding
  • Add several drops of green food coloring
  • Stir thoroughly until color is evenly distributed

Step 3: Enhance Creamy Texture

  • Fold in whipped topping gently
  • Mix until pudding becomes light and fluffy

Step 4: Build Delightful Layers

  • Crush graham crackers or Oreo cookies
  • Sprinkle cookie crumbs at bottom of serving cups
  • Carefully spoon green pudding over crumb layer
  • Use piping bag for elegant presentation

Step 5: Chill and Decorate

  • Place pudding cups in refrigerator
  • Let sit for 30-60 minutes
  • Before serving, top with
  • Whipped cream
  • Green sprinkles
  • Maraschino cherry

Enjoy your festive treat!

Tips for Whipping Up Shamrock Shake Pudding Cups

  • Customize Cookie Base: Swap Oreos for gluten-free graham crackers or crushed mint cookies to accommodate different dietary needs.
  • Balance Mint Intensity: Start with less peppermint extract and taste, gradually adding more to prevent overwhelming the delicate pudding flavor.
  • Whip for Smoothness: Ensure whipped topping is completely integrated by folding gently with a spatula to maintain a light, airy texture.
  • Prep Ahead Strategy: Make pudding cups up to 24 hours in advance and store covered in the refrigerator for stress-free entertaining.
  • Garnish with Creativity: Use chocolate shavings, mint leaves, or green sugar crystals as alternative decorative toppings for visual appeal.

How to Keep Shamrock Shake Pudding Cups Fresh and Cool

  • Store pudding cups in an airtight container in the refrigerator for up to 3 days. Cover tightly with plastic wrap to prevent absorbing other food odors.
  • Place a layer of plastic wrap directly on the pudding surface to prevent a skin from forming and maintain creamy texture.
  • Wrap individual pudding cups securely in plastic wrap, then place in a freezer bag. Freeze for up to 2 weeks for longer storage.
  • Remove frozen pudding cups from the freezer and let them defrost in the refrigerator for several hours before serving. Gently stir to restore smooth consistency.

Best Treats to Serve with Shamrock Pudding Cups

  • Serve with dark chocolate brownies to complement the peppermint's cool flavor and create a decadent dessert experience.
  • Match with a warm Irish coffee, blending whiskey and coffee to echo the minty pudding's refreshing profile and add depth.
  • Enjoy alongside a green apple martini for a playful, color-coordinated drink that amplifies the Shamrock Shake's vibrant theme.
  • Accompany with chocolate mint cookies to provide extra crunch and intensify the dessert's minty chocolate undertones.

Variations for Every Mint-Lover’s Dream

  • Dairy-Free Delight: Replace milk with almond milk or coconut milk, and use coconut whipped cream instead of Cool Whip for a lactose-free version.
  • Vegan Shamrock Treat: Swap traditional pudding mix with vegan instant pudding, use plant-based milk, and top with dairy-free whipped cream alternative.
  • Gluten-Free Option: Substitute graham crackers or Oreos with gluten-free cookie crumbs like gluten-free vanilla wafers or almond flour cookies.
  • Low-Sugar Version: Use sugar-free pudding mix, sugar-free whipped topping, and replace maraschino cherry with fresh mint leaf for a healthier approach.

Shamrock Shake Pudding FAQs

  • Is peppermint extract necessary for the recipe?

The peppermint extract provides the classic Shamrock Shake flavor, but you can skip it if you prefer a plain vanilla pudding taste.

  • Can I use a different type of milk?

Yes, you can use whole milk, 2%, or even dairy-free alternatives like almond or oat milk. Just ensure the milk is cold when mixing with the pudding mix.

  • How do I get the brightest green color?

Use gel food coloring instead of liquid for more vibrant green color. Add a few drops at a time and mix well until you reach your desired shade of green.

  • Are the toppings optional?

While whipped cream, sprinkles, and maraschino cherry are classic Shamrock Shake toppings, they’re completely optional. Feel free to customize or skip them based on your preference.

Print
clock clock iconcutlery cutlery iconflag flag iconfolder folder iconinstagram instagram iconpinterest pinterest iconfacebook facebook iconprint print iconsquares squares iconheart heart iconheart solid heart solid icon
Shamrock Shake Pudding Cups Recipe

Shamrock Shake Pudding Cups Recipe


5 Stars 4 Stars 3 Stars 2 Stars 1 Star

4.8 from 34 reviews

  • Total Time: 40 minutes
  • Yield: 4 1x

Description

Shamrock shake pudding cups bring Irish-inspired magic to classic dessert lovers, blending minty green goodness with creamy indulgence. Festive layers of smooth pudding and whipped cream create a playful treat that will delight both kids and adults at any St. Patrick’s Day celebration.


Ingredients

Scale

Main Ingredients:

  • 2 cups cold milk
  • 1 box (3.4 ounces / 96 grams) instant vanilla pudding mix

Flavoring and Coloring Ingredients:

  • ½ teaspoon peppermint extract
  • 4 drops green food coloring

Topping and Garnish Ingredients:

  • 1 cup whipped topping (Cool Whip), thawed
  • ½ cup crushed Oreo cookies or graham crackers
  • Whipped cream
  • Green sprinkles
  • Crushed mint candies
  • Maraschino cherries

Serving Accessories:

  • Mini clear cups or dessert glasses

Instructions

  1. Whisk vanilla pudding mix with cold milk vigorously for approximately two minutes until the mixture transforms into a smooth, thick consistency.
  2. Incorporate peppermint extract and green food coloring, stirring thoroughly to create an even emerald-green hue throughout the pudding.
  3. Delicately integrate whipped topping into the pudding, folding gently to maintain a light, airy texture without deflating the mixture.
  4. Create a crunchy foundation by sprinkling crushed Oreos or graham crackers along the bottom of serving cups.
  5. Carefully transfer the vibrant green pudding into prepared cups, either spooning or piping the mixture over the cookie base.
  6. Place pudding cups in the refrigerator, allowing them to chill and develop deeper flavors for 30-60 minutes.
  7. Just before serving, crown each pudding cup with a dollop of whipped cream, scatter green sprinkles across the top, and garnish with a single maraschino cherry for a playful, festive presentation.

Notes

  • Boost Creaminess by using full-fat milk or adding a splash of heavy cream for richer pudding texture.
  • Customize Dietary Needs by substituting pudding mix with vegan or sugar-free alternatives to accommodate different preferences.
  • Control Sweetness by adjusting peppermint extract amount – start with less and taste, as some brands are more potent than others.
  • Enhance Presentation by using clear glasses to showcase beautiful green layers and cookie crumble base, creating visual appeal.
  • Prep Time: 10 minutes
  • Cook Time: 30 minutes
  • Category: Desserts, Snacks, Drinks
  • Method: Blending
  • Cuisine: American

Nutrition

  • Serving Size: 4
  • Calories: 280
  • Sugar: 24 g
  • Sodium: 90 mg
  • Fat: 16 g
  • Saturated Fat: 8 g
  • Unsaturated Fat: 6 g
  • Trans Fat: 0 g
  • Carbohydrates: 30 g
  • Fiber: 1 g
  • Protein: 4 g
  • Cholesterol: 15 mg
Jessica Martinez

Jessica Martinez

Pastry Chef & Recipe Developer

Expertise

Organic Baking Techniques, Gluten-Free Recipe Development, Southwestern Dessert Specialties, Food Styling and Photography

Education

Santa Fe Community College (SFCC)

  • Program: Certificate in Patisserie
  • Focus: Cultivating disciplined kitchen preparation for a safe, organized, and sanitary workstation; mastering the timely production of nutritious, visually appealing pastries; safely operating standard pastry equipment; and honing core patissier techniques for professional pastry work.

Jessica brings the sweet side to Urban Organic with her passion for baking and love for the Southwest. She trained at Santa Fe Community College and has built a career creating beautiful, gluten-free, and organic desserts that feel both nostalgic and new.

She believes baking should be fun, creative, and open to everyone, no matter your diet or skill level. Jessica’s recipes are simple enough to follow, but special enough to remember.

Leave a Reply

Your email address will not be published. Required fields are marked *

Recipe rating 5 Stars 4 Stars 3 Stars 2 Stars 1 Star