Dreamy Shamrock Mint Milkshake Pie Recipe for Sweet Smiles
Crafting a delightful shamrock mint milkshake pie brings pure magic to your dessert table.
Mint lovers will swoon over this creamy concoction that blends cool refreshment with sweet indulgence.
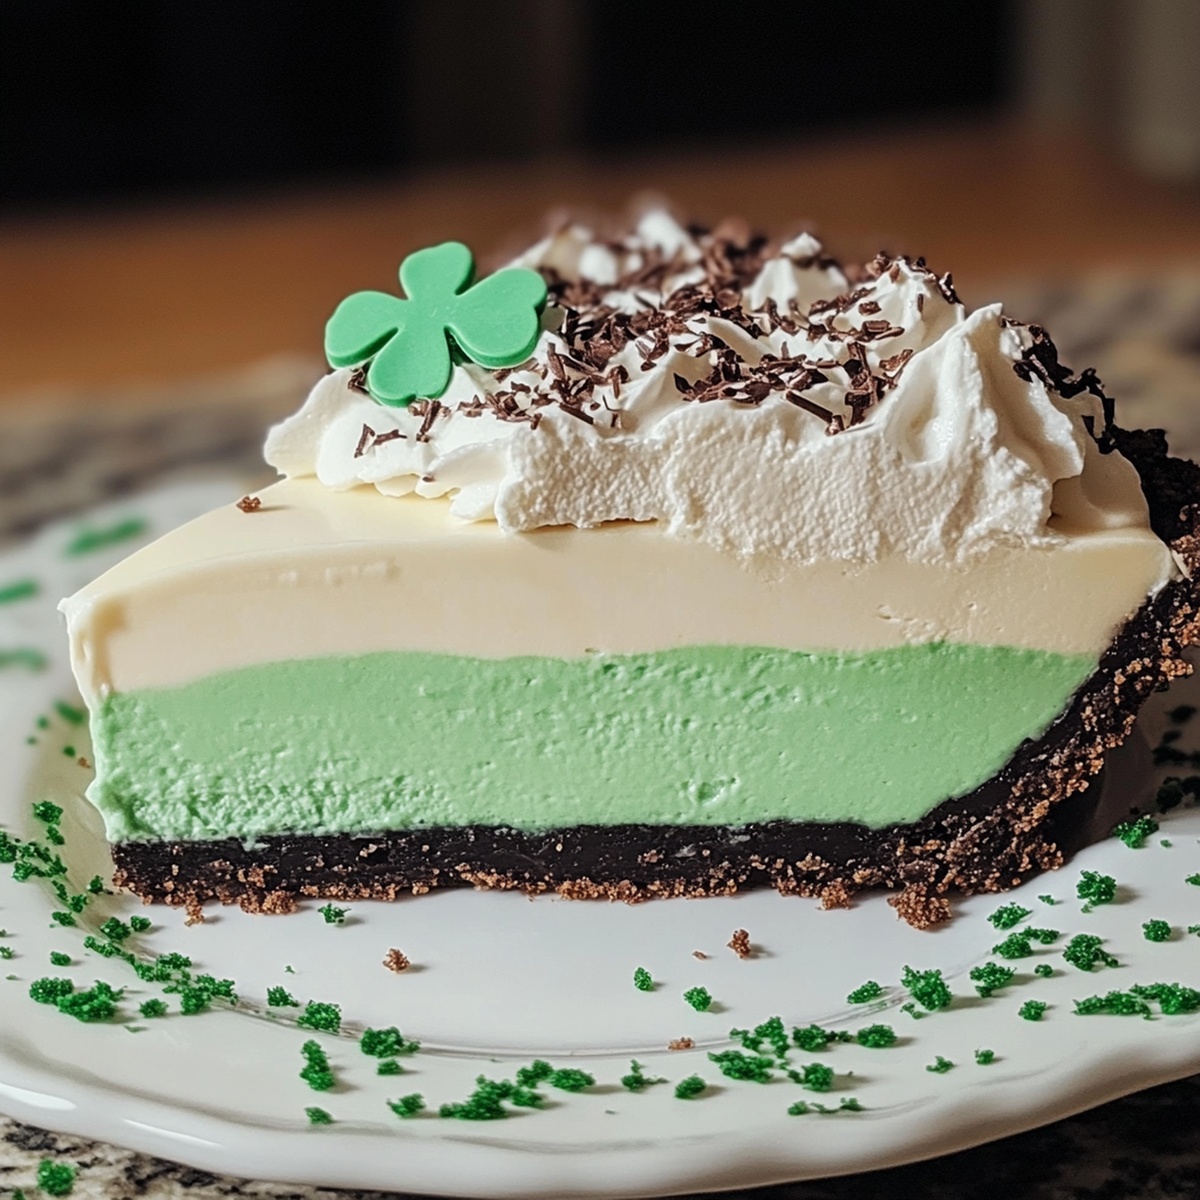
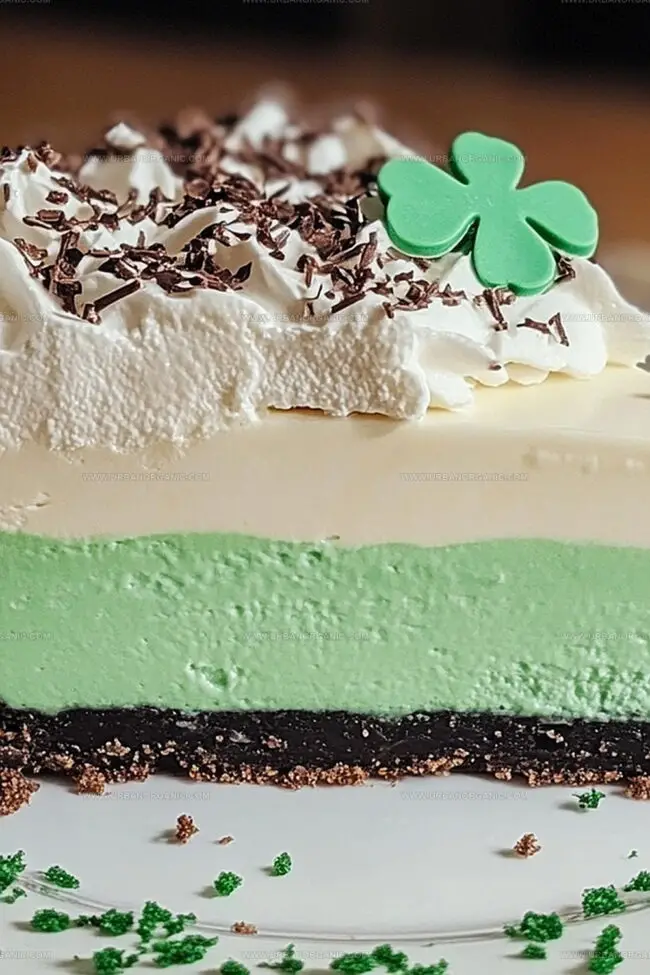
Green-tinted layers promise a playful twist on traditional pie recipes.
Chocolate cookie crusts provide a rich, crunchy foundation for the silky filling.
Whipped cream and mint chocolate chips create dreamy decorative touches that make each slice irresistible.
Chilled and smooth, this dessert feels like a celebration of seasonal flavors.
You’ll want to serve this festive treat at every gathering.
What Makes Shamrock Mint Milkshake Pie So Festive
All You Need for Shamrock Mint Milkshake Pie
Crust:Filling Base:Garnish and Decoration:Making a No-Bake Shamrock Mint Milkshake Pie

Crumble Oreo Cookie Crust
Grab some Oreo cookies and crush them into fine crumbs using a food processor or by placing them in a sealed plastic bag and rolling with a rolling pin.
Mix the crushed Oreo crumbs with melted butter until the mixture becomes a cohesive, moist texture that holds together when pressed.
Press Into Pie Dish
Transfer the Oreo mixture into a 9-inch pie dish, using the back of a spoon or your fingers to evenly press the crumbs across the bottom and up the sides of the dish. Create a smooth, compact layer that will serve as the base for your pie.
Chill The Crust
Place the prepared pie crust in the refrigerator to set and firm up while you prepare the remaining pie ingredients. This helps the crust maintain its shape and provides a solid foundation for the filling.
Whip Minty Filling
Gather ingredients for the creamy mint filling:Soften the ice cream slightly at room temperature. In a large mixing bowl, combine softened ice cream with mint extract and a few drops of green food coloring to create a vibrant mint green hue.
Fold And Blend
In a separate bowl, whip the heavy cream with powdered sugar until stiff peaks form. Gently fold the whipped cream into the mint ice cream mixture, creating a light and airy filling.
Fill And Smooth
Pour the mint filling into the chilled Oreo crust, using a spatula to spread it evenly and create a smooth top surface.
Freeze And Set
Cover the pie with plastic wrap and place in the freezer for at least 4 hours or overnight until the filling is completely firm and set.
Garnish And Serve
Before serving, remove the pie from the freezer and let it sit at room temperature for 5-10 minutes to soften slightly. Optionally, garnish with:Slice and enjoy your refreshing Shamrock Mint Milkshake Pie!
Tips for Serving Shamrock Mint Pie Just Right
Store Your Shamrock Pie Like a Pro
What Goes Well with Mint Milkshake Pie
Change Up Shamrock Pie with These Fun Ideas
Shamrock Mint Milkshake Pie FAQs
This recipe combines the classic mint milkshake flavor with a pie format, using Oreo crust and creating a frozen dessert that’s both creamy and refreshing.
While you can substitute some ingredients, using full-fat versions will ensure a richer, smoother texture and better overall taste for the pie.
No, this recipe is beginner-friendly and requires basic mixing skills. The most important steps are creating the Oreo crust and ensuring the filling is well-blended.
Absolutely! The green color and mint flavor make it a perfect dessert for St. Patrick’s Day parties or festive gatherings.
Print
Shamrock Mint Milkshake Pie Recipe
- Total Time: 4 hours 15 minutes
- Yield: 8 1x
Description
Shamrock mint milkshake pie brings Irish charm to dessert tables with cool mint and creamy texture. Rich flavors and festive green hues invite celebration, promising delightful indulgence for anyone craving a sweet St. Patrick’s Day treat.
Ingredients
Crust Ingredients:
- 24 Oreo cookies, crushed into fine crumbs
- 5 tablespoons (73 milliliters) unsalted butter, melted
Filling Ingredients:
- 1 package (8 ounces / 226 grams) cream cheese, softened
- ½ cup (120 milliliters) powdered sugar
- 1 ½ cups (360 milliliters) heavy whipping cream (or Cool Whip)
- ½ teaspoon (2.5 milliliters) peppermint extract
- ¼ teaspoon (1.25 milliliters) vanilla extract
- 45 drops green food coloring (optional)
Topping Ingredients:
- Whipped cream
- Chocolate shavings or mini chocolate chips
- Crushed Oreos or sprinkles
- Maraschino cherries (optional)
Instructions
- Create a crumbly base by thoroughly combining crushed Oreo cookies with melted butter until the mixture resembles wet sand.
- Transfer the cookie mixture into a 9-inch pie dish, using the back of a spoon or your fingers to firmly press and compact the crumbs evenly across the bottom and up the sides.
- Refrigerate the prepared crust for 15-20 minutes to allow it to set and become firm while you prepare the subsequent layers.
- Whip cream cheese until smooth and fluffy, ensuring no lumps remain in the mixture.
- Gradually fold in softened mint chocolate chip ice cream, stirring gently to maintain a consistent texture without deflating the mixture.
- Incorporate peppermint extract to enhance the mint flavor, mixing thoroughly to distribute the essence throughout the filling.
- Carefully pour the mint ice cream mixture into the chilled Oreo crust, using a spatula to spread it evenly and create a smooth surface.
- Place the pie in the freezer for at least 4 hours or overnight to allow the filling to completely set and achieve a solid consistency.
- Before serving, garnish with additional whipped cream, a sprinkle of crushed Oreos, and optional green food coloring for a festive presentation.
- Allow the pie to sit at room temperature for 5-10 minutes before slicing to ensure easier cutting and serving.
Notes
- Swap traditional Oreos with gluten-free versions for those with dietary restrictions, ensuring everyone can enjoy this delightful dessert.
- Use a food processor to crush Oreos more evenly, creating a smoother, more consistent crust that holds together perfectly.
- Add a sprinkle of sea salt to the crust mixture to enhance the chocolate flavor and create a subtle sweet-salty contrast.
- For a lighter version, consider using reduced-fat butter or Greek yogurt as a binding agent in the crust mixture.
- Prep Time: 15 minutes
- Cook Time: 4 hours
- Category: Desserts, Drinks
- Method: None
- Cuisine: American
Nutrition
- Serving Size: 8
- Calories: 380
- Sugar: 24 g
- Sodium: 200 mg
- Fat: 30 g
- Saturated Fat: 18 g
- Unsaturated Fat: 10 g
- Trans Fat: 0 g
- Carbohydrates: 31 g
- Fiber: 1 g
- Protein: 4 g
- Cholesterol: 70 mg
Jessica Martinez
Pastry Chef & Recipe Developer
Expertise
Organic Baking Techniques, Gluten-Free Recipe Development, Southwestern Dessert Specialties, Food Styling and Photography
Education
Santa Fe Community College (SFCC)
Jessica brings the sweet side to Urban Organic with her passion for baking and love for the Southwest. She trained at Santa Fe Community College and has built a career creating beautiful, gluten-free, and organic desserts that feel both nostalgic and new.
She believes baking should be fun, creative, and open to everyone, no matter your diet or skill level. Jessica’s recipes are simple enough to follow, but special enough to remember.