
Hearty Homestyle Pioneer Woman Cornbread Recipe: Golden Bliss
Pioneer Woman’s cornbread blazes with golden, rustic charm that captures Southern culinary magic.
Generations have treasured this unassuming bread that elevates simple ingredients into something extraordinary.
Crackling cast-iron skillets whisper tales of comfort and tradition when this recipe emerges, steaming and fragrant.
Velvet-soft yet sturdy, each slice tells a story of family connections and soulful cooking.
Delicate corn undertones mingle with rich butter, creating a sensory symphony that transports you to welcoming kitchen tables.
Warm, inviting aromas promise a moment of pure culinary bliss that transcends mere sustenance.
Check out this classic recipe and let Southern warmth embrace your senses.
Quick Recipe Overview
Ingredients List for Cornbread
For Dry Ingredients:For Wet Ingredients:For Skillet and Finishing:Bakeware You’ll Need for Pioneer Woman Cornbread
How to Make Her Classic Cornbread Recipe

Toss cornmeal, flour, salt, baking soda, and baking powder into a large mixing bowl. Blend thoroughly with a whisk until everything looks evenly distributed.
Crack an egg into buttermilk and regular milk. Swirl together until the mixture looks smooth and unified.
Pour liquid mixture into dry ingredients. Fold gently with a spatula, stopping the moment ingredients combine to keep the texture light and fluffy.
Heat the oven to 400°F. Place a cast-iron skillet on stovetop and melt shortening, coating the entire surface until it starts to crackle and pop.
Pour batter into the hot skillet, listening for that satisfying sizzle. Slide the skillet into the oven and bake until the top turns a gorgeous golden brown and a knife comes out clean, around 20-25 minutes.
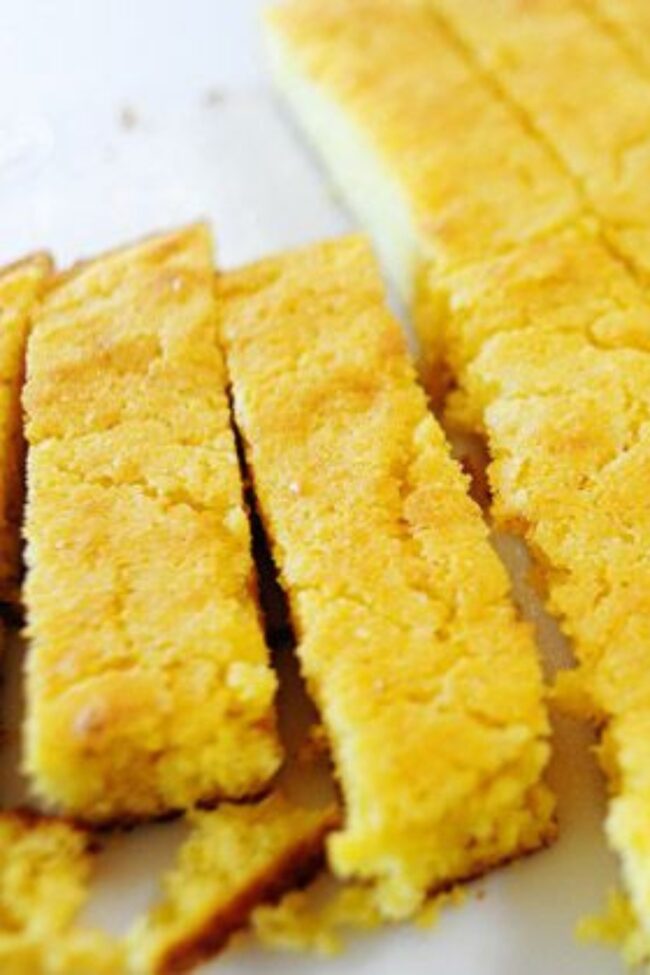
Carefully remove the skillet from the oven. Let the cornbread rest briefly, then slice into wedges. Serve warm with a pat of butter or a drizzle of honey for maximum deliciousness.
Texture Tips and Flavor Add-ins for Cornbread
Serving Cornbread at the Table
Storing Cornbread to Keep it Fresh

Rustic Pioneer Woman Cornbread Recipe
- Total Time: 35 minutes
- Yield: 8 1x
Description
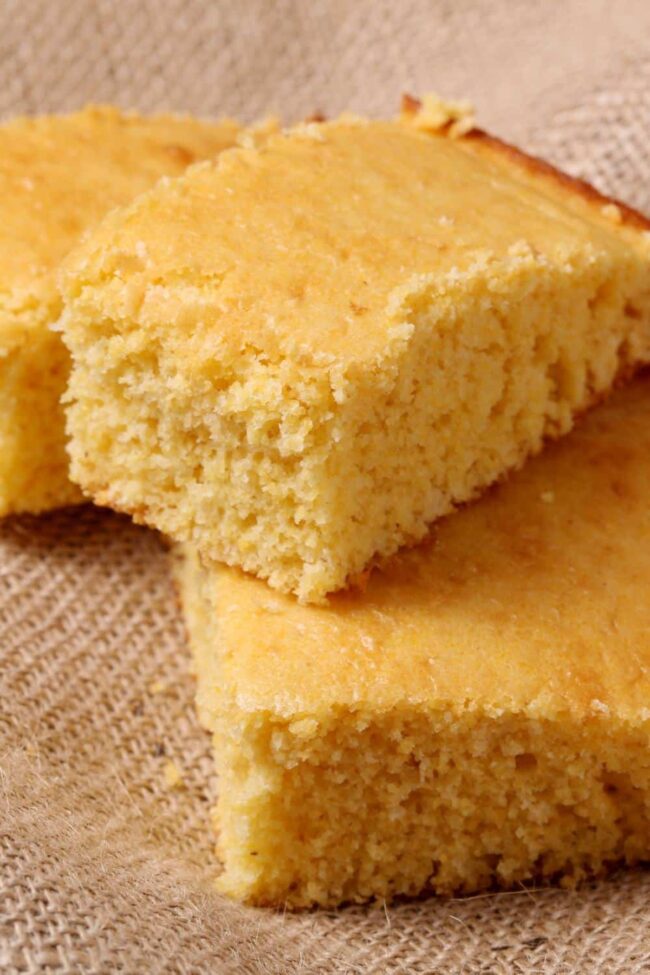
Fresh Pioneer Woman cornbread embodies Southern comfort with its golden, buttery crumb and hearty texture. Delightful alongside chili or served solo, this simple recipe promises warmth and satisfaction for hungry gatherings.
Ingredients
- 1 cup cornmeal
- ½ cup all-purpose flour
- 1 egg
- 1 cup buttermilk (240 ml)
- ½ cup milk (120 ml)
- ¼ cup shortening (60 g), plus extra for greasing skillet
- ½ tsp (2.5 ml) salt
- ½ tsp (2.5 ml) baking soda
- ½ tsp (2.5 ml) baking powder
Instructions
- Dry Mixture Preparation: Whisk cornmeal, all-purpose flour, salt, baking soda, and baking powder in a large mixing bowl until ingredients are uniformly blended.
- Liquid Integration: Combine buttermilk, whole milk, and egg in a separate container, mixing thoroughly until achieving a consistent, smooth texture.
- Batter Formation: Gently fold liquid ingredients into dry mixture using a silicone spatula, being careful to avoid overmixing to maintain a light, airy consistency.
- Skillet Preheating: Set oven to 400°F (204°C) and place cast-iron skillet on medium heat, melting vegetable shortening to coat the entire interior surface completely.
- Baking Process: Pour batter into the hot, sizzling skillet and transfer directly to preheated oven, baking for 22-27 minutes until the surface develops a rich golden-brown color and a knife inserted in the center comes out clean.
- Serving Preparation: Remove skillet from oven and let cornbread rest for 3-4 minutes, then slice into desired portions and serve with softened butter or honey.
Notes
- Prevent Dense Texture: Fold batter gently and minimally to maintain a light, airy cornbread consistency.
- Temperature Matters: Preheat cast-iron skillet with shortening to create a crispy, golden exterior that adds delicious crunch.
- Perfect Doneness Test: Insert a thin knife into the center – if it comes out clean, your cornbread is perfectly baked.
- Resting is Crucial: Allow cornbread to rest 3-4 minutes after baking to help it set and make slicing easier.
- Prep Time: 10 minutes
- Cook Time: 25 minutes
- Category: Breakfast, Snacks, Dinner
- Method: Baking
- Cuisine: American
Nutrition
- Serving Size: 8
- Calories: 210
- Sugar: 3 g
- Sodium: 400 mg
- Fat: 10 g
- Saturated Fat: 3 g
- Unsaturated Fat: 6 g
- Trans Fat: 0 g
- Carbohydrates: 28 g
- Fiber: 1 g
- Protein: 5 g
- Cholesterol: 30 mg
Michael Thompson
Founder & Culinary Director
Expertise
Classical & Contemporary Cooking Techniques, Global Cuisine Appreciation, Nutrition & Menu Engineering, Sustainable Cooking Practices, Farm-to-Table Cuisine
Education
Southwestern Oregon Community College
Michael grew up in Oregon, where he learned early that food tastes better when it’s fresh, local, and made with care.
After earning his degree from the Southwestern Oregon Community College, he focused his career on teaching others how to cook with the seasons, reduce food waste, and reconnect with what’s on their plate.
Michael keeps his cooking simple, sustainable, and full of flavor. His favorite part of the process? Watching people realize how easy and satisfying it can be to cook a single great meal from scratch.