
Pioneer Woman’s Cozy Apple Jelly Recipe That Wows Everyone
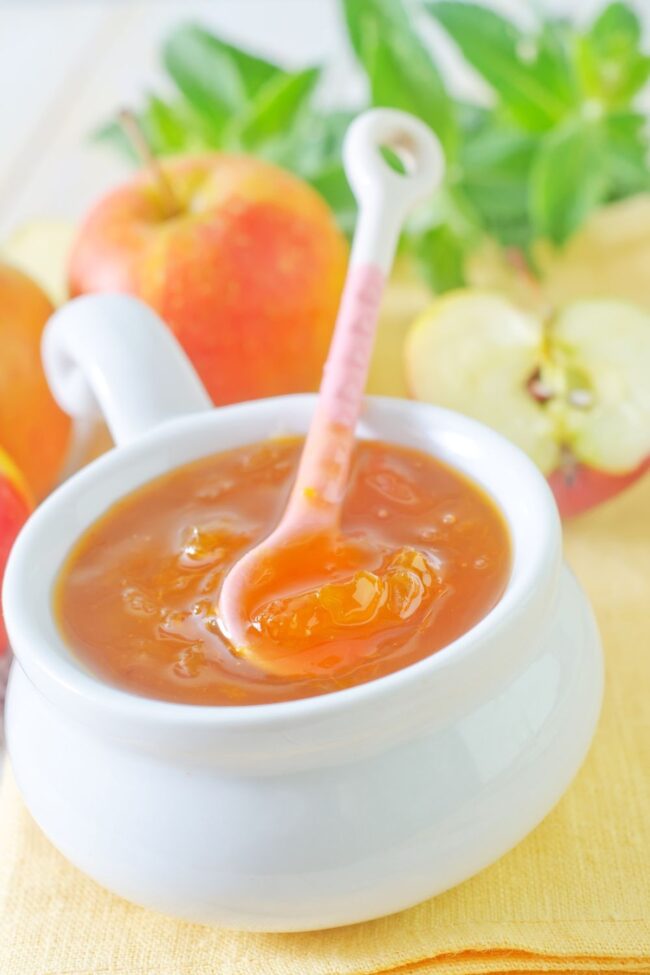
Pioneer Woman’s apple jelly transforms mundane juice into a liquid amber delight that whispers autumn’s secrets.
Bursting with orchard-fresh flavors, this homemade spread captures the warmth of late summer harvests.
Sweet and luminous, the jelly dances with concentrated apple essence that tingles taste buds.
Simple techniques turn basic ingredients into a golden nectar that sparkles on morning toast.
Each spoonful carries memories of farmhouse kitchens and weekend breakfasts shared with loved ones.
Skilled cooks can master this recipe with just a few precise steps and some patient simmering.
The result?
A glistening preserve that elevates ordinary meals into extraordinary moments.
Quick Recipe Overview

Ingredients List for Pioneer Woman Apple Jelly
For Base Ingredients:For Sweetening and Flavor Enhancement:For Preservation and Processing:Tools Needed to Make Pioneer Woman Apple Jelly
Directions for Preparing Pioneer Woman Apple Jelly
Clear a clean, spacious area in your kitchen. Gather essential tools like a large pot, glass containers, fresh lids, tongs, and a ladle. Sanitize everything thoroughly to guarantee food safety and prevent contamination.
Pour apple juice into a saucepan and whisk in pectin until smooth. Eliminate any pesky lumps that might disrupt your jelly’s silky texture. Add a touch of unsalted butter to minimize foam and enhance the overall consistency.
Crank up the heat and bring the mixture to a wild, vigorous boil that can’t be calmed by stirring. Quickly dump in sugar and stir like crazy to prevent burning. Keep the intense boil going for exactly one minute, maintaining constant motion.
Pull the pot off the heat and skim away any white foam using a metal spoon. Test the jelly’s readiness by dropping a small amount on a chilled plate. After 30 seconds, gently push the sample – it should wrinkle, signaling perfect gel formation.
Carefully ladle the hot jelly into sterilized containers, leaving a small space at the top. Wipe the rims clean and secure lids tightly. Submerge the jars in a boiling water bath, ensuring they’re completely covered. Process for 10 minutes, adjusting time for higher elevations.
Allow the jars to cool undisturbed for 12-24 hours. Listen for the satisfying pop of sealed lids, confirming your jelly-making success. Store in a cool, dark place and enjoy your homemade treasure for months to come.
Tips and Flavor Twists for Pioneer Woman Apple Jelly
How to Serve Pioneer Woman Apple Jelly
Storage Details for Pioneer Woman Apple Jelly
Print
Rustic Pioneer Woman Apple Jelly Recipe
- Total Time: 30 minutes
- Yield: 5 1x
Description
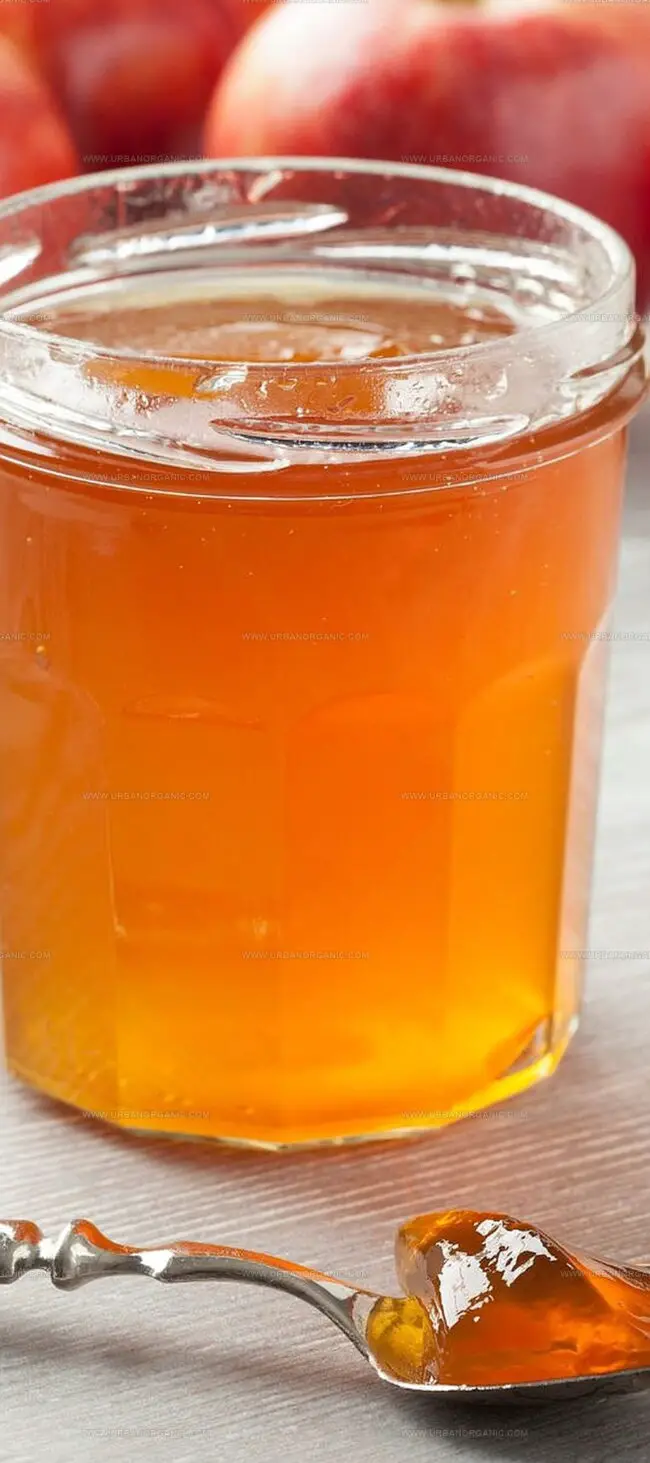
Homemade pioneer woman apple jelly offers a delightful taste of rural simplicity. Preserved fruit essence combines with traditional techniques, delivering sweet memories of countryside kitchens.
Ingredients
- 3 ⅓ cups (670 g) granulated sugar
- 3 cups (710 ml) unsweetened apple juice
- 4 tbsps (60 ml) classic pectin
- ½ tsp (2.5 ml) butter (optional)
Instructions
- Preparation: Sanitize canning equipment by washing jars, lids, and canner with hot, soapy water; create a pristine workspace for jelly-making.
- Initial Mixture: Whisk apple juice and pectin in a heavy-bottomed saucepan until pectin dissolves, then incorporate unsalted butter to minimize foam formation.
- Boiling Stage: Elevate heat to high, bringing the liquid to a vigorous boil while stirring constantly to prevent burning; swiftly add granulated sugar and continue aggressive stirring for 60-70 seconds.
- Foam Removal: Extract the saucepan from heat and delicately skim foam using a metal spoon; perform a gel test by dropping a small amount on a chilled ceramic plate.
- Jarring Process: Meticulously ladle hot jelly into sterilized glass jars, leaving 6 millimeters of headspace; wipe jar rims with a clean, damp cloth and apply heated lids until fingertip-tight.
- Water Bath Processing: Gently submerge filled jars in boiling water bath, ensuring 2.5 centimeters of water coverage; process for 10 minutes, then allow jars to rest in water for an additional 5 minutes before removing.
Notes
- Prevent Foam Buildup: Add butter to the juice mixture to reduce excessive foaming during the boiling process, ensuring a smoother, more professional-looking jelly.
- Master the Boiling Technique: Maintain a vigorous, rolling boil and stir constantly to prevent scorching and activate pectin effectively, which is crucial for achieving the perfect jelly consistency.
- Nail the Gel Test: Use a chilled ceramic plate to check jelly set by dropping a small amount and observing its cooling consistency, ensuring your jelly reaches the ideal texture before jarring.
- Seal for Freshness: Meticulously clean jar rims and apply heated lids with fingertip-tight screw bands to create an airtight seal, preserving your homemade apple jelly for longer storage.
- Prep Time: 10 minutes
- Cook Time: 20 minutes
- Category: Breakfast, Snacks, Desserts
- Method: Boiling
- Cuisine: American
Nutrition
- Serving Size: 5
- Calories: 220
- Sugar: 53 g
- Sodium: 1 mg
- Fat: 0 g
- Saturated Fat: 0 g
- Unsaturated Fat: 0 g
- Trans Fat: 0 g
- Carbohydrates: 57 g
- Fiber: 0 g
- Protein: 0 g
- Cholesterol: 0 mg
Michael Thompson
Founder & Culinary Director
Expertise
Classical & Contemporary Cooking Techniques, Global Cuisine Appreciation, Nutrition & Menu Engineering, Sustainable Cooking Practices, Farm-to-Table Cuisine
Education
Southwestern Oregon Community College
Michael grew up in Oregon, where he learned early that food tastes better when it’s fresh, local, and made with care.
After earning his degree from the Southwestern Oregon Community College, he focused his career on teaching others how to cook with the seasons, reduce food waste, and reconnect with what’s on their plate.
Michael keeps his cooking simple, sustainable, and full of flavor. His favorite part of the process? Watching people realize how easy and satisfying it can be to cook a single great meal from scratch.