
Autumn’s Sweet Pioneer Woman Apple Crisp Recipe Magic
Craving a classic apple crisp that whispers autumn’s sweetest secrets?
This rustic dessert transforms humble orchard fruits into a luxurious comfort feast.
Warm, bubbling apples mingle with a buttery, golden crumble that dances between crisp and tender textures.
Each spoonful carries memories of cozy kitchen moments and family traditions.
Seasonal ingredients elevate this simple treat into a culinary masterpiece.
Grab your favorite baking dish and let the magic begin.
You’ll fall in love with every decadent bite.
Quick Recipe Overview
Ingredient Rundown for Pioneer Woman Apple Crisp Recipe
For The Apple Base:For The Apple Seasoning:For The Crispy Topping:Tools for Assembling Apple Crisp Right
How to Bake Pioneer Woman Apple Crisp
Fire up your oven to a cozy 350°F. Generously butter a baking dish to create a non-stick surface for your delightful dessert.
Slice apples into delicate, uniform pieces and spread them across the buttered dish like a golden landscape. Sprinkle a magical blend of sugar, flour, cinnamon, and salt over the apples, then add a splash of water to help the flavors mingle.
In a mixing bowl, combine flour, rolled oats, brown sugar, and a pinch of salt. Pour melted butter over the dry ingredients, mixing until the topping becomes a delectable, crumbly mixture that promises a crispy crown for your dessert.
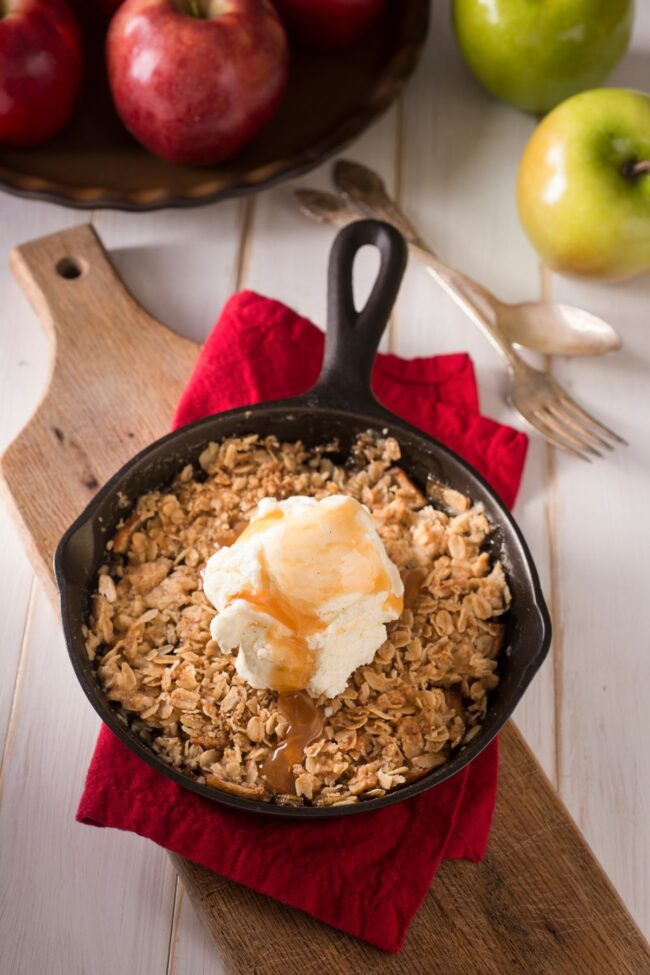
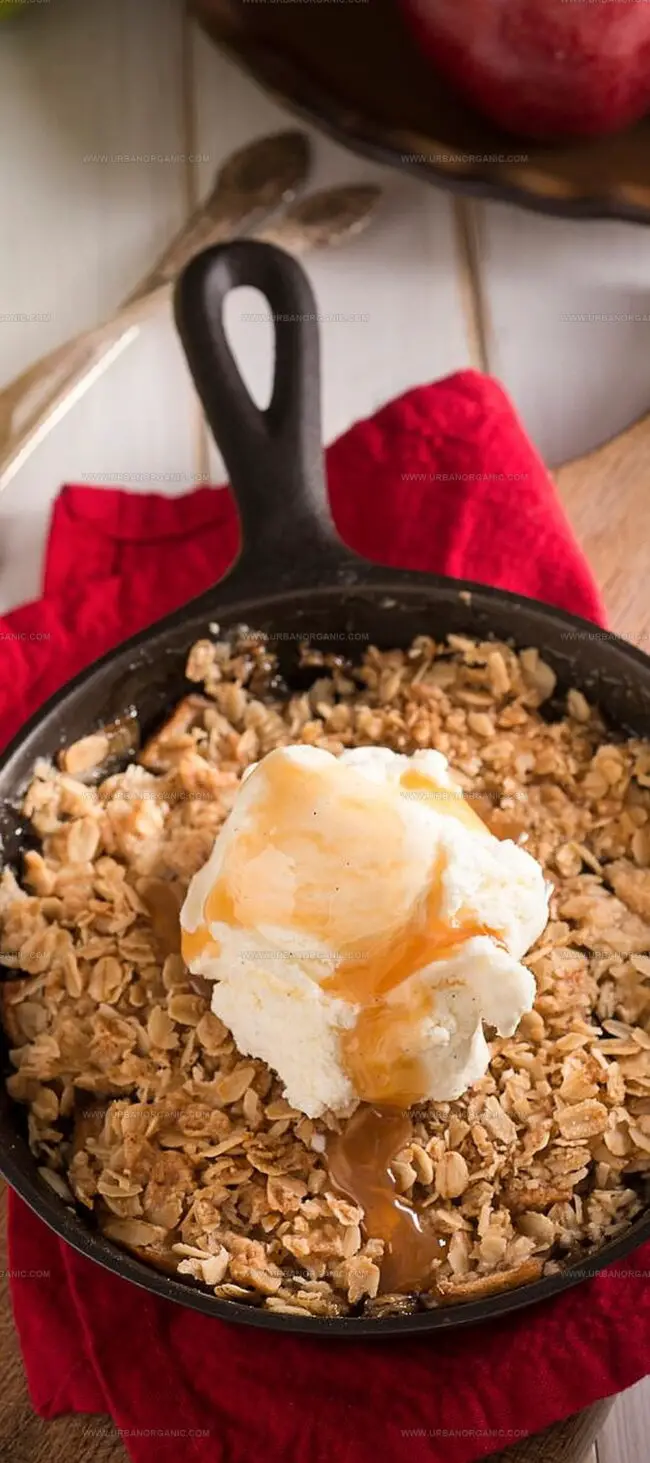
Spread the crumble topping completely over the apple layer, ensuring every inch is covered. Slide the dish into the preheated oven and bake for about 43 minutes. Watch as the topping transforms into a gorgeous golden-brown crust that crackles with deliciousness.
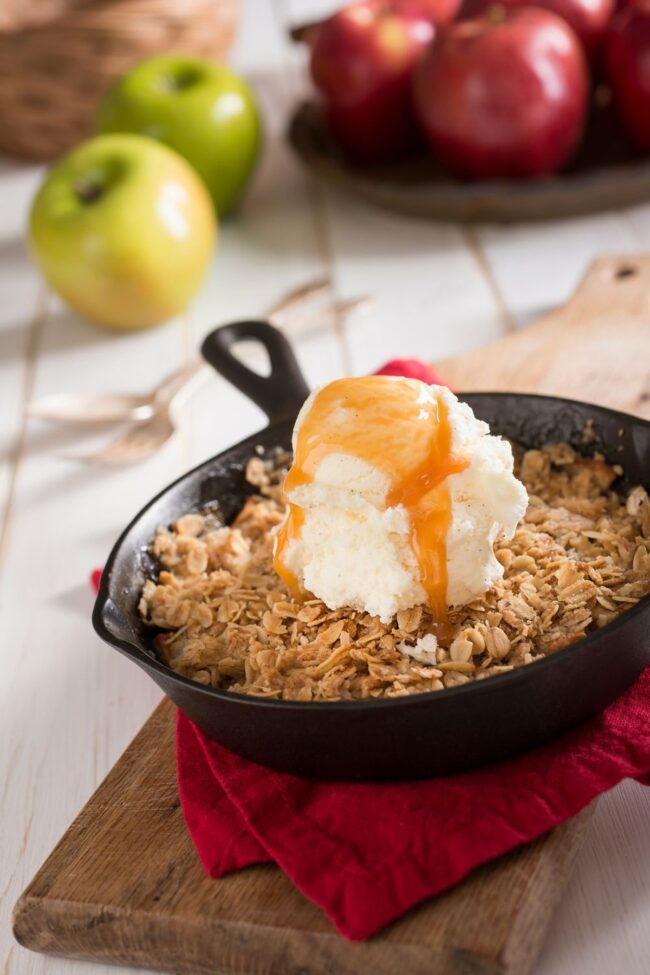
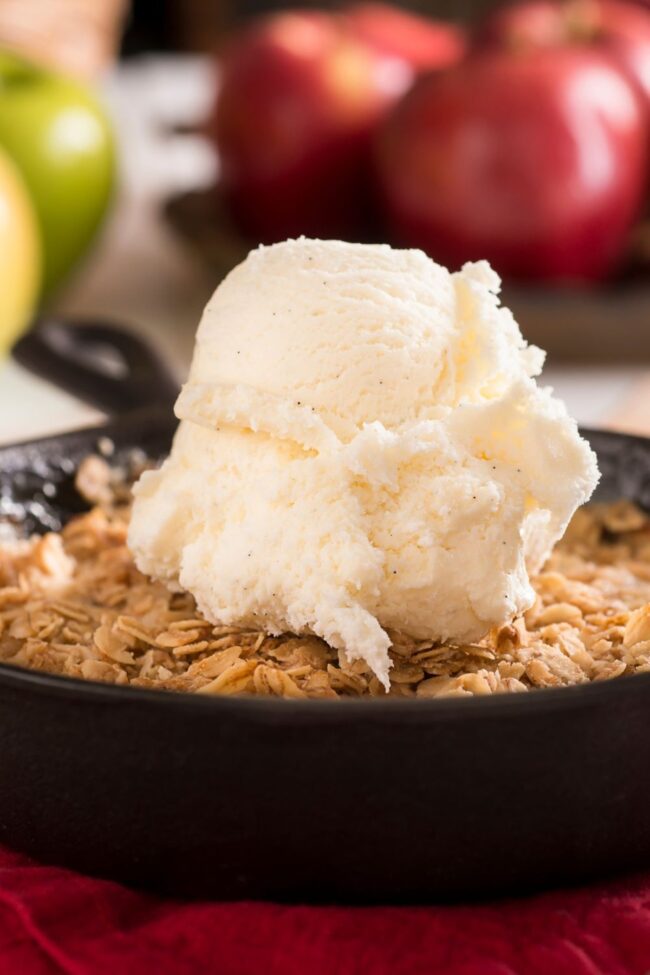
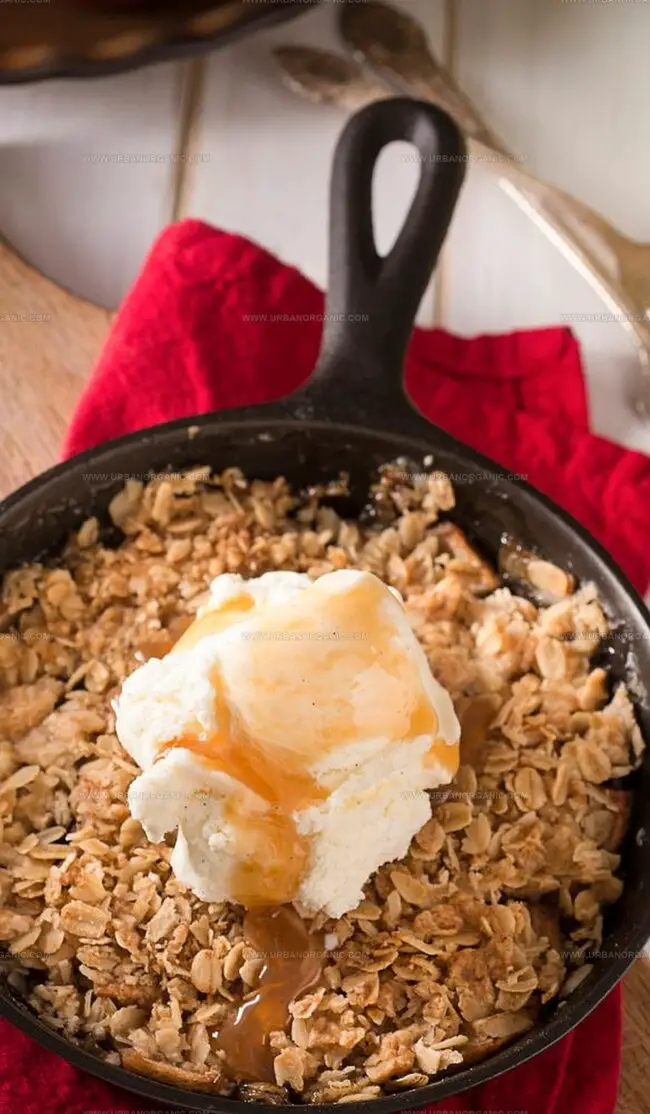
Pull out your masterpiece and let it cool slightly. Serve warm or at room temperature. For the ultimate indulgence, crown your apple crisp with a scoop of creamy vanilla ice cream. Savor the comforting flavors of this classic dessert that brings pure joy to the table.
Spice and Fruit Tips for Better Crisp
How to Serve Crisp Warm or Cold
Storing Apple Crisp Without Sogginess

Rustic Pioneer Woman Apple Crisp Recipe
- Total Time: 1 hour
- Yield: 8 1x
Description
Ree Drummond’s pioneer woman apple crisp combines sweet Granny Smith apples with a crunchy oat topping for a classic dessert. Warm spices and buttery crumble make this comforting treat perfect for sharing with family and friends.
Ingredients
- 8 medium Granny Smith apples (peeled, cored, and thinly sliced)
- 1 cup all-purpose flour
- 1 cup quick-cooking oats
- 1 cup granulated sugar
- 1 cup packed brown sugar
- ½ tsp ground cinnamon
- ¼ tsp kosher salt
- ¼ tsp baking powder
- ¼ tsp baking soda
- 1 heaping tbsp all-purpose flour
- Pinch of kosher salt
- 1 stick (8 tbsps / 113 g) salted butter (melted)
- Salted butter (for greasing baking dish)
- Ice cream or frozen custard (optional, for serving)
Instructions
- Preparation: Preheat oven to 350°F and butter a 9×13-inch glass baking dish.
- Apple Layer: Spread apple slices evenly across the buttered surface, creating a uniform foundation.
- Seasoning Blend: Combine granulated sugar, flour, cinnamon, and salt, then delicately sprinkle over apples. Gently pour water across the layer to enhance moisture and flavor integration.
- Crisp Topping: Mix flour, oats, brown sugar, baking powder, and salt. Gradually incorporate melted butter, stirring until the mixture develops a rustic, crumbly consistency that resembles coarse pebbles.
- Assembly: Meticulously distribute the oat topping across the apple landscape, ensuring complete and even coverage for a harmonious texture.
- Baking Process: Transfer the dish to the preheated oven and bake for 43 minutes. Monitor until the topping achieves a rich golden-brown hue and the apple layer becomes tender and bubbling.
- Serving Suggestion: Allow the crisp to rest briefly after removing from the oven. Serve warm or at ambient temperature, optionally complemented by a scoop of vanilla ice cream or decadent frozen custard for an elevated dessert experience.
Notes
- Choose Ripe Apples: Select firm, sweet-tart varieties like Honeycrisp or Granny Smith for the best flavor and texture that holds up during baking.
- Even Apple Cutting: Slice apples uniformly to ensure consistent cooking and prevent some pieces from becoming mushy while others remain undercooked.
- Butter Matters: Use room temperature unsalted butter for easier mixing and a smoother, more cohesive crisp topping that creates perfect crumbly texture.
- Baking Time Precision: Watch the crisp closely during the last 10 minutes to prevent over-browning, looking for a golden-brown top that indicates ideal doneness.
- Prep Time: 15 minutes
- Cook Time: 45 minutes
- Category: Desserts, Snacks
- Method: Baking
- Cuisine: American
Nutrition
- Serving Size: 8
- Calories: 320
- Sugar: 38 g
- Sodium: 180 mg
- Fat: 14 g
- Saturated Fat: 9 g
- Unsaturated Fat: 4 g
- Trans Fat: 0 g
- Carbohydrates: 47 g
- Fiber: 3 g
- Protein: 3 g
- Cholesterol: 30 mg
Michael Thompson
Founder & Culinary Director
Expertise
Classical & Contemporary Cooking Techniques, Global Cuisine Appreciation, Nutrition & Menu Engineering, Sustainable Cooking Practices, Farm-to-Table Cuisine
Education
Southwestern Oregon Community College
Michael grew up in Oregon, where he learned early that food tastes better when it’s fresh, local, and made with care.
After earning his degree from the Southwestern Oregon Community College, he focused his career on teaching others how to cook with the seasons, reduce food waste, and reconnect with what’s on their plate.
Michael keeps his cooking simple, sustainable, and full of flavor. His favorite part of the process? Watching people realize how easy and satisfying it can be to cook a single great meal from scratch.