Jamie Oliver’s Effortless Bread Rolls Recipe: Soft & Scrumptious!
Jamie Oliver’s bread rolls ignite pure kitchen enchantment, transforming humble flour and yeast into golden, heavenly bites.
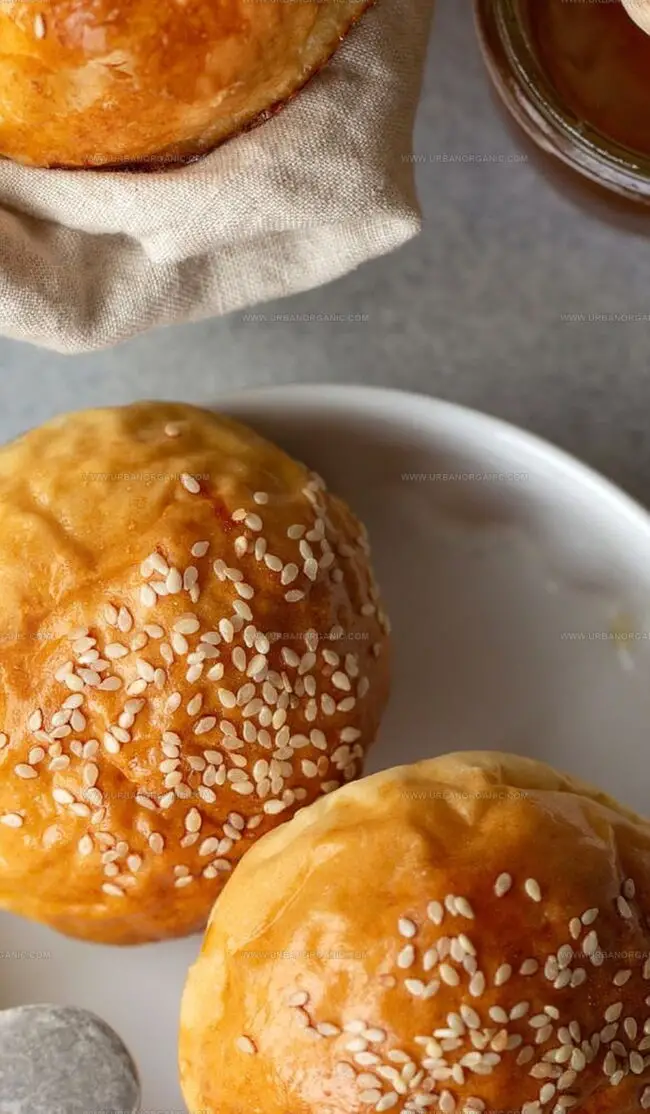
Pillowy soft and irresistibly warm, these rolls embody comfort in every delicate crumb.
Professional techniques dance with home-style simplicity, creating a sensory masterpiece that elevates everyday baking.
Each roll whispers stories of tradition and personal flair, promising a delectable journey through flavor and texture.
Kneading becomes an intimate ritual, blending ingredients with passion and precision.
Professional tricks merge seamlessly with rustic charm, turning ordinary dough into extraordinary culinary art.
You’ll fall in love with this recipe that bridges generations through the universal language of delicious bread!
Quick Recipe Overview
Jamie Oliver Bread Rolls Ingredient Overview
For Yeast Activation:For Wet Ingredients:For Dry Ingredients:Kitchen Tools for Jamie Oliver Bread Rolls
Steps to Make Jamie Oliver Bread Rolls
Blend warm water with yeast and a touch of sweetness in a cozy bowl. Watch the magical transformation as the mixture becomes frothy and alive.
Combine the activated yeast with soft butter, a whisked egg, and a sprinkle of sweetness. Mix these liquid treasures until they dance together harmoniously.
Gently introduce flour to the wet ingredients, stirring with care until a soft, pillowy dough emerges. Knead the dough lovingly, transforming it into a smooth, elastic masterpiece that feels like silk beneath your fingers.
Nestle the dough into an oiled sanctuary, covering it with a soft cloth. Tuck it away in a warm, cozy spot and allow it to expand and breathe, doubling in size and developing rich, complex flavors.
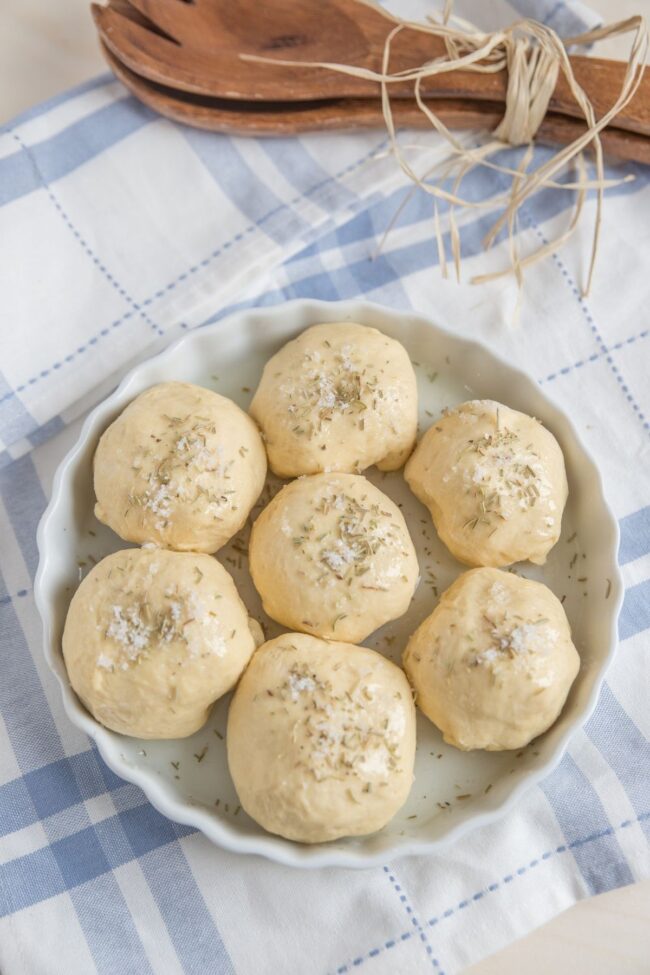
Lovingly divide the dough into plump, rounded treasures. Arrange these little flavor bombs on a prepared baking sheet, giving them room to grow and become gloriously puffy.
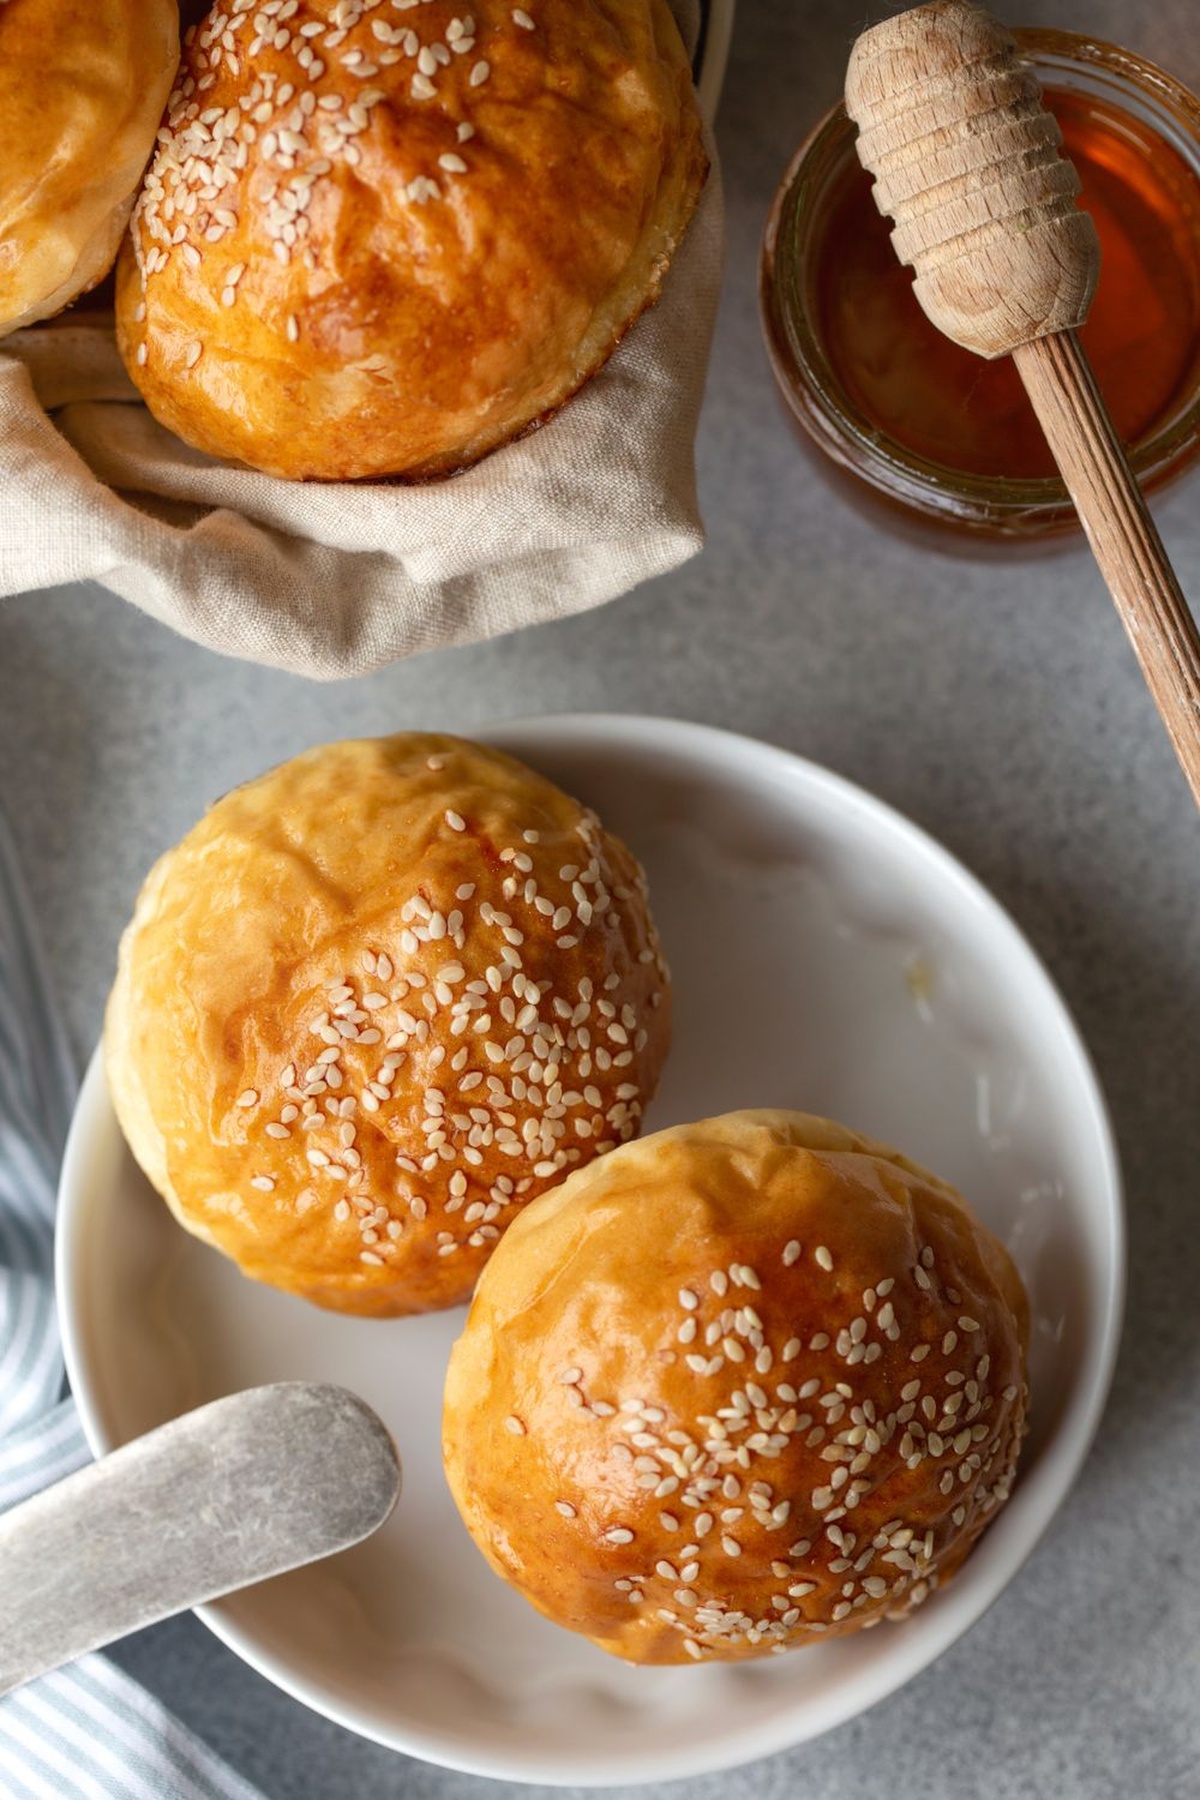
Slide the tray into a preheated oven, watching as the rolls transform into golden-brown clouds of deliciousness. A light brush of melted butter can create a stunning, glossy finish that begs to be devoured.
Rescue the rolls from the oven, letting them rest briefly before serving. Break open a roll to reveal the soft, steamy interior, and savor the warmth and comfort of freshly baked goodness.
Jamie Oliver Bread Rolls: Flavor Tweaks
Experiment with different flour types like whole wheat or bread flour for unique textures and flavors.
Sprinkle dried herbs like rosemary, thyme, or garlic powder into the dough for an aromatic twist that elevates the basic recipe.
Ensure your yeast activates perfectly by using a kitchen thermometer to check water temperature – too hot kills yeast, too cold prevents activation.
Keep rolls fresh by storing in an airtight container at room temperature for 2-3 days, or freeze for up to 3 weeks and reheat directly from frozen for fresh-baked taste.
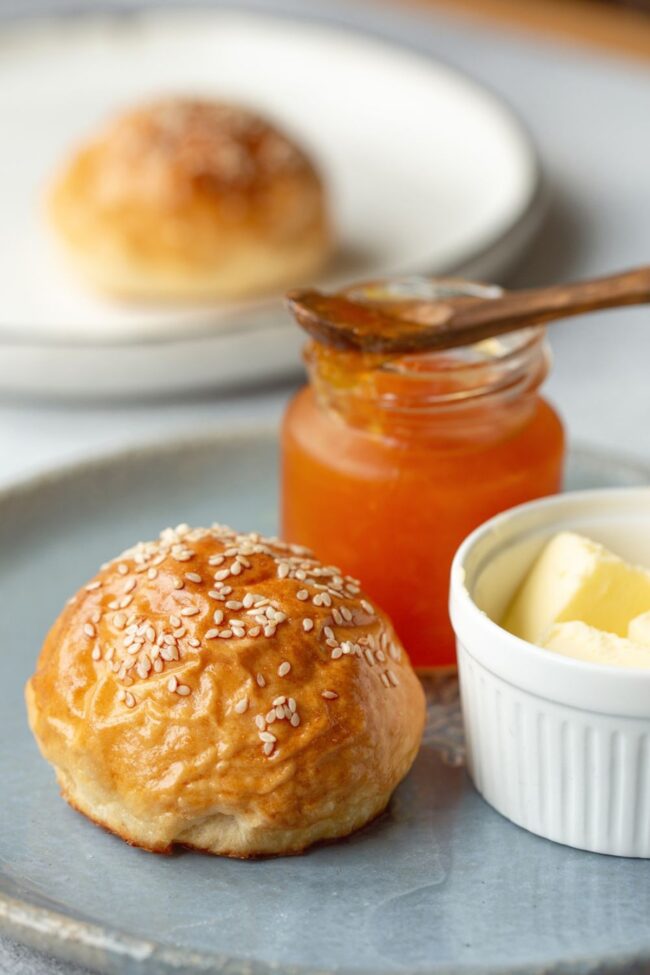
Serving Jamie Oliver Bread Rolls Warm
Storage Instructions for Jamie Oliver Bread Rolls
Print
Rustic Jamie Oliver Bread Rolls Recipe
- Total Time: 3 hours 22 minutes
- Yield: 11 1x
Description
Jamie Oliver’s bread rolls deliver homemade comfort with simple ingredients and straightforward technique. Crisp golden exteriors and pillowy interiors promise delightful results you can easily master in your kitchen.
Ingredients
- 3 cups (390 g) all-purpose flour or bread flour
- 2.25 tsp instant yeast (Red Star Platinum)
- 1 cup (240 ml) whole milk, warmed to 110°F (43°C)
- 1 large egg
- ¼ cup (56 g) unsalted butter, softened to room temperature and cut into 4 pieces
- 2 tbsps granulated sugar
- 1 tsp salt
- 2 tbsps (28 g) melted unsalted butter (optional topping)
- 1 tbsp honey (optional topping)
Instructions
- Yeast Activation: Dissolve active dry yeast in warm water with a pinch of sugar, allowing the mixture to bloom and become frothy for 5-7 minutes.
- Dough Formation: Merge the activated yeast with remaining ingredients in a spacious mixing vessel, using an electric mixer or wooden spoon to create a cohesive mixture that integrates all components thoroughly.
- Kneading Process: Develop the dough by kneading for 6-8 minutes until achieving a smooth, elastic texture that’s soft yet slightly tacky, demonstrating proper gluten development.
- First Fermentation: Transfer the dough to a lightly oiled bowl, cover completely, and let rise in a warm, draft-free environment for 60-90 minutes until volume doubles.
- Shaping and Second Proofing: Gently deflate the dough, divide into 14-16 equal portions, and shape into round balls by tucking edges underneath. Arrange in a greased 9×13 inch baking pan and allow a second rise for 45-60 minutes until puffy and interconnected.
- Baking Preparation: Position the oven rack in the lower third and preheat to 375°F (190°C). Bake the rolls for 20-25 minutes, rotating midway to ensure uniform golden-brown coloration and achieving a hollow sound when tapped.
- Finishing Touch: Remove from oven and immediately brush with melted butter. Allow rolls to rest 10-15 minutes before serving to enable structural settling and optimal texture.
Notes
- Activate Yeast Precisely: Water temperature is critical; use a thermometer to ensure it’s exactly 110°F for perfect yeast activation without killing the microorganisms.
- Knead with Purpose: Develop gluten by kneading consistently for 6-8 minutes, creating the ideal elastic texture that guarantees soft, fluffy bread rolls.
- Proof in Warmth: Find a consistently warm spot like near a preheated oven or inside a turned-off oven with the light on to help dough rise effectively.
- Golden Brown Perfection: Rotate the baking pan halfway through cooking to achieve even browning and prevent uneven coloration on the bread rolls.
- Prep Time: 3 hours
- Cook Time: 22 minutes
- Category: Breakfast, Snacks, Dinner
- Method: Baking
- Cuisine: British
Nutrition
- Serving Size: 11
- Calories: 210
- Sugar: 5 g
- Sodium: 200 mg
- Fat: 8 g
- Saturated Fat: 5 g
- Unsaturated Fat: 2 g
- Trans Fat: 0 g
- Carbohydrates: 30 g
- Fiber: 1 g
- Protein: 6 g
- Cholesterol: 40 mg
Michael Thompson
Founder & Culinary Director
Expertise
Classical & Contemporary Cooking Techniques, Global Cuisine Appreciation, Nutrition & Menu Engineering, Sustainable Cooking Practices, Farm-to-Table Cuisine
Education
Southwestern Oregon Community College
Michael grew up in Oregon, where he learned early that food tastes better when it’s fresh, local, and made with care.
After earning his degree from the Southwestern Oregon Community College, he focused his career on teaching others how to cook with the seasons, reduce food waste, and reconnect with what’s on their plate.
Michael keeps his cooking simple, sustainable, and full of flavor. His favorite part of the process? Watching people realize how easy and satisfying it can be to cook a single great meal from scratch.