
Zesty Jamie Oliver Bread Crumbs Recipe for Crispy Magic
Bread crumbs from Jamie Oliver can elevate every dish from ordinary to extraordinary in seconds.
Transforming stale bread into crunchy, golden morsels requires zero culinary expertise.
These magical crumbs inject instant texture and depth into meals, making even simple recipes sing with flavor.
Seasoned chefs and weekend warriors alike adore how effortlessly these bread crumbs upgrade standard ingredients.
Crafting homemade crumbs means waving goodbye to bland, store-bought alternatives and embracing fresh, customizable seasonings.
With minimal kitchen skills, anyone can turn leftover bread into a gourmet secret weapon that instantly impresses dinner guests.
Unleash a game-changing cooking technique that will revolutionize your meal preparation.
Quick Recipe Overview
Ingredients for Jamie Oliver Bread Crumbs
For Bread Base:For Processing Tools:For Finishing and Storage:Equipment for Jamie Oliver Bread Crumbs
Instructions for Preparing Jamie Oliver Bread Crumbs
Set the baking rack right in the center and warm up your oven to a gentle heat perfect for transforming bread.
Grab day-old bread and slice it into chunks. Pulse these pieces in your food processor, creating a delightful texture ranging from coarse to fine depending on how long you blend.
Scatter your freshly ground crumbs onto a baking sheet in a thin, even layer. This is where the magic of drying happens.
Slide the sheet into the oven and let the crumbs bake, giving them a gentle stir halfway through to ensure uniform drying. Watch for that perfect golden-brown color and crisp texture.
After baking, let your crumbs rest and cool naturally. For an extra smooth consistency, give them a quick pulse in the processor if desired.
Seal your homemade crumbs in an airtight container, keeping them fresh and ready for your next culinary adventure. They’ll stay perfect for weeks when stored in a cool, dry spot.
Variations for Jamie Oliver Bread Crumbs
Serving Jamie Oliver Bread Crumbs
Storage Advice for Jamie Oliver Bread Crumbs
Print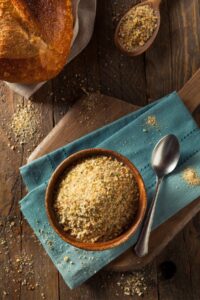
Rustic Jamie Oliver Bread Crumbs Recipe
- Total Time: 35 minutes
- Yield: 4 1x
Description
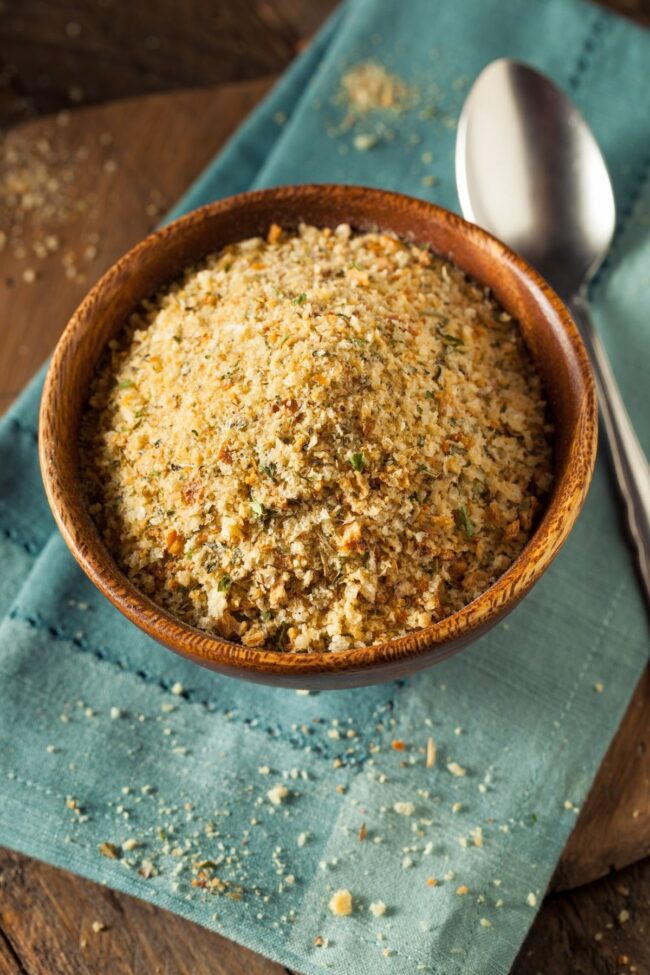
Jamie Oliver’s breadcrumb recipe delivers crispy golden coating for many dishes. Homemade breadcrumbs provide a delicious crunchy texture you will love sprinkling over pastas, salads, and roasted vegetables.
Ingredients
- 4 oz (113 g) bread, cut into 1-inch cubes
- 4 cups cubed bread
- 2 large eggs
- 1 cup whole milk
- ½ tsp salt
- ¼ tsp ground black pepper
- 2 tbsps unsalted butter
- ¼ cup chopped fresh parsley
Instructions
- Preparation: Position oven rack centrally and preheat to 149°F (65°C) for optimal crumb transformation.
- Crumbling Process: Pulse bread slices in food processor, creating either coarse or fine textured crumbs depending on desired consistency.
- Spreading Technique: Distribute bread crumbs evenly across baking sheet in a thin, uniform layer to facilitate consistent toasting.
- Initial Toasting: Bake crumbs for 5 minutes, gently redistributing with spatula to ensure uniform golden coloration and moisture elimination.
- Final Browning: Continue baking 5-7 minutes, watching for delicate golden transformation and crisp, dry texture indicating perfect doneness.
- Cooling and Refinement: Allow crumbs to cool naturally on baking sheet for 10-15 minutes, then optionally re-process in food processor for ultra-fine granulation.
- Storage: Transfer completely cooled crumbs to airtight container, maintaining crisp texture and preventing moisture absorption for extended preservation.
Notes
- Optimize Texture Selection: Choose between coarse or fine bread crumbs by adjusting food processor pulse duration, matching the specific recipe requirements.
- Ensure Even Toasting: Spread bread crumbs in a single, uniform layer to guarantee consistent golden-brown color and prevent uneven moisture removal.
- Monitor Browning Carefully: Watch bread crumbs closely during last 5-7 minutes of baking, preventing burning while achieving perfect crisp texture.
- Prevent Moisture Absorption: Cool bread crumbs completely before storing in airtight container to maintain crispness and extend shelf life.
- Prep Time: 10 minutes
- Cook Time: 25 minutes
- Category: Snacks, Dinner
- Method: Baking
- Cuisine: British
Nutrition
- Serving Size: 4
- Calories: 380
- Sugar: 5g
- Sodium: 350mg
- Fat: 18g
- Saturated Fat: 11g
- Unsaturated Fat: 7g
- Trans Fat: 0g
- Carbohydrates: 39g
- Fiber: 2g
- Protein: 14g
- Cholesterol: 185mg
Michael Thompson
Founder & Culinary Director
Expertise
Classical & Contemporary Cooking Techniques, Global Cuisine Appreciation, Nutrition & Menu Engineering, Sustainable Cooking Practices, Farm-to-Table Cuisine
Education
Southwestern Oregon Community College
Michael grew up in Oregon, where he learned early that food tastes better when it’s fresh, local, and made with care.
After earning his degree from the Southwestern Oregon Community College, he focused his career on teaching others how to cook with the seasons, reduce food waste, and reconnect with what’s on their plate.
Michael keeps his cooking simple, sustainable, and full of flavor. His favorite part of the process? Watching people realize how easy and satisfying it can be to cook a single great meal from scratch.