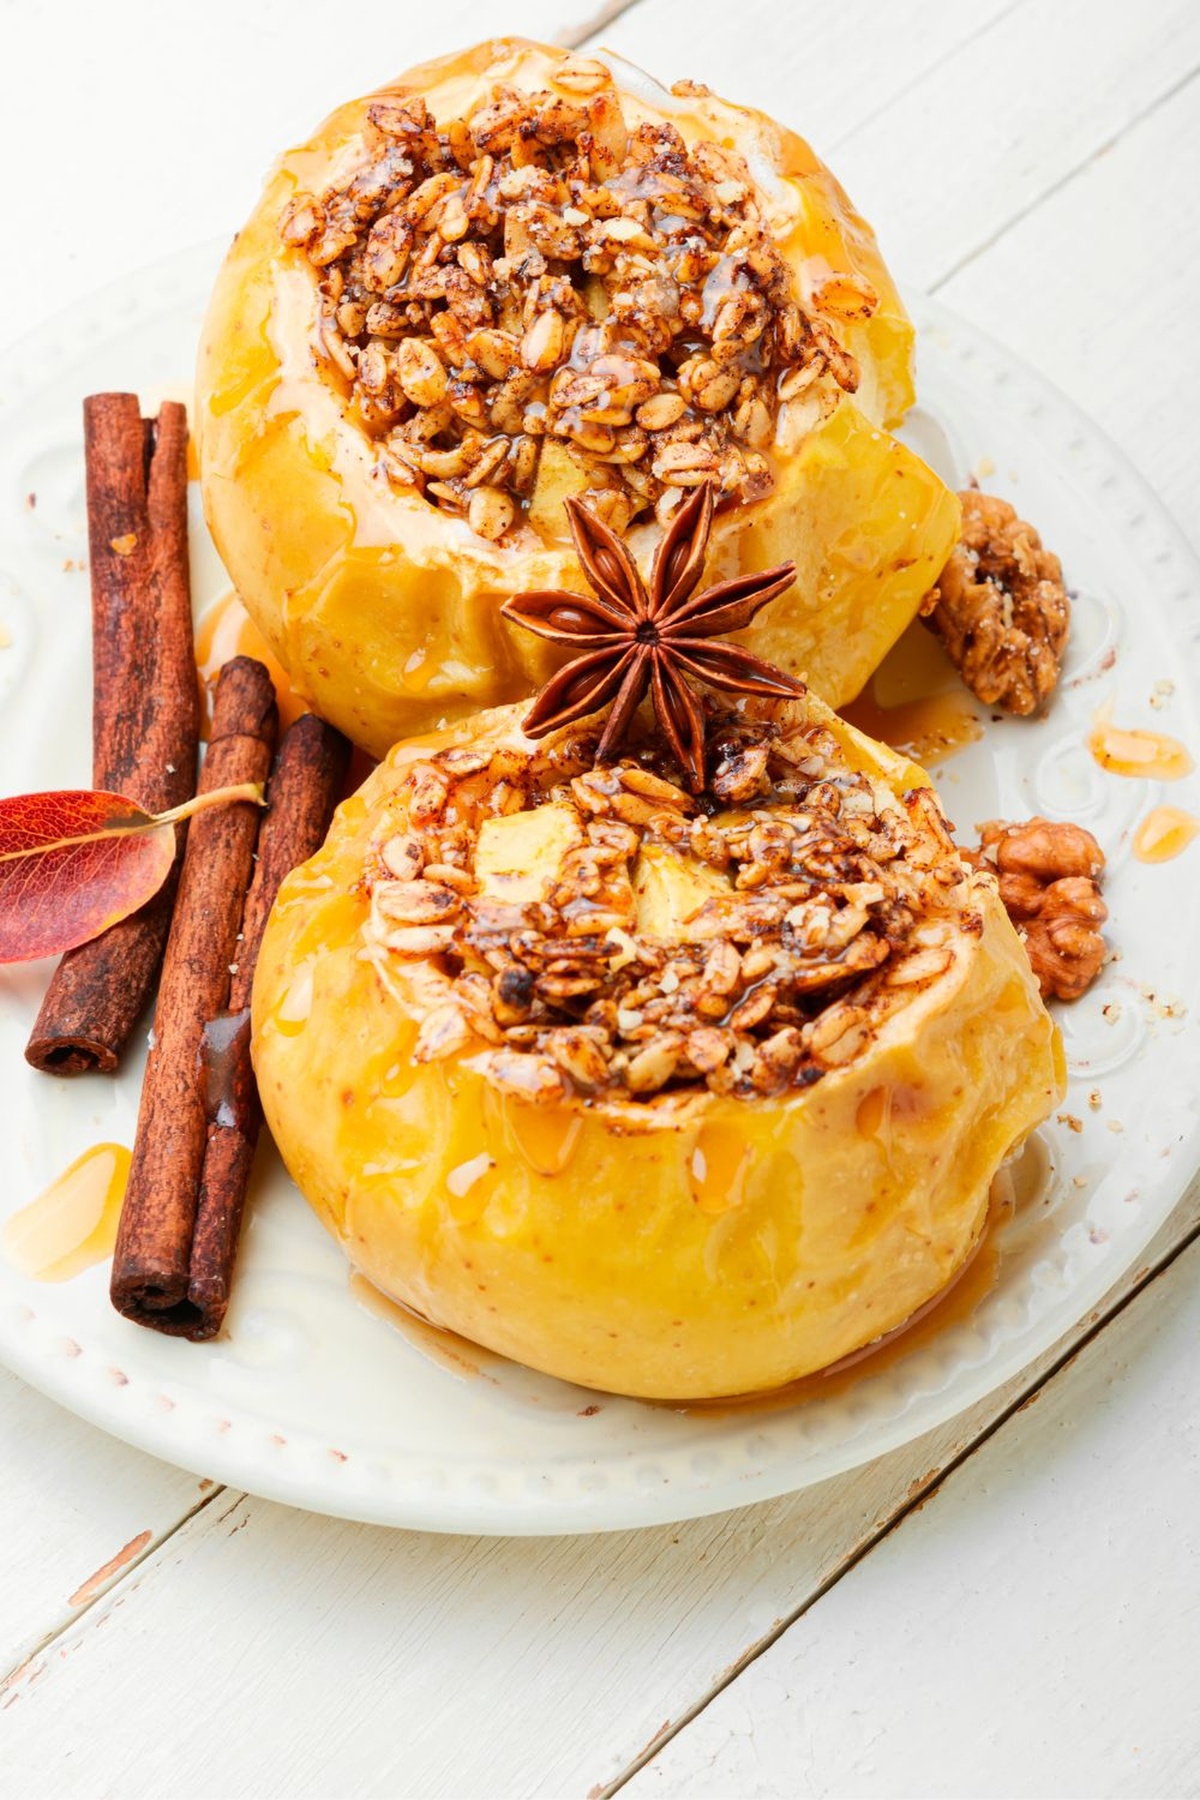
Heartwarming Jamie Oliver Baked Apples Recipe For Chilly Days
Baked apples by Jamie Oliver burst with rustic charm and mouthwatering potential.
These golden orbs transform simple fruit into a dessert that sings with comfort and warmth.
Tender apples become delicate vessels for a symphony of sweet spices and rich flavors.
Wholesome ingredients dance together, creating a treat that feels both nostalgic and elegant.
Carefully selected fillings turn ordinary apples into extraordinary culinary experiences.
Crisp edges and soft centers promise a delightful texture that melts in your mouth.
This dessert invites you to savor a slice of homemade magic that’s surprisingly easy to master.
Quick Recipe Overview
Jamie Oliver Baked Apples Ingredient List
For Filling Mixture:For Fruit and Nuts:For Fresh Produce:Tools to Prep Jamie Oliver Baked Apples
Baking Instructions for Jamie Oliver Baked Apples
Fire up your oven to create a toasty environment at 375°F, getting ready for delicious baked apples.
Blend softened butter with sweet sugar, then sprinkle in warm cinnamon and fragrant nutmeg to create a mouth-watering mixture that’ll make taste buds dance.
Carefully select plump, firm apples and gently remove their cores, creating a perfect vessel for your scrumptious filling. Pack the spiced mixture into each apple, pressing softly to ensure every nook is filled with deliciousness.
Nestle the stuffed apples in a cozy baking dish, surrounding them with a splash of warm water to keep them moist and tender. Slide the dish into the heated oven and let magic happen for about 40-45 minutes.
Rescue the bubbling apples from the oven and let them rest briefly. For an extra touch of indulgence, drizzle the aromatic pan juices over the top. Serve immediately with a generous scoop of creamy vanilla ice cream, transforming a simple dessert into a truly spectacular experience.
Jamie Oliver Baked Apples: Helpful Notes
Serving Warm Jamie Oliver Baked Apples
Leftover Storage for Jamie Oliver Baked Apples
Print
Rustic Jamie Oliver Baked Apples Recipe
- Total Time: 1 hour
- Yield: 4 1x
Description
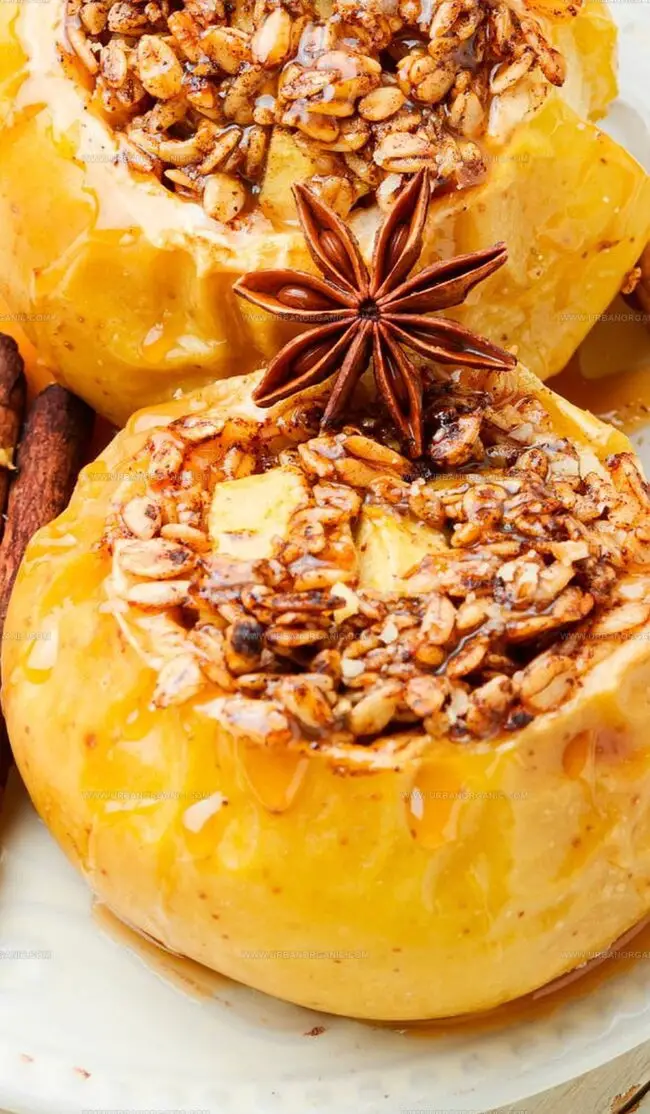
Beloved British chef Jamie Oliver’s baked apples offer a simple dessert with rich autumn flavors. Cinnamon-spiced walnuts and sweet dried fruits nestle inside warm, tender apples ready to delight your palate.
Ingredients
- 4 large apples, rinsed and patted dry
- 3 tbsps (43g / 1.5 oz) unsalted butter, softened to room temperature
- ¼ cup (50g) packed light or dark brown sugar
- ½ tsp ground cinnamon
- 1/8 tsp ground nutmeg
- ¼ cup (21g) old-fashioned whole rolled oats
- 2 tbsps raisins, dried cranberries, or chopped nuts (optional)
- ¾ cup (180 ml / 6 fl oz) warm water
Instructions
- Preparation: Preheat oven to 191°C (375°F), creating an ideal thermal environment for baking apples.
- Filling Creation: Blend butter, sugar, cinnamon, and nutmeg into a harmonious mixture, gently folding in oats, nuts, raisins, and dried cherries to craft a rich, textured filling.
- Apple Transformation: Select pristine, symmetrical apples, meticulously coring them with a precise vertical cut, leaving a three-quarter depth cavity and removing seeds with a delicate spoon touch.
- Architectural Assembly: Position cored apples in a ceramic dish, lavishly filling each with the prepared oat mixture until generously overflowing, then delicately pour warm water around the apple base to establish a protective moisture barrier.
- Culinary Alchemy: Slide the prepared dish into the preheated oven, allowing the apples to bake for 40-45 minutes, transforming them into tender, almost translucent vessels of sweet complexity.
- Final Flourish: Upon extraction, optionally caress the baked apples with their own luxurious pan juices, enhancing their glossy exterior and amplifying the depth of flavor.
Notes
- Choose Perfect Apples: Select firm, symmetrical baking apples like Honeycrisp or Granny Smith that hold their shape during cooking and provide a delightful texture.
- Prevent Core Cracking: Cut cores carefully, stopping three-quarters down to maintain apple structure and prevent splitting during baking.
- Create Moisture Magic: Adding warm water to the baking dish creates a protective environment, ensuring even cooking and preventing apple burning.
- Customize Cooking Time: Adjust baking duration between 40-45 minutes depending on desired apple softness – shorter for firmer texture, longer for melt-in-your-mouth consistency.
- Prep Time: 15 minutes
- Cook Time: 45 minutes
- Category: Desserts, Snacks
- Method: Baking
- Cuisine: British
Nutrition
- Serving Size: 4
- Calories: 220
- Sugar: 20g
- Sodium: 5mg
- Fat: 9g
- Saturated Fat: 5g
- Unsaturated Fat: 4g
- Trans Fat: 0g
- Carbohydrates: 34g
- Fiber: 3g
- Protein: 1g
- Cholesterol: 15mg
Michael Thompson
Founder & Culinary Director
Expertise
Classical & Contemporary Cooking Techniques, Global Cuisine Appreciation, Nutrition & Menu Engineering, Sustainable Cooking Practices, Farm-to-Table Cuisine
Education
Southwestern Oregon Community College
Michael grew up in Oregon, where he learned early that food tastes better when it’s fresh, local, and made with care.
After earning his degree from the Southwestern Oregon Community College, he focused his career on teaching others how to cook with the seasons, reduce food waste, and reconnect with what’s on their plate.
Michael keeps his cooking simple, sustainable, and full of flavor. His favorite part of the process? Watching people realize how easy and satisfying it can be to cook a single great meal from scratch.