
Savor the Magic: Joyful Apple Pie Recipe for Beginners
Rustic apple pie from the joy of cooking bursts with nostalgic flavors that instantly transport you to grandma’s kitchen.
Generations of bakers have treasured this timeless dessert that celebrates autumn’s bounty.
Crisp apples waltz with cinnamon and nutmeg, creating a symphony of sweet and spicy notes.
Buttery, golden crust cradles tender fruit in a delicate embrace that melts in your mouth.
Fragrant spices whisper stories of family gatherings and cozy afternoons.
Simple ingredients transform into a culinary masterpiece that promises comfort and pure delight.
This pie will make your taste buds dance with joy and fill your home with irresistible warmth.
Quick Recipe Overview
Apple Pie Ingredient List
For Pie Crust:For Apple Filling:For Finishing and Baking:Pie-Making Tools and Utensils
Step-by-Step Apple Pie Recipe
Create Delectable Apple Pie
Craft a mouthwatering apple pie that’ll make taste buds dance with joy! This recipe transforms simple ingredients into a stunning dessert that’ll become your signature dish.
Slice crisp apples and toss with zesty lemon juice. Sprinkle in warm spices like cinnamon and nutmeg. Let the mixture sit and develop deep, rich flavors while creating a luscious juice that’ll intensify the pie’s taste.
Pulse flour, salt, and sugar in a food processor. Add chilled butter until the mixture looks like soft breadcrumbs. Slowly introduce cold water, forming a smooth dough. Divide and flatten into two discs, then chill to lock in flakiness.
Simmer collected apple juices until they transform into a glossy, concentrated syrup. Thicken with a touch of cornstarch, creating a luxurious sauce that’ll bind the filling beautifully.
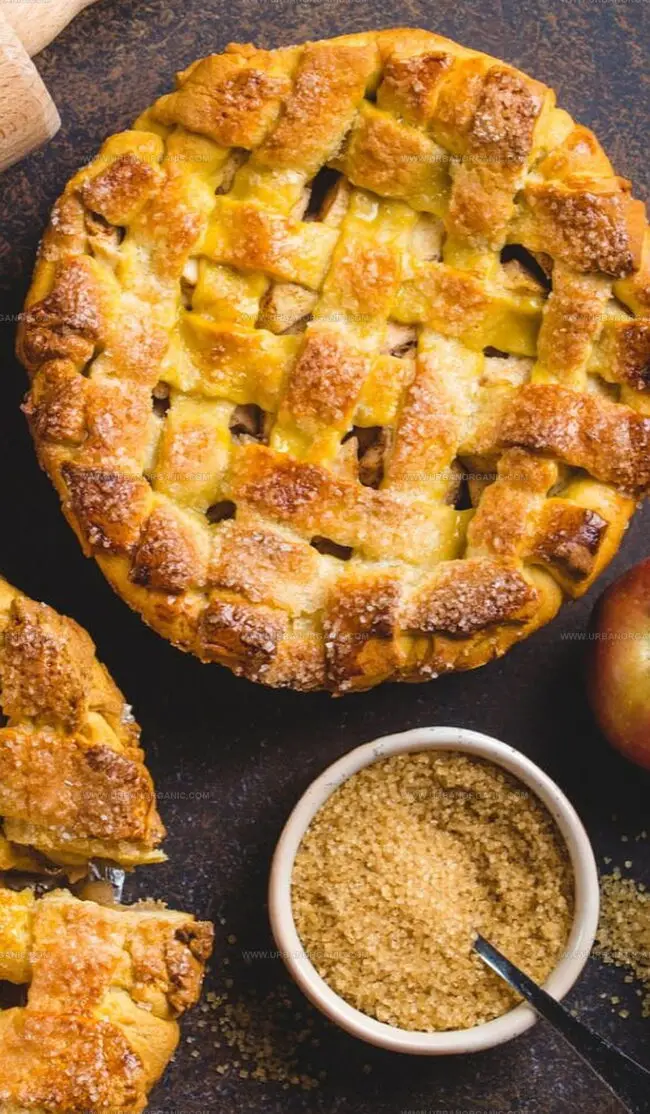
Roll out pastry and drape into a waiting pie dish. Layer drained apples and pour the magical juice reduction. Cover with a second pastry layer, crimping edges and cutting steam vents. Brush with a golden egg wash and sprinkle with sparkling sugar.
Slide the pie into a scorching oven. Bake until the crust turns a gorgeous golden brown and filling bubbles with tempting aromas. Shield edges to prevent burning. Let the pie rest and set, allowing flavors to meld into a truly spectacular dessert.
Crust and Spice Tips for Apple Pie
Experiment with additional warm spices like cardamom or ginger to add depth and complexity to your apple filling. These unexpected flavor boosters will make your pie stand out from traditional recipes.
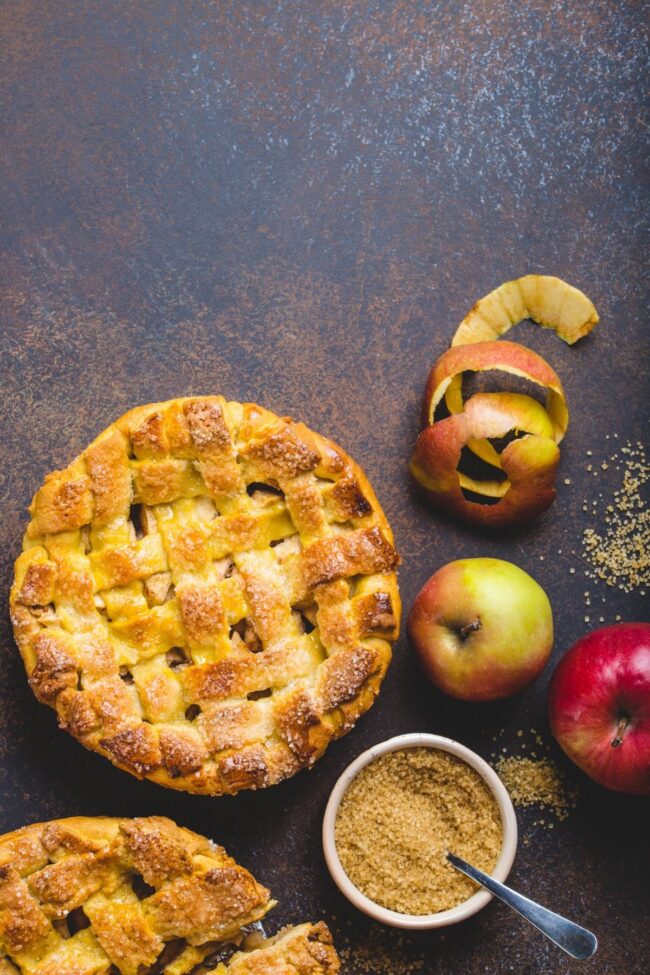
Mix different apple types like Granny Smith, Honeycrisp, and Braeburn to create a more complex and interesting flavor profile. Each variety brings unique sweetness and texture to the pie.
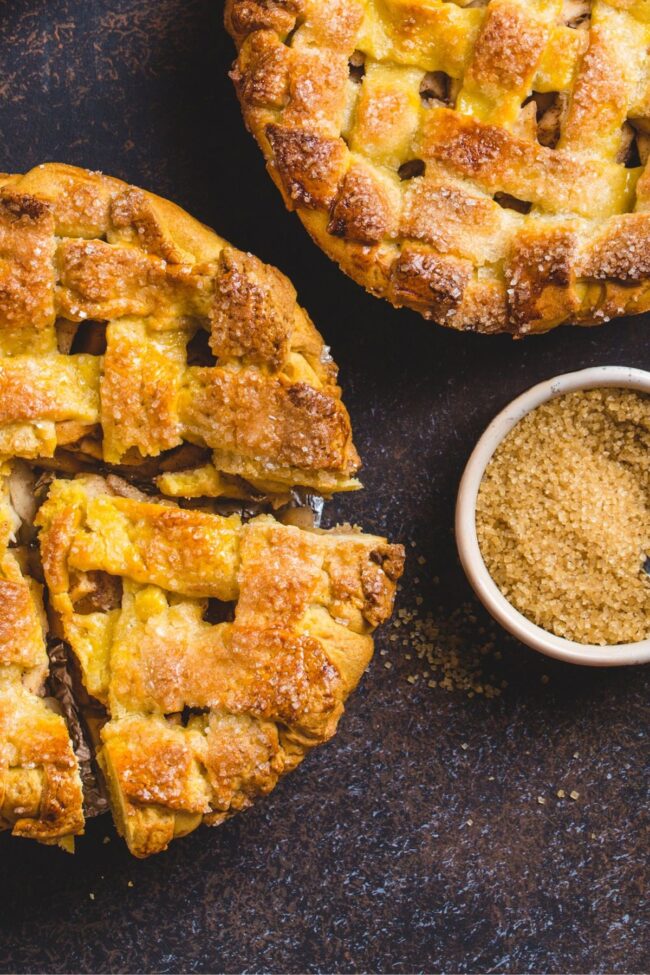
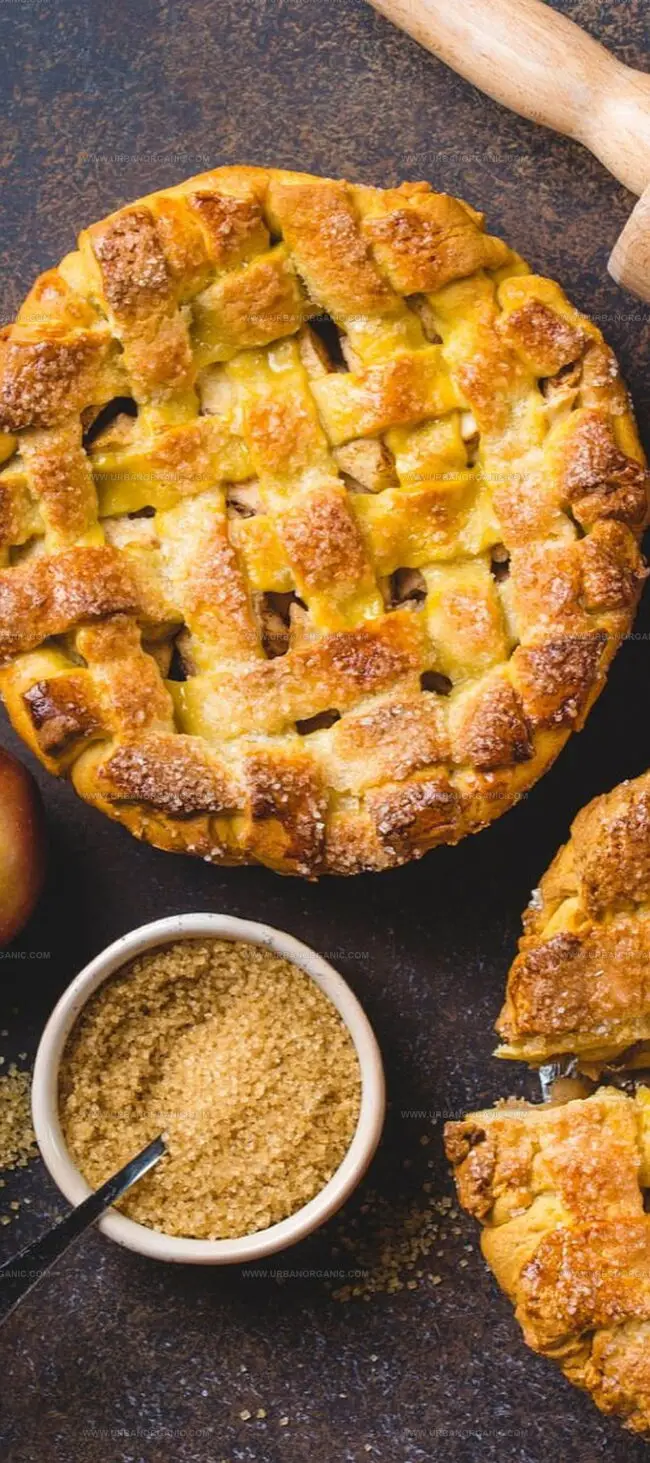
Replace the solid top crust with an intricate lattice design for a stunning visual appeal. Use a pastry wheel or sharp knife to create beautiful woven patterns that showcase your baking skills.
Sprinkle chopped nuts like pecans or walnuts between apple layers for an unexpected textural surprise. The added crunch will elevate the pie’s overall eating experience and provide delightful nutty undertones.
Presenting and Serving Apple Pie
Storing and Reheating Apple Pie
Print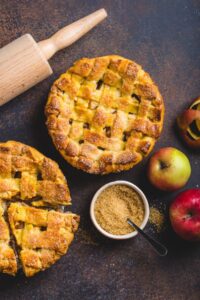
Rustic Apple Pie Recipe
- Total Time: 4 hours
- Yield: 8 1x
Description
Classic apple pie from scratch delights home bakers with its perfect balance of buttery crust and cinnamon-spiced fruit filling. Warm slices served with vanilla ice cream create a comforting dessert you’ll want to share with family and friends.
Ingredients
- 3 lbs (1.3 kg) tart apples
- 2 ⅔ cups (350 g) all-purpose flour
- 1 cup (225 g) unsalted butter, chilled
- 1 large (50 g) egg
- ¼ cup (50 g) granulated white sugar
- ⅓ cup (65 g) light brown sugar
- 2 tbsps (30 g) granulated white sugar
- 1 tsp ground cinnamon
- ¼ tsp ground nutmeg
- 1 tbsp lemon juice
- ¼ tsp (1 g) salt
- 1 tsp (4 g) kosher salt
- 1 ½ tbsps (15 g) cornstarch
- 2 tbsps (25 g) butter, cut into small pieces
- ½ – 1 tbsp water
- ¼ to ½ cup (60 – 120 ml) icy cold filtered water
- 1 tsp water
Instructions
- Prepare Apples: Slice apples in a large bowl, tossing with lemon juice to prevent discoloration, then combine with sugars, spices, and salt, ensuring even coating.
- Macerate Mixture: Position apples in a colander over a bowl, covering with plastic wrap, allowing natural juices to release for 1-2 hours to intensify flavor profile.
- Create Pie Dough: Pulse flour, salt, and sugar in a food processor, then add cold butter until mixture resembles coarse crumbs. Gradually incorporate cold water until dough forms a cohesive mass.
- Chill and Roll Dough: Divide dough into two portions, flatten into discs, wrap, and refrigerate for one hour. Roll each portion into 12-inch rounds, transferring one to a pie dish and keeping the second on a parchment-lined baking sheet.
- Prepare Filling Sauce: Reduce collected apple liquid in a saucepan, blend cornstarch with water to create a smooth slurry, then integrate into juices until translucent and cooled.
- Assemble Pie: Combine cooled sauce with drained apple slices, transfer to bottom crust, dot with butter pieces, cover with top crust, trim edges, and create steam vents.
- Finish and Bake: Brush with egg wash, sprinkle with sugar, then bake at 425°F (218°C) on a lower rack for 45-55 minutes, covering edges with foil after 30 minutes to prevent over-browning.
- Cool and Serve: Remove from oven and let pie cool completely on a wire rack for 3-4 hours before slicing and enjoying.
Notes
- Prevent Apple Browning: Coat slices immediately with lemon juice to maintain fresh color and prevent oxidation.
- Maximize Flavor Depth: Let apple mixture macerate 1-2 hours to intensify natural sweetness and develop complex taste profile.
- Perfect Pie Crust Technique: Keep butter and water extremely cold to ensure flaky, tender texture that separates into delicate layers.
- Strategic Baking Approach: Place baking sheet on lower oven rack to catch potential drips and promote even bottom crust browning.
- Prep Time: 1 hour
- Cook Time: 3 hours
- Category: Desserts
- Method: Baking
- Cuisine: British
Nutrition
- Serving Size: 8
- Calories: 450
- Sugar: 25 g
- Sodium: 300 mg
- Fat: 22 g
- Saturated Fat: 14 g
- Unsaturated Fat: 8 g
- Trans Fat: 0 g
- Carbohydrates: 60 g
- Fiber: 4 g
- Protein: 5 g
- Cholesterol: 75 mg
Michael Thompson
Founder & Culinary Director
Expertise
Classical & Contemporary Cooking Techniques, Global Cuisine Appreciation, Nutrition & Menu Engineering, Sustainable Cooking Practices, Farm-to-Table Cuisine
Education
Southwestern Oregon Community College
Michael grew up in Oregon, where he learned early that food tastes better when it’s fresh, local, and made with care.
After earning his degree from the Southwestern Oregon Community College, he focused his career on teaching others how to cook with the seasons, reduce food waste, and reconnect with what’s on their plate.
Michael keeps his cooking simple, sustainable, and full of flavor. His favorite part of the process? Watching people realize how easy and satisfying it can be to cook a single great meal from scratch.