Warm Joy Of Cooking Apple Crisp Recipe for Desserts
Craving a soul-warming apple crisp that whispers memories of cozy autumn afternoons?
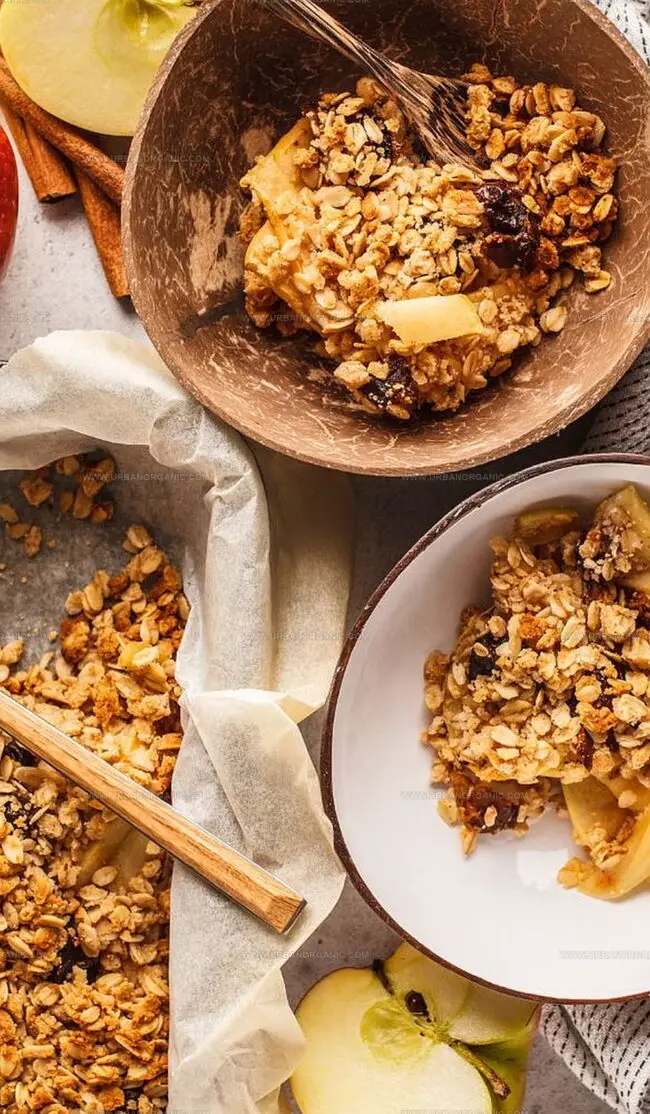
Baked to golden perfection, this dessert transforms humble ingredients into a spectacular culinary masterpiece.
Layers of tender, spiced apples mingle with a buttery, crumbly topping that promises pure comfort.
Each forkful delivers a symphony of textures – crisp, caramelized edges meeting soft, cinnamon-kissed fruit beneath.
Generations have savored this simple yet extraordinary treat, turning ordinary moments into cherished family gatherings.
The aroma alone will draw everyone into the kitchen, creating anticipation for that first heavenly bite.
Get ready to fall in love with a dessert that embodies pure, homemade happiness!
Quick Recipe Overview
Apple Crisp Ingredients Breakdown
For Crumble Topping:For Fruit Filling:For Serving:Essential Tools for Making Apple Crisp
Step-by-Step Instructions for Apple Crisp
Slide the oven rack right in the middle and fire it up to 375°F. Grab your favorite baking dish and give it a quick butter or spray coating to prevent sticking.
Grab a big mixing bowl and toss in flour, sugars, cinnamon, and a pinch of salt. Chop up cold butter and mix until it looks like sandy crumbs. Sprinkle in some crunchy nuts and rolled oats for extra texture. Set this heavenly mixture aside.
Peel and chop sweet apples into bite-sized pieces. Toss them with a splash of lemon juice and a sprinkle of sugar. Feel free to add some berries for extra excitement if you want.
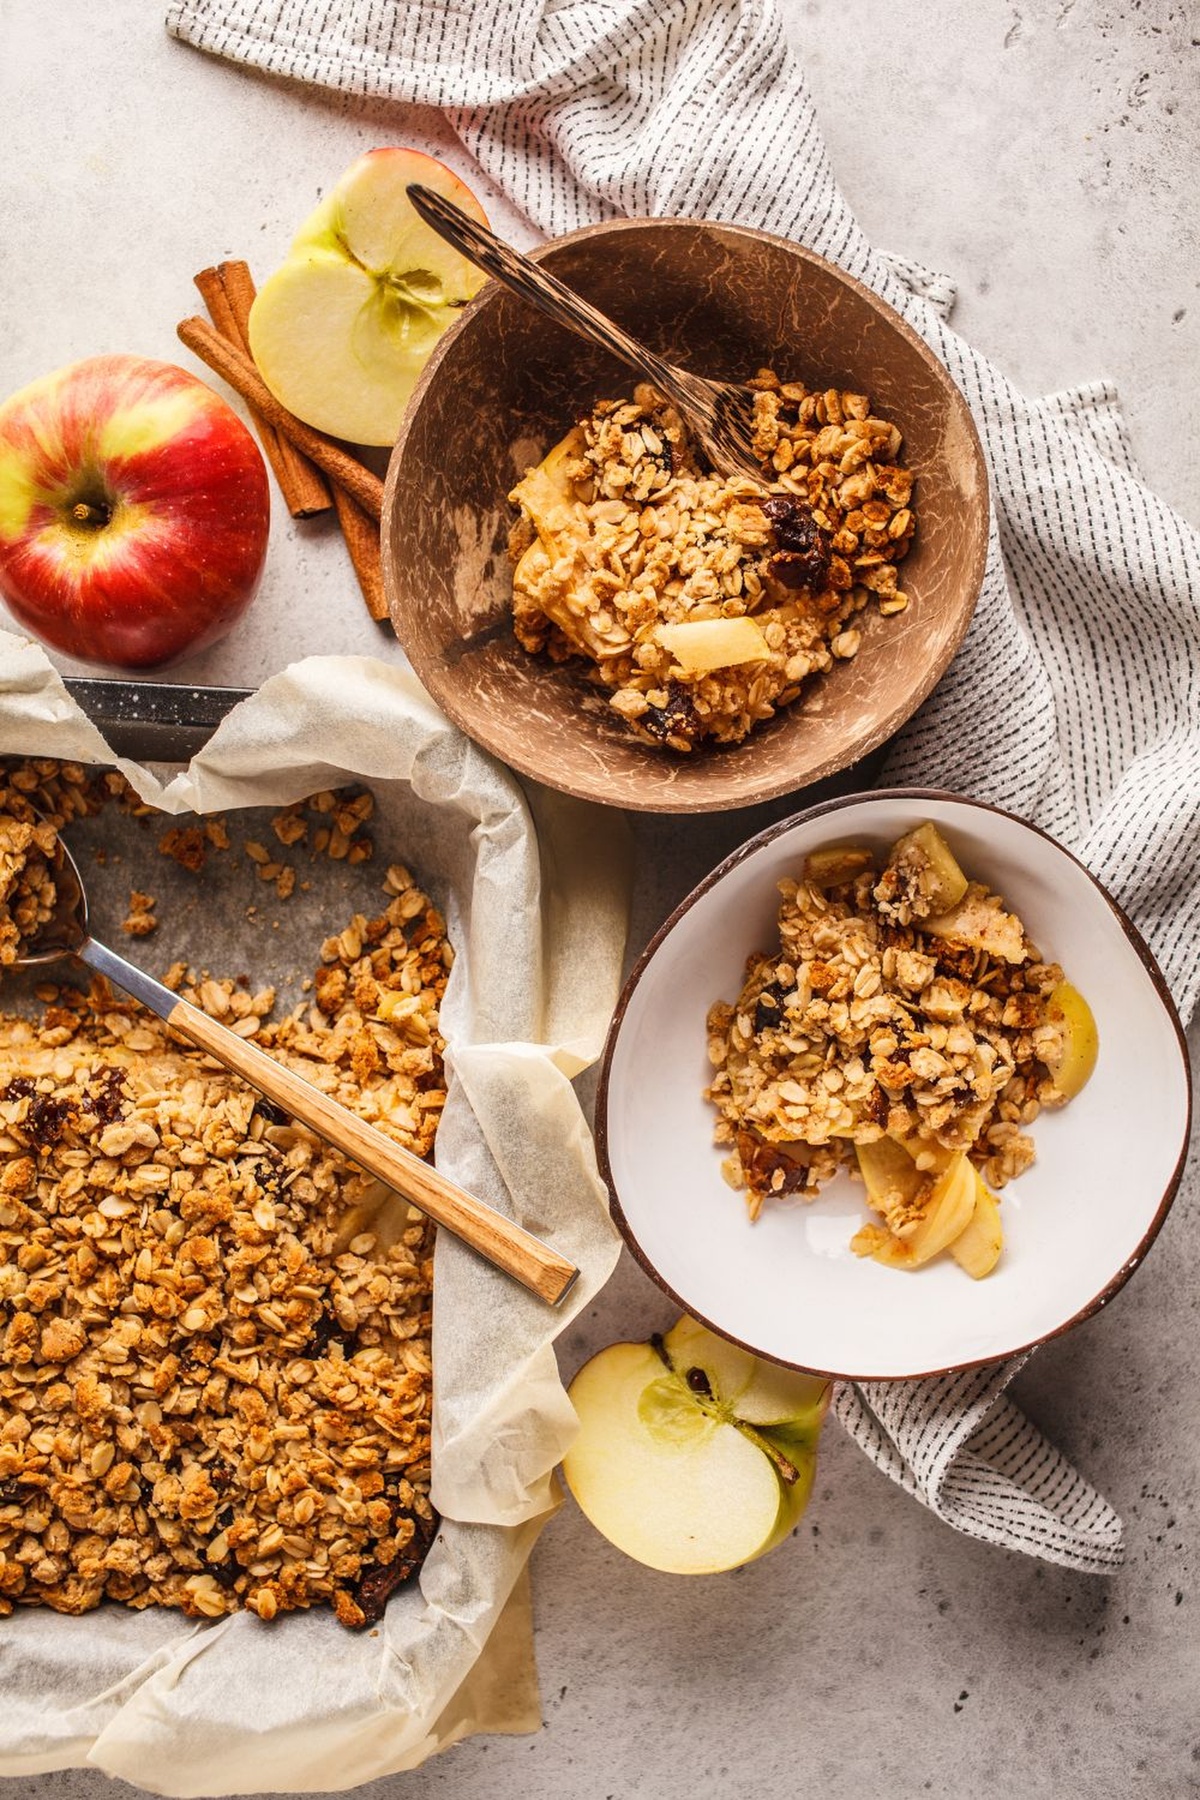
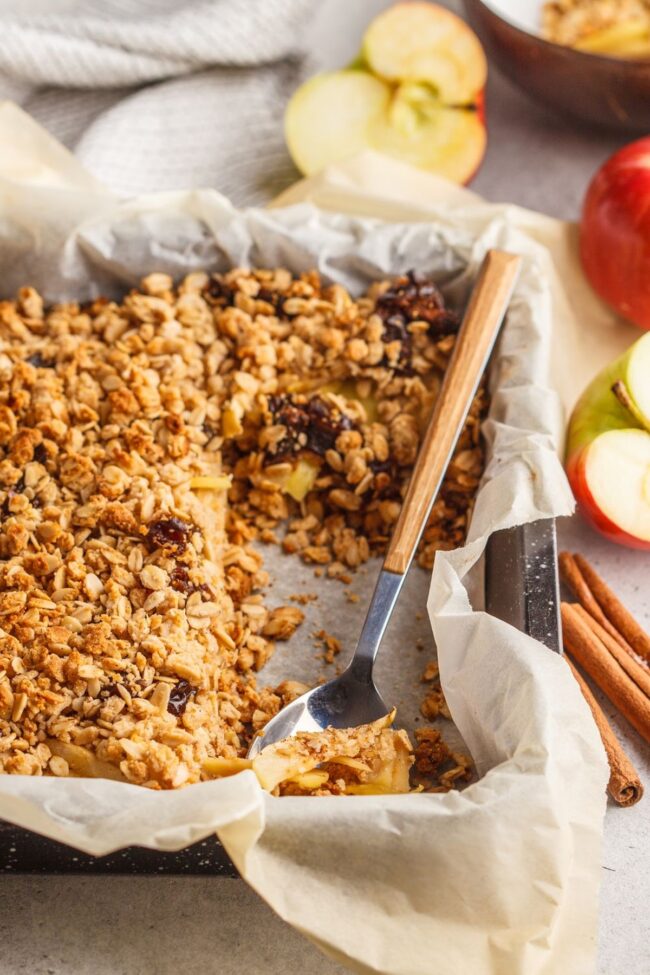
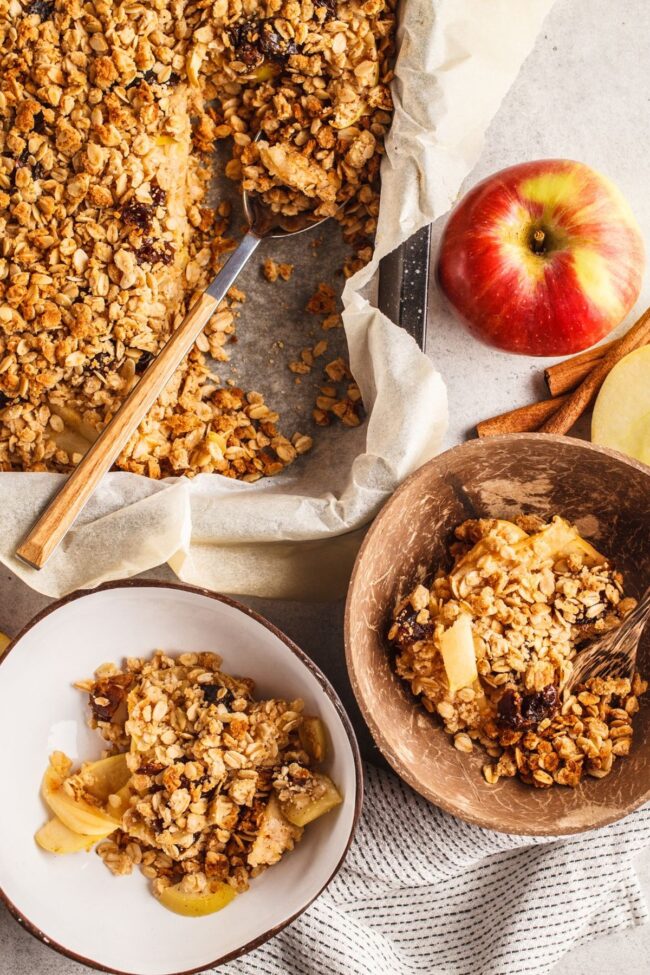
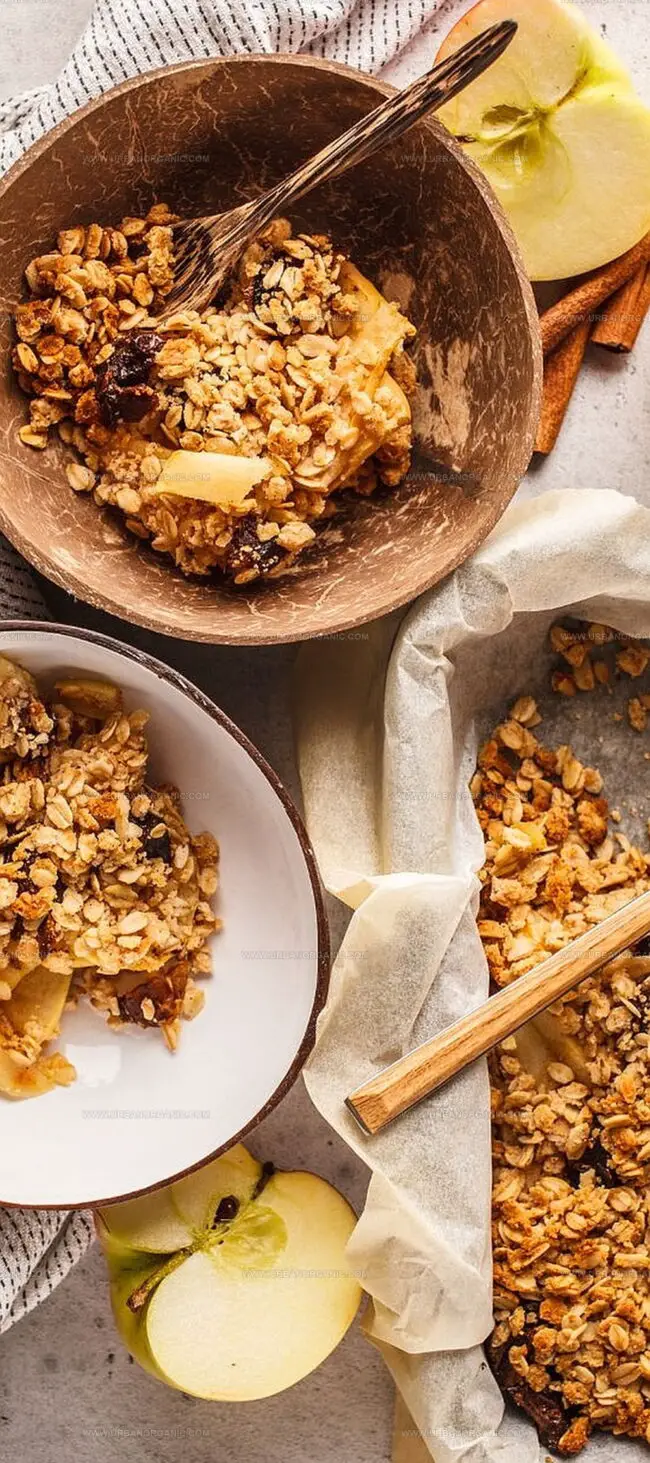
Pour the fruit mixture into your prepared dish. Lovingly spread the crumble topping all over, making sure every inch is covered with the delicious crumbly goodness.
Pop the dish into the oven and let it bake for 35-40 minutes. You’ll know it’s ready when the top turns a beautiful golden brown and the fruit starts bubbling around the edges. Poke the apples with a knife to check they’re perfectly tender.
Pull your masterpiece out of the oven and let it rest for about 25 minutes. Serve with a scoop of creamy vanilla ice cream or a dollop of whipped cream for the ultimate comfort dessert.
Apple Crisp Variations and Flavor Boosters
Mix and match different fruits like peaches, pears, or cherries to create unique flavor combinations that keep your dessert exciting and seasonal.
Toast nuts before adding them to the crumble topping to intensify their nutty flavor and create a more complex, crunchy texture that elevates the entire dessert.
Prepare the crisp up to 24 hours in advance and store covered in the refrigerator. When ready to serve, simply bake directly from the cold state, adding 5-10 minutes to the baking time.
Swap all-purpose flour with gluten-free flour blend for a celiac-friendly version. Replace butter with coconut oil for a dairy-free alternative that maintains the crisp’s rich, golden character.
Ways to Serve Up Apple Crisp
Tips on Keeping Apple Crisp Fresh
Print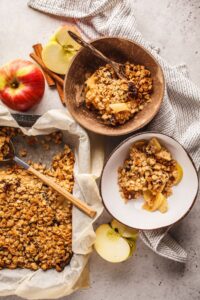
Rustic Apple Crisp Recipe
- Total Time: 50 minutes
- Yield: 8 1x
Description
Homemade apple crisp delights with sweet cinnamon-spiced apples nestled under a buttery oat crumble topping. Warm servings paired with vanilla ice cream create perfect comfort for autumn gatherings.
Ingredients
- 6 cups (750 g) apples (peeled, cored, and cut into 1-inch (2.5 cm) chunks)
- ½ cup (50 g) chopped walnuts or pecans
- 1 cup fresh blackberries or raspberries (optional)
- ½ cup (65 g) all-purpose flour
- ⅓ cup (30 g) old-fashioned rolled oats
- ¼ cup (55 g) light brown sugar
- 3 tablespoons (40 g) granulated white sugar, or to taste
- 6 tablespoons (85 g) cold unsalted butter, cut into pieces
- 1 tablespoon (5 g) lemon juice
- ½ teaspoon ground cinnamon
- 1/8 teaspoon salt
Instructions
- Preparation: Centralize oven rack and heat to 375°F (190°C). Coat a 9-inch deep dish pie pan or 8-inch square baking dish with cooking spray or butter.
- Crumb Topping: Blend flour, sugars, cinnamon, and salt in a mixing bowl. Cut cold butter into the mixture using a pastry blender until it resembles uneven crumbs. Fold in nuts and rolled oats, ensuring even distribution.
- Fruit Mixture: Toss apple chunks and berries with sugar and lemon juice in a large bowl, coating thoroughly to enhance flavor and prevent oxidation.
- Assembly: Transfer fruit mixture into prepared baking dish, spreading evenly. Sprinkle crumb topping uniformly over the fruit, ensuring complete coverage.
- Baking: Place in preheated oven and bake for 35-45 minutes until fruit bubbles and topping turns golden-brown. Check fruit tenderness by inserting a sharp knife – apples should be soft but not mushy.
- Finishing: Remove from oven and cool on a wire rack for 25-30 minutes, allowing filling to set. Serve warm, accompanied by vanilla ice cream or freshly whipped cream.
Notes
- Select Perfect Apples: Choose firm, tart varieties like Granny Smith or Honeycrisp for balanced sweetness and structure that hold shape during baking.
- Prevent Apple Browning: Toss apple chunks in lemon juice immediately after cutting to maintain fresh color and prevent oxidation.
- Create Crispy Topping: Ensure butter is cold when mixing with dry ingredients to achieve a crumbly, crunchy texture that doesn’t become soggy.
- Baking Precision: Allow crisp to rest after baking so filling sets and develops rich, concentrated flavors before serving.
- Prep Time: 20 minutes
- Cook Time: 30 minutes
- Category: Desserts, Snacks
- Method: Baking
- Cuisine: American
Nutrition
- Serving Size: 8
- Calories: 350
- Sugar: 25 g
- Sodium: 150 mg
- Fat: 18 g
- Saturated Fat: 8 g
- Unsaturated Fat: 9 g
- Trans Fat: 0 g
- Carbohydrates: 45 g
- Fiber: 5 g
- Protein: 3 g
- Cholesterol: 30 mg
Michael Thompson
Founder & Culinary Director
Expertise
Classical & Contemporary Cooking Techniques, Global Cuisine Appreciation, Nutrition & Menu Engineering, Sustainable Cooking Practices, Farm-to-Table Cuisine
Education
Southwestern Oregon Community College
Michael grew up in Oregon, where he learned early that food tastes better when it’s fresh, local, and made with care.
After earning his degree from the Southwestern Oregon Community College, he focused his career on teaching others how to cook with the seasons, reduce food waste, and reconnect with what’s on their plate.
Michael keeps his cooking simple, sustainable, and full of flavor. His favorite part of the process? Watching people realize how easy and satisfying it can be to cook a single great meal from scratch.