
Heavenly Red Velvet Cheesecake Trifle Recipe Ever
Something magical happens when red velvet cheesecake trifle meets your dessert dreams head-on.
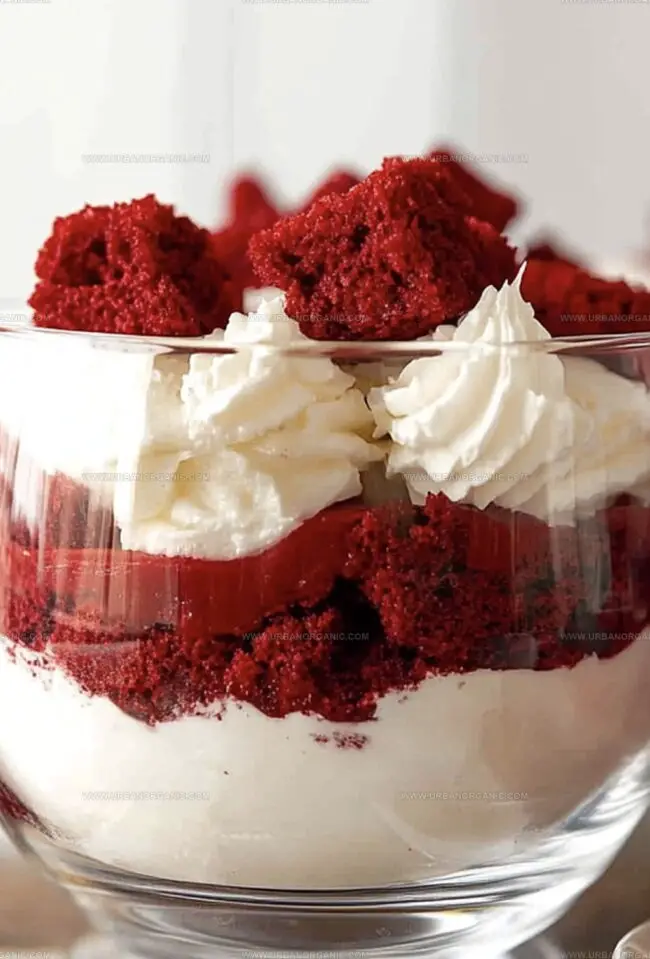
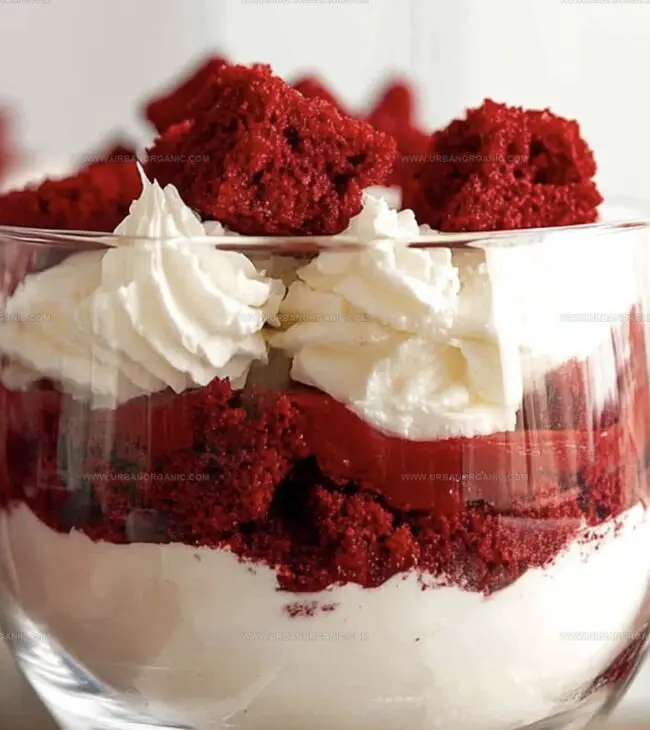
Sweet layers of crimson cake whisper decadent promises with each spoonful.
Creamy cheesecake mingles perfectly with soft, velvety cake crumbs.
Delicate textures dance between rich cream and tender cake pieces.
Subtle chocolate notes peek through the dreamy landscape of this delightful treat.
Each bite promises a symphony of indulgence that melts deliciously on your tongue.
Prepare to experience a dessert that transforms ordinary moments into extraordinary memories.
Why Red Velvet Cheesecake Trifle Is a Showstopper
What You’ll Need for Red Velvet Cheesecake Trifle
Cake Base:Cheesecake Filling:Garnish and Decoration:How to Assemble Red Velvet Cheesecake Trifle
Step 1: Bake Delicious Red Velvet Cake
Follow the red velvet cake package instructions or your favorite recipe. Use a 9×13-inch pan and let the cake cool completely after baking.
Step 2: Slice Cake into Cubes
Cut the cooled cake into neat 1-inch cubes, ensuring uniform size for perfect layering.
Step 3: Whip Creamy Cheese Mixture
In a large mixing bowl, blend:Beat until the mixture becomes smooth and silky.
Step 4: Create Fluffy Whipped Cream
In a separate bowl, whip together:Whip until stiff peaks form, creating a light and airy texture.
Step 5: Combine Cheese and Cream
Gently fold the whipped cream into the cream cheese mixture. Mix until perfectly blended and wonderfully fluffy.
Step 6: Build Stunning Layers
In a large trifle dish or individual serving glasses, create beautiful layers:Repeat these layers until all ingredients are used, finishing with a crown of whipped cream.
Step 7: Add Gorgeous Garnish
Sprinkle on top:Step 8: Chill and Set
Refrigerate the trifle for at least one hour before serving, allowing the flavors to meld and layers to set perfectly.
Smart Tricks for Red Velvet Cheesecake Trifle
Red Velvet Cheesecake Trifle: Keep It Fresh
Perfect Pairings for Red Velvet Cheesecake Trifle
Red Velvet Cheesecake Trifle Variations to Explore
Your Red Velvet Cheesecake Trifle Questions, Answered
Yes, you can prepare the trifle up to 24 hours in advance. Keep it refrigerated and add any fresh garnishes just before serving to maintain their texture and flavor.
Absolutely! A homemade red velvet cake works perfectly and can enhance the overall flavor of the trifle. Just ensure the cake is completely cooled before cubing.
Layer the cake cubes gently and don’t overmix the layers. Adding the cheesecake filling carefully helps maintain the cake’s texture and prevents excessive moisture absorption.
You can use low-fat cream cheese or Greek yogurt for a lighter version. For a non-dairy option, try coconut cream instead of heavy cream, though the texture might slightly differ.
Print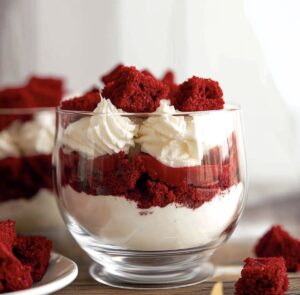
Red Velvet Cheesecake Trifle Recipe
- Total Time: 1 hour
- Yield: 8 1x
Description
Indulgent layers of red velvet cheesecake trifle promise pure dessert bliss with creamy richness and velvety texture. Chocolate lovers will savor each luxurious spoonful of this classic Southern-inspired sweet sensation.
Ingredients
Main Ingredients:
- 1 box (15.25 oz / 432 g) red velvet cake mix
- 8 oz (225 g) cream cheese, softened
- 1 ½ cups (360 ml) heavy whipping cream
Cake Mix Additional Ingredients:
- Eggs (as per cake mix instructions)
- Oil (as per cake mix instructions)
- Water (as per cake mix instructions)
Finishing and Topping Ingredients:
- 1 cup (120 g) powdered sugar
- 2 tablespoons powdered sugar
- 1 teaspoon vanilla extract
- 1 teaspoon vanilla extract
- 1 cup (240 ml) heavy whipping cream
- Red velvet cake crumbs
- White chocolate shavings
- Fresh berries
Instructions
- Transform the red velvet cake into a delectable dessert by first preparing the cake according to the package or recipe guidelines, using a 9×13-inch pan for even baking.
- Allow the cake to cool completely, then meticulously slice it into precise 1-inch cubes, ensuring uniform size for optimal layering.
- In a spacious mixing bowl, whip the cream cheese until silky, gradually incorporating powdered sugar and vanilla extract to create a luxurious, smooth base.
- Simultaneously, in a separate vessel, whisk the heavy cream with granulated sugar, achieving stiff, billowing peaks that promise a light, airy texture.
- Delicately fold the whipped cream into the cream cheese mixture, blending with gentle strokes to maintain the ethereal lightness while creating a harmonious filling.
- Select a grand trifle dish or elegant individual glasses as your canvas, beginning the architectural process by laying a foundation of red velvet cake cubes.
- Generously spread a lavish layer of the cheesecake filling over the cake cubes, followed by a cloud-like layer of whipped topping.
- Repeat the layering technique, building height and complexity with each stratum of cake, filling, and cream until all ingredients are elegantly incorporated.
- Culminate the masterpiece with a final flourish of whipped topping, then adorn with a sophisticated scattering of white chocolate shavings, crimson red velvet crumbs, or vibrant fresh berries.
- Refrigerate the assembled trifle for a minimum of one hour, allowing the layers to meld and set, intensifying the dessert’s rich flavors and textures.
Notes
- Moisture Magic: Slightly underbake the red velvet cake to keep it tender and prevent dryness when layering in the trifle.
- Flavor Boost: Add a splash of Kahlua or Bailey’s to the cake layers for an adult version that enhances the richness.
- Temperature Trick: Ensure cream cheese is completely room temperature to create a smooth, lump-free filling that blends seamlessly.
- Make-Ahead Marvel: Prepare this dessert a day in advance to let flavors meld and develop deeper, more complex taste profiles.
- Prep Time: 30 minutes
- Cook Time: 30 minutes
- Category: Desserts, Snacks
- Method: Baking
- Cuisine: American
Nutrition
- Serving Size: 8
- Calories: 520
- Sugar: 38 g
- Sodium: 450 mg
- Fat: 35 g
- Saturated Fat: 21 g
- Unsaturated Fat: 10 g
- Trans Fat: 0 g
- Carbohydrates: 52 g
- Fiber: 1 g
- Protein: 6 g
- Cholesterol: 90 mg
Jessica Martinez
Pastry Chef & Recipe Developer
Expertise
Organic Baking Techniques, Gluten-Free Recipe Development, Southwestern Dessert Specialties, Food Styling and Photography
Education
Santa Fe Community College (SFCC)
Jessica brings the sweet side to Urban Organic with her passion for baking and love for the Southwest. She trained at Santa Fe Community College and has built a career creating beautiful, gluten-free, and organic desserts that feel both nostalgic and new.
She believes baking should be fun, creative, and open to everyone, no matter your diet or skill level. Jessica’s recipes are simple enough to follow, but special enough to remember.