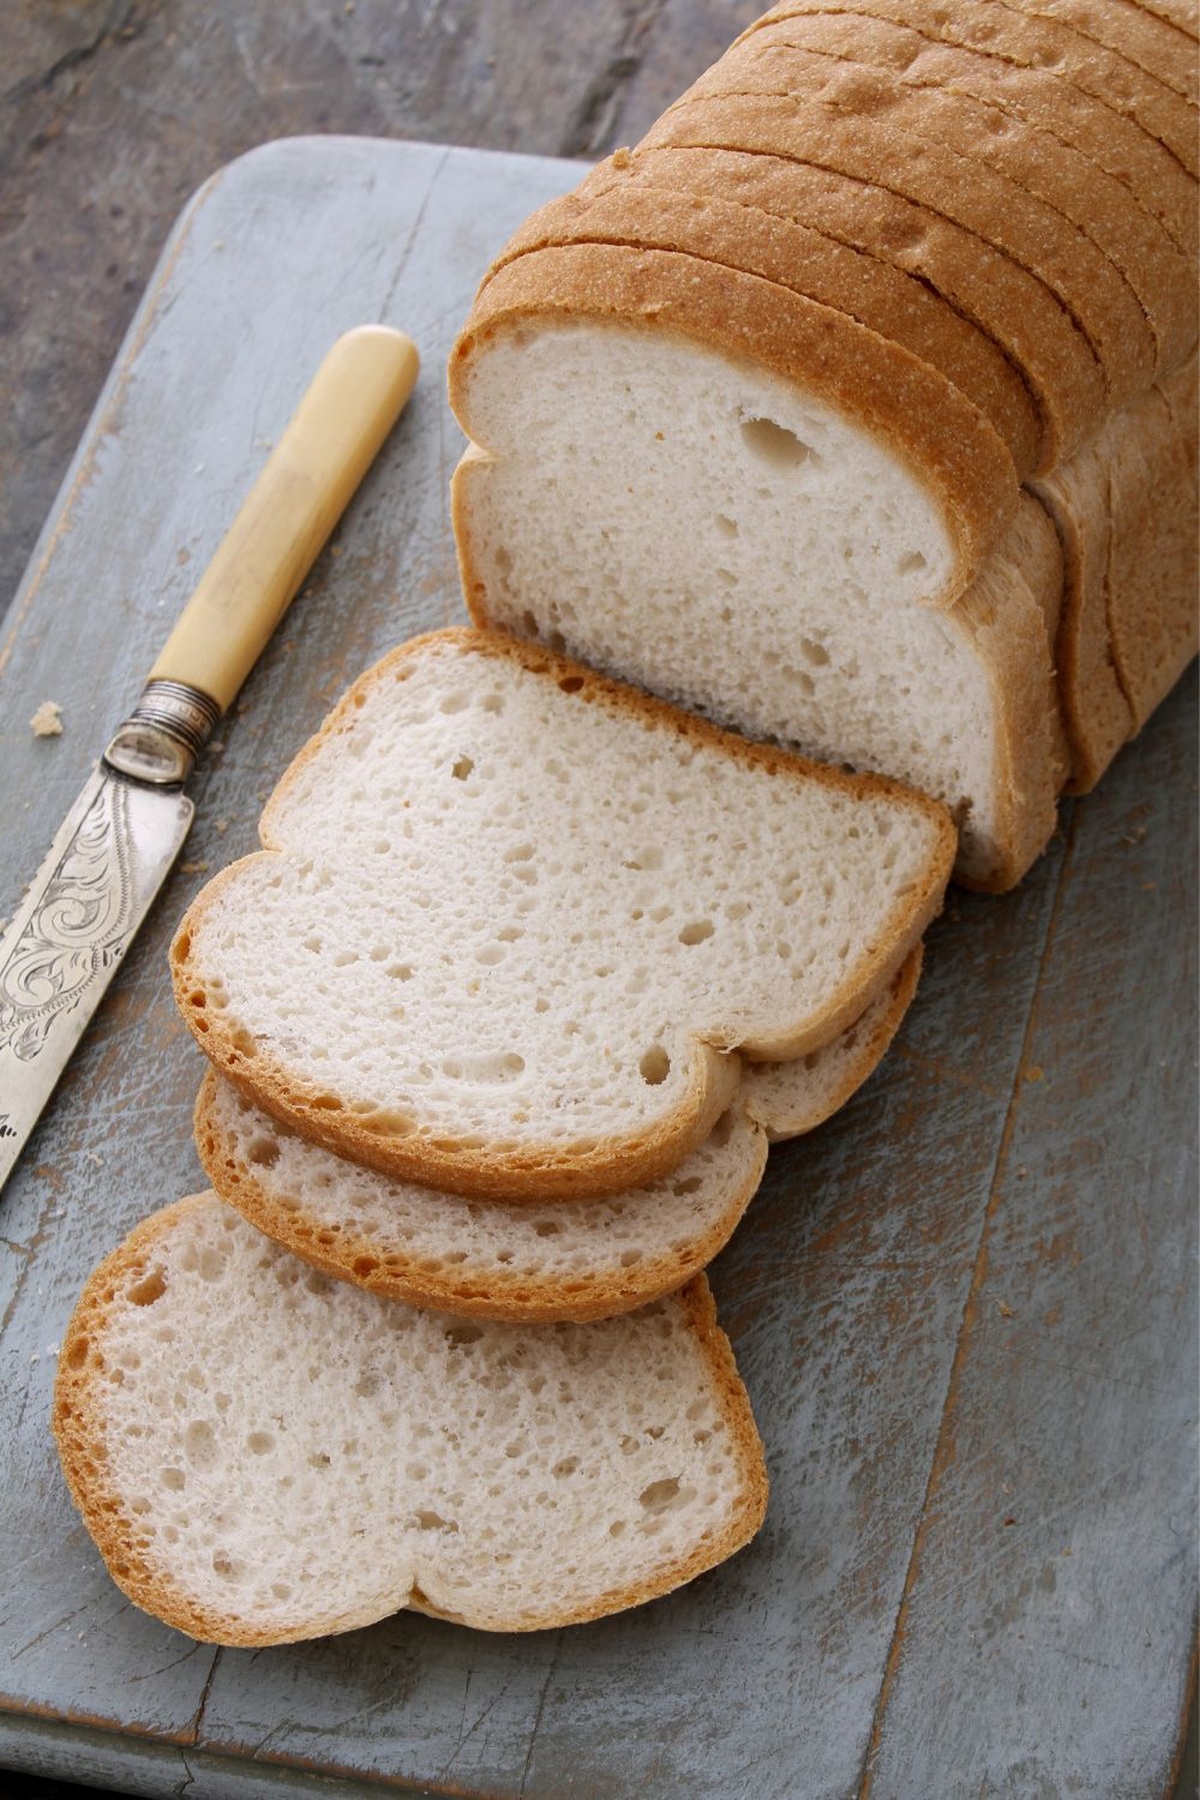
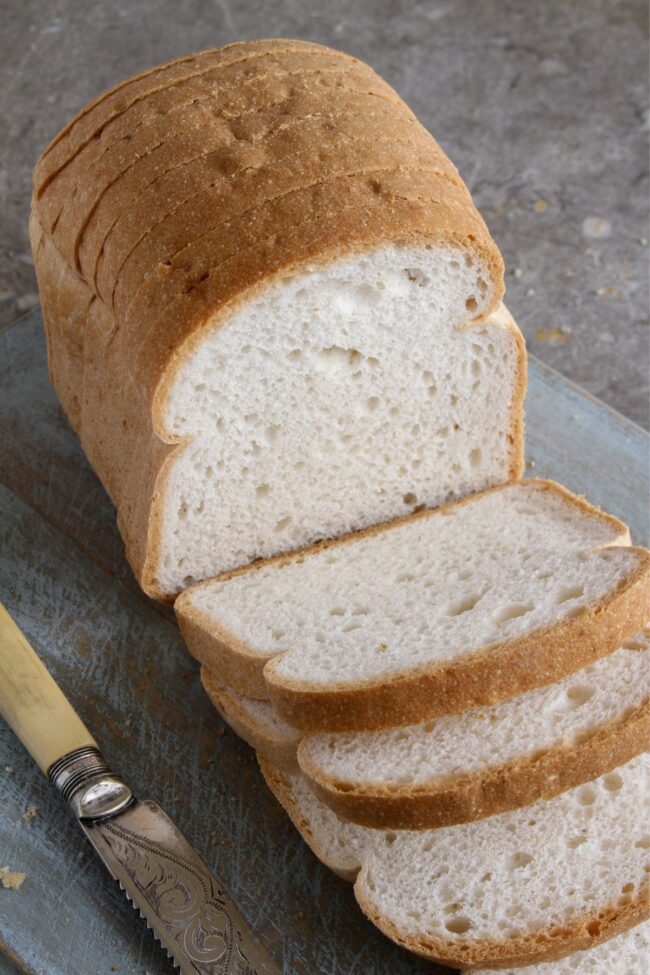
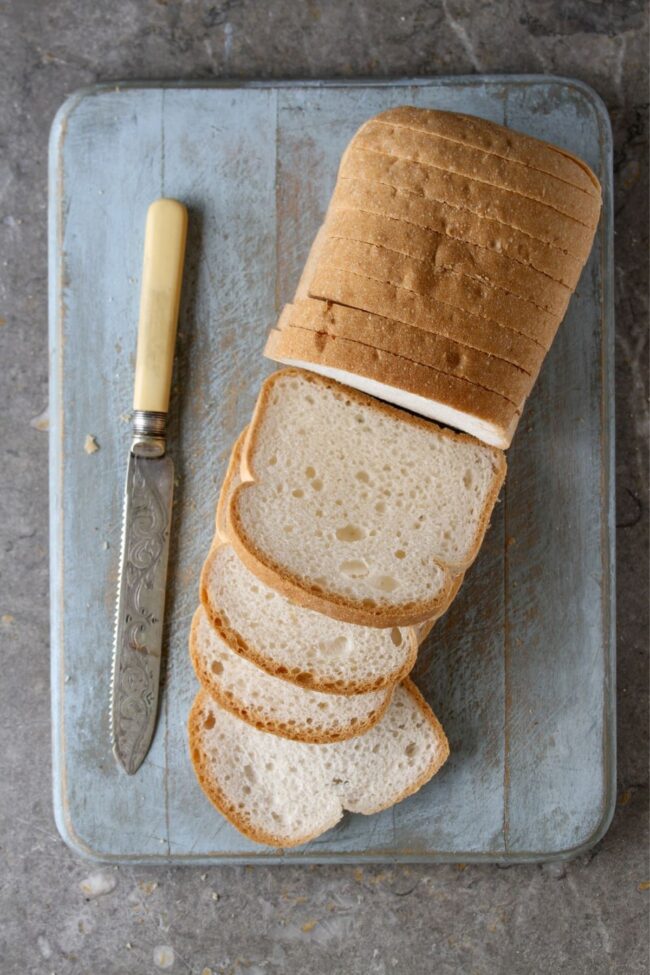
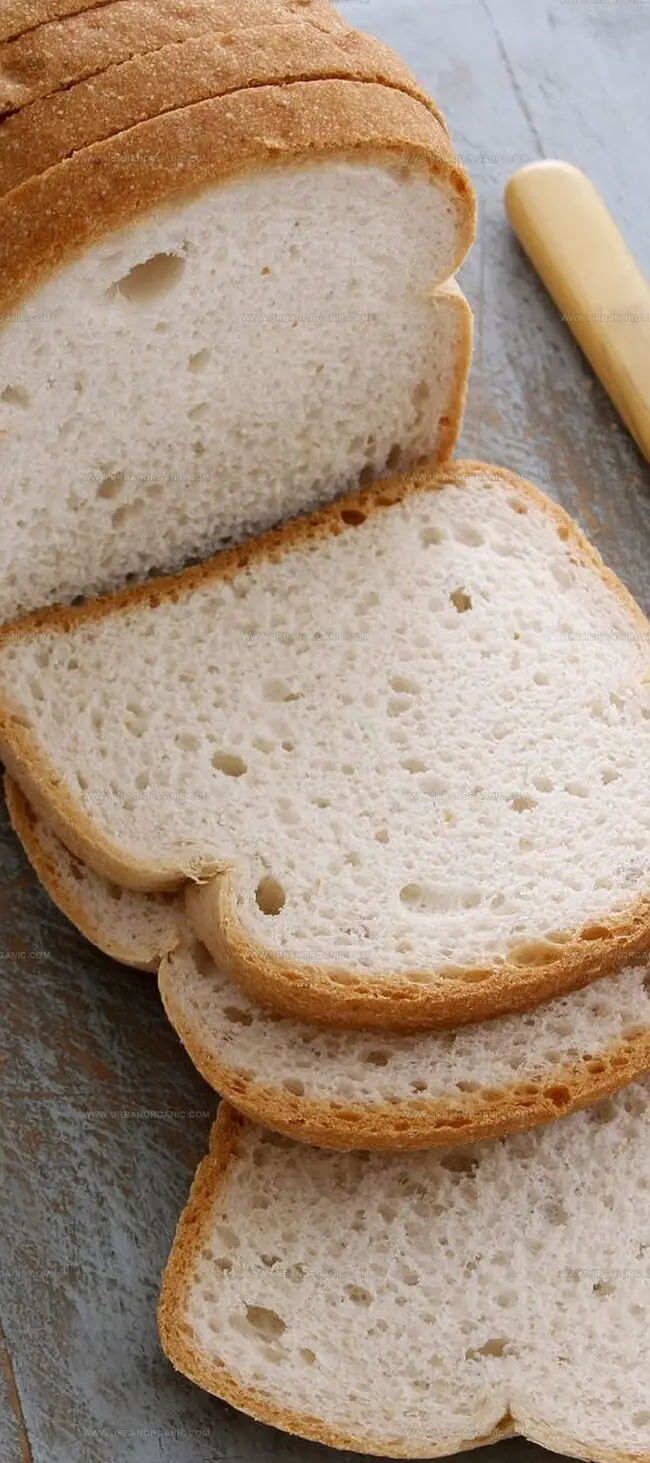
Homemade White Bread Recipe: Soft, Golden Happiness
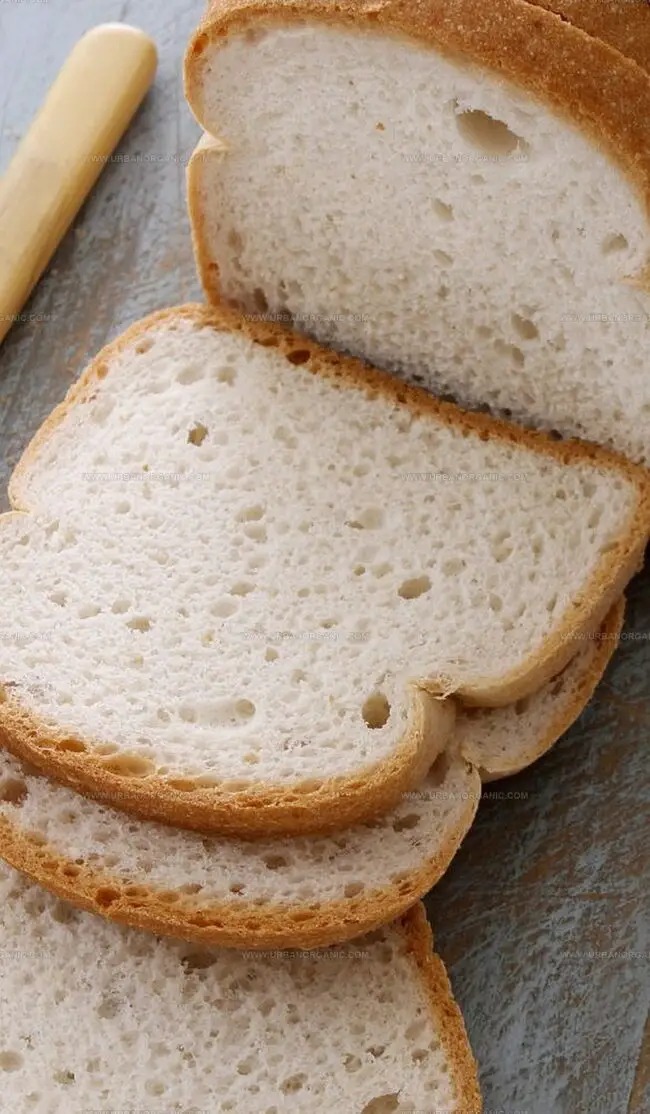
White bread from joy of cooking transforms humble pantry staples into a cloud-soft marvel that beckons hungry souls.
Bakers worldwide cherish this classic recipe for its foolproof methodology and mouthwatering results.
Whisper-light crumbs emerge from a dance of simple ingredients blending seamlessly.
Each kneading motion connects you to generations of home cooks who perfected this culinary art.
Warm, golden loaves promise comfort beyond mere sustenance, filling kitchens with irresistible aromas.
The magic happens when flour, yeast, and love intertwine to create something extraordinary.
This recipe will turn even novice bakers into confident bread makers who craft edible memories with every slice.
Quick Recipe Overview
Ingredients for a Simple White Bread Recipe
For Dry Ingredients:For Wet Ingredients:For Finishing:Bread-Making Tools for Perfect Results
How to Bake Fresh White Bread at Home
Unleash Your Bread-Making Magic
Gather all your baking tools and ingredients. Clear a spacious counter, grab a mixing bowl, and set up your kitchen for a delightful bread-making adventure. Warm up your kitchen and get ready to create something amazing.
Combine your ingredients in a large bowl, mixing them with enthusiasm. Work the dough vigorously, kneading it until it becomes smooth and elastic. Your hands will transform the ingredients into a beautiful, stretchy mixture that promises a delectable loaf.
Transfer your dough to a cozy, oiled bowl and cover it gently. Find a warm, peaceful spot in your kitchen where the dough can relax and grow. Watch with excitement as it expands and becomes puffy, nearly doubling in size.
Gently deflate the risen dough and shape it into a beautiful loaf. Nestle it into a greased pan, giving it one more chance to rise and become light and airy. This is where the magic truly happens.
Slide your bread into a preheated oven, transforming your kitchen with the incredible aroma of fresh-baked goodness. Bake until the top turns a gorgeous golden brown and the bread sounds hollow when tapped – a sign of bread-baking perfection.
Carefully remove your masterpiece from the oven and let it cool on a wire rack. Resist the temptation to slice immediately! Patience rewards you with perfectly textured bread that’s ready to be enjoyed with your favorite spread or simply on its own.
Tips for Making Bread Softer or Crustier
Fresh Serving Ideas for White Bread
Freezing and Storing Homemade White Bread
Print
Pillowy White Bread Recipe
- Total Time: 1 hour
- Yield: 2 1x
Description
Masterful white bread from American kitchens offers a classic homemade experience with simple ingredients and straightforward techniques. Warm slices with butter create comfort for families gathering around their dinner table.
Ingredients
- 3 cups (720 ml) bread flour
- 1 cup (240 ml) warm water (115-125°F)
- 2.25 tsp active dry yeast
- 1.5 tsp salt
- 1 tbsp sugar
- 2 tbsps softened butter
Instructions
- Mixing Preparation: Energetically blend all ingredients in a spacious mixing bowl, kneading continuously until a supple, elastic dough emerges with seamless ingredient integration.
- Initial Proofing: Relocate the dough to a lightly lubricated ceramic vessel, enveloping it with a breathable cover to establish an ideal fermentation environment, allowing the mixture to ascend in a temperature-controlled setting for 30-40 minutes until volume doubles.
- Shaping and Secondary Proofing: Tenderly manipulate the risen dough, positioning it into a greased loaf pan with meticulous care, ensuring uniform distribution. Allow a secondary rest period of 25-35 minutes, observing subtle expansion and slight dome development.
- Thermal Preparation: Activate the oven to 230 degrees Celsius, transitioning to 175 degrees Celsius after initial 10-minute high-temperature exposure. This strategic temperature manipulation promotes optimal crust formation and internal texture.
- Baking Process: Position the loaf in the preheated oven, monitoring its transformation for 25-35 minutes. Target a rich golden-brown exterior and confirm doneness by verifying internal temperature reaches 88-90 degrees Celsius.
- Cooling Protocol: Immediately transfer the baked loaf to a wire cooling rack, permitting complete temperature reduction for 60-90 minutes before slicing to preserve structural integrity and moisture balance.
Notes
- Ensure Precise Dough Consistency: Knead the dough thoroughly to develop gluten structure, which creates the bread’s signature soft and elastic texture.
- Master the Rising Environment: Choose a consistently warm, draft-free spot like near a preheated oven or on top of a warm appliance to help dough rise effectively.
- Check Bread Doneness Accurately: Use an instant-read thermometer to confirm internal temperature, as visual cues can sometimes be misleading for perfect bread baking.
- Handle Cooling Process Carefully: Allow complete cooling before slicing to prevent moisture loss and maintain the bread’s delicate crumb structure and overall quality.
- Prep Time: 20 minutes
- Cook Time: 40 minutes
- Category: Breakfast, Lunch, Snacks
- Method: Baking
- Cuisine: American
Nutrition
- Serving Size: 2
- Calories: 150
- Sugar: 1 g
- Sodium: 230 mg
- Fat: 3 g
- Saturated Fat: 1 g
- Unsaturated Fat: 2 g
- Trans Fat: 0 g
- Carbohydrates: 28 g
- Fiber: 1 g
- Protein: 4 g
- Cholesterol: 5 mg
Michael Thompson
Founder & Culinary Director
Expertise
Classical & Contemporary Cooking Techniques, Global Cuisine Appreciation, Nutrition & Menu Engineering, Sustainable Cooking Practices, Farm-to-Table Cuisine
Education
Southwestern Oregon Community College
Michael grew up in Oregon, where he learned early that food tastes better when it’s fresh, local, and made with care.
After earning his degree from the Southwestern Oregon Community College, he focused his career on teaching others how to cook with the seasons, reduce food waste, and reconnect with what’s on their plate.
Michael keeps his cooking simple, sustainable, and full of flavor. His favorite part of the process? Watching people realize how easy and satisfying it can be to cook a single great meal from scratch.