Magical Peppermint Gooey Bars Recipe for Festive Treats
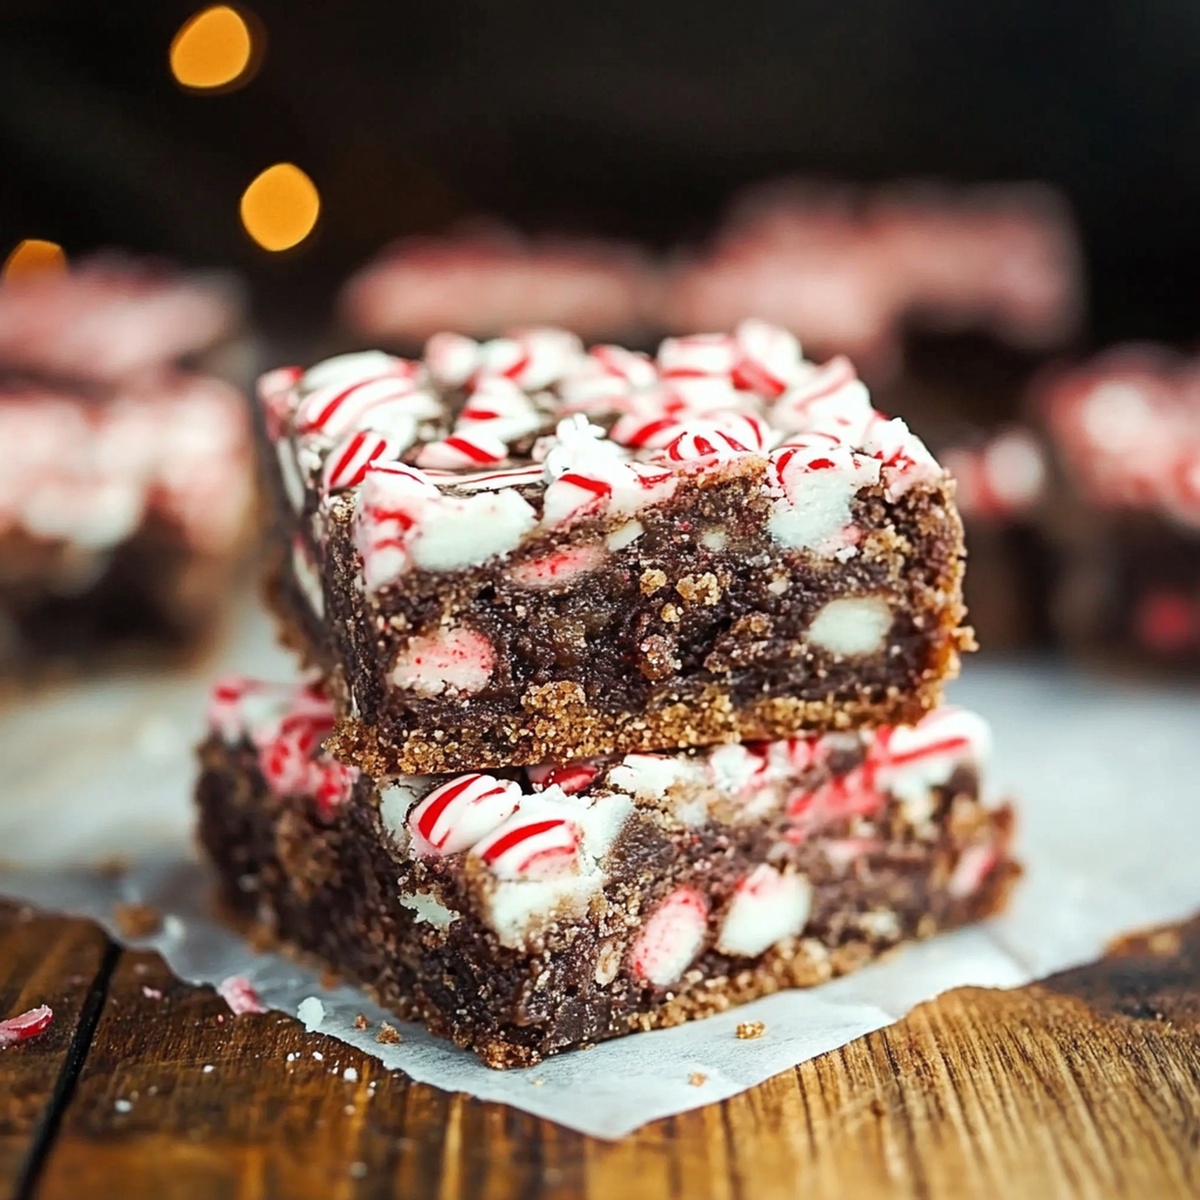
Delectable peppermint gooey bars promise a wintertime treat that melts right through dessert expectations.
Chocolate chips and crushed candy canes create magical moments in every single bite.
Sweet layers of decadence combine into something truly spectacular.
Cold evenings call for warm, indulgent snacks that comfort and surprise you.
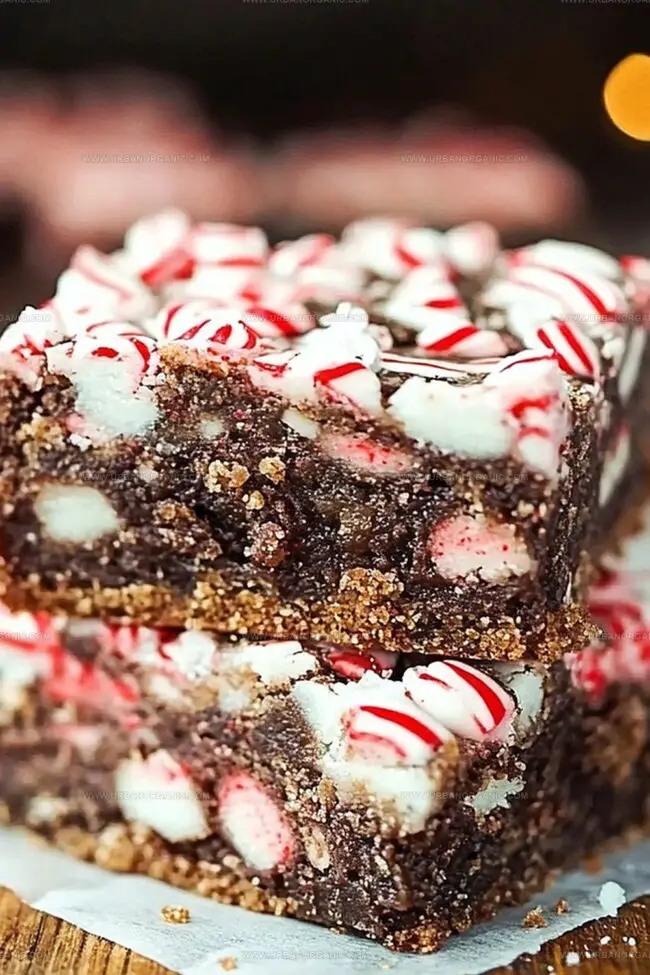
Creamy textures mingle with rich chocolate undertones, delivering pure satisfaction.
Minimal ingredients mean maximum enjoyment awaits your kitchen adventures.
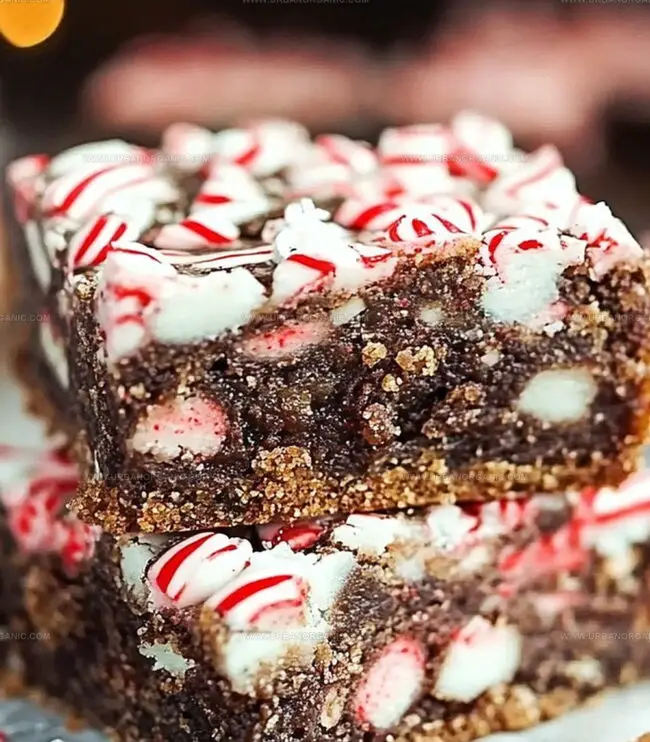
These bars will become your new favorite holiday sensation that everyone craves.
Make them and watch pure delight spread across hungry faces.
Peppermint Gooey Bars Full of Cool Sweetness
What to Add When Making Peppermint Gooey Bars
Base:Filling and Topping:Garnish:Baking Directions for Peppermint Gooey Bars
Step 1: Wake Up the Oven
Turn the oven to 350°F.
Grab a 9×9-inch pan and line it with parchment paper or give it a quick spray of cooking oil.
Step 2: Create the Magic Base
Gather ingredients:Mix everything in a large bowl until the mixture looks smooth and dreamy.
Press about two-thirds of the dough into the bottom of the pan, creating a solid foundation.
Step 3: Layer the Delicious Filling
Sprinkle across the dough:Pour sweetened condensed milk evenly over the top, letting it spread its creamy goodness.
Step 4: Top and Bake
Crumble the remaining dough over the top – don’t worry if it doesn’t completely cover everything.
Slide the pan into the oven and bake for 25-30 minutes until the edges turn golden and the center looks perfectly gooey.
Step 5: Cool and Celebrate
Let the bars rest for at least an hour.
Slice into delectable squares.
For extra festive flair, shower with additional crushed candy canes.
Tips for Gooey, Minty, Delicious Layers
Store Peppermint Gooey Bars Like a Pro
Great Pairings for Peppermint Gooey Bars
Ways to Change Up Peppermint Gooey Bars
FAQs for Making Peppermint Gooey Bars
The peppermint extract and crushed candy canes are the key ingredients that provide the signature peppermint taste and holiday-inspired flavor to these gooey bars.
Yes, you can substitute the cake mix with vanilla or white cake mix, but using a white cake mix will provide the best base for the peppermint flavors and keep the bars looking light and festive.
Look for golden brown edges and a center that is set but still slightly gooey. The bars will continue to set as they cool, so don’t overbake them to maintain that signature soft, gooey texture.
Absolutely! These Peppermint Gooey Bars are perfect for holiday parties, cookie exchanges, and Christmas gatherings. They’re easy to make and offer a delightful blend of sweet and minty flavors that everyone will love.
Print
Peppermint Gooey Bars Recipe
- Total Time: 40 minutes
- Yield: 12 1x
Description
Indulgent peppermint gooey bars offer winter’s most delightful dessert escape from ordinary sweets. Creamy chocolate and cool mint layers create a festive treat that melts in your mouth and warms your holiday spirit.
Ingredients
Main Ingredients:
- 1 box (15.25 ounces / 432 grams) white or vanilla cake mix
- 1 can (14 ounces / 397 grams) sweetened condensed milk
- 1 cup (180 grams) white chocolate chips
Binding and Flavor Ingredients:
- ½ cup (115 grams / ½ cup) unsalted butter, melted
- 1 egg
- 1 teaspoon vanilla extract
- ½ teaspoon peppermint extract
Topping Ingredients:
- ½ cup (60 grams) crushed candy canes
Instructions
- Prepare the kitchen workspace by positioning the oven rack in the center and heating to 350°F, ensuring a precise temperature for consistent baking results.
- Create a non-stick surface inside a 9×9-inch baking pan by carefully lining it with parchment paper or applying a light butter coating to prevent sticking.
- Combine the cake mix, melted butter, egg, vanilla essence, and peppermint extract in a spacious mixing bowl, stirring until the mixture transforms into a cohesive, smooth dough.
- Distribute approximately two-thirds of the prepared dough evenly across the pan’s bottom, using gentle fingertip pressure to create a uniform base layer.
- Artfully scatter white chocolate chips and finely pulverized candy cane fragments across the initial dough layer, creating a delightful textural landscape.
- Drizzle sweetened condensed milk uniformly over the chip and candy cane surface, allowing it to seep between the delicate ingredients.
- Delicately crumble the remaining dough across the top, embracing an intentionally incomplete coverage that will create an appealing rustic appearance.
- Transfer the pan to the preheated oven and bake for 25-30 minutes, watching for golden-brown edges and a center that maintains a seductive, gooey consistency.
- Remove from the oven and allow the bars to cool completely for one hour, enabling the layers to set and flavors to harmonize.
- Optional: Enhance the festive presentation by sprinkling additional crushed candy cane pieces across the surface before serving.
Notes
- Boost Moisture by using room temperature ingredients, ensuring a smooth, well-blended base that creates a tender, soft texture in the bars.
- Customize Flavor Intensity by adjusting peppermint extract; start with half the recommended amount and taste, gradually increasing to prevent overwhelming mintiness.
- Control Gooeyness through precise baking time; remove bars when edges are golden but center remains slightly jiggly, as they’ll continue setting while cooling.
- Make Gluten-Free by substituting cake mix with a gluten-free alternative and ensuring all other ingredients are certified gluten-free for those with dietary restrictions.
- Prep Time: 10 minutes
- Cook Time: 30 minutes
- Category: Desserts, Snacks
- Method: Baking
- Cuisine: American
Nutrition
- Serving Size: 12
- Calories: 149
- Sugar: 7 g
- Sodium: 75 mg
- Fat: 7 g
- Saturated Fat: 4 g
- Unsaturated Fat: 2 g
- Trans Fat: 0 g
- Carbohydrates: 20 g
- Fiber: 1 g
- Protein: 2 g
- Cholesterol: 16 mg
Jessica Martinez
Pastry Chef & Recipe Developer
Expertise
Organic Baking Techniques, Gluten-Free Recipe Development, Southwestern Dessert Specialties, Food Styling and Photography
Education
Santa Fe Community College (SFCC)
Jessica brings the sweet side to Urban Organic with her passion for baking and love for the Southwest. She trained at Santa Fe Community College and has built a career creating beautiful, gluten-free, and organic desserts that feel both nostalgic and new.
She believes baking should be fun, creative, and open to everyone, no matter your diet or skill level. Jessica’s recipes are simple enough to follow, but special enough to remember.