
Heavenly Homemade Peanut Butter Cups Recipe for Sweet Smiles
Crafting homemade peanut butter cups can turn an ordinary afternoon into a delightful culinary adventure.
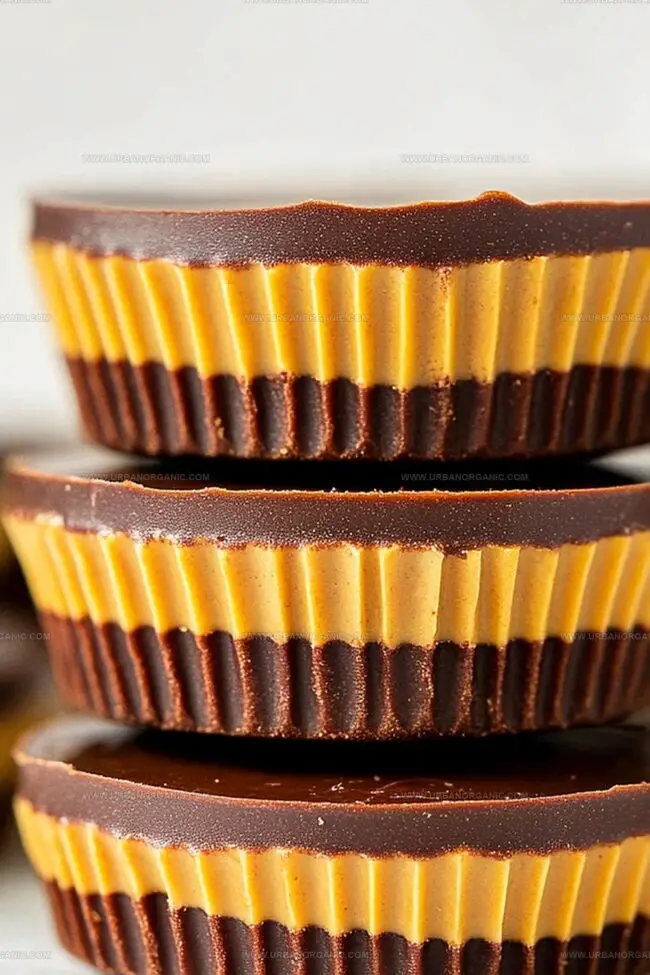
Sweet chocolate and creamy filling merge into pure bliss with minimal effort.
Friends and chocolate enthusiasts often marvel at how simple these treats become when you make them yourself.
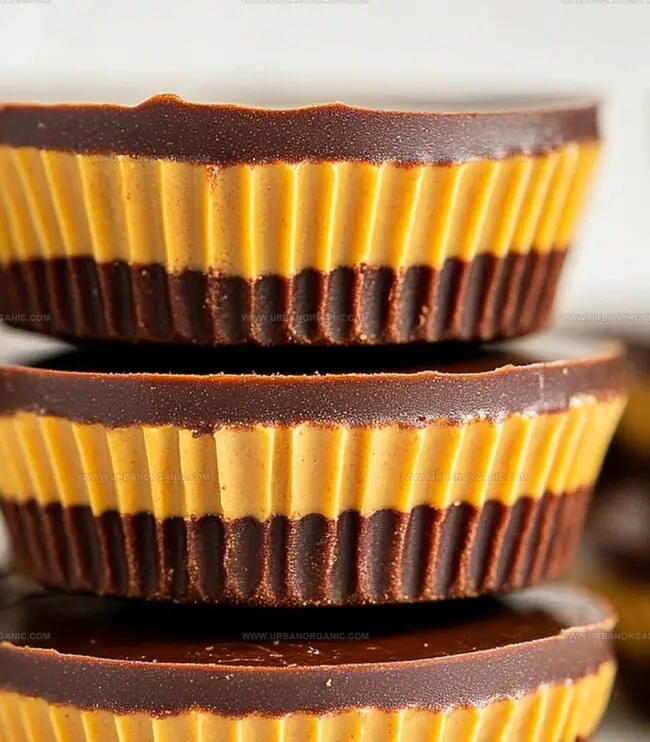
Silky smooth layers create a decadent experience that surpasses store-bought versions.
Minimal ingredients and straightforward techniques mean anyone can become a chocolate artisan in their kitchen.
Quality dark or milk chocolate provides the perfect canvas for rich peanut butter centers.
You will absolutely want to share these irresistible little delights with everyone you know.
Sweet Meets Salty in a Simple Classic
Key Ingredients for Peanut Butter Cups
Chocolate Base:Peanut Butter Filling:Preparation Accessories:How to Layer and Chill These Sweet Treats
Step 1: Chocolate Melting Magic
Place chocolate chips and coconut oil in a microwave-safe bowl. Heat in short 30-second bursts, stirring between each interval until the mixture transforms into a silky smooth liquid.
Step 2: Create Chocolate Bases
Grab a mini muffin tin and line with paper cups. Carefully pour a small amount of melted chocolate into each liner, using the back of a spoon to spread evenly across the bottom. Pop the tray into the freezer for a quick 5-minute chill.
Step 3: Whip Up Creamy Peanut Butter Filling
In a mixing bowl, combine:Stir until the mixture becomes perfectly smooth and well-blended.
Step 4: Layer the Peanut Butter
Scoop a small dollop of the peanut butter mixture onto each chocolate base. Gently press down with a spoon to create an even layer.
Step 5: Chocolate Topping Finale
Drizzle the remaining melted chocolate over the peanut butter layer, ensuring complete coverage. Softly tap the pan to eliminate any air bubbles and create a smooth surface.
Step 6: Chill and Solidify
Place the tray in the freezer for 15-20 minutes or refrigerate for about 30 minutes until the treats become perfectly firm.
Step 7: Unwrap and Indulge
Carefully peel away the paper liners and dive into your homemade chocolate peanut butter cups. Enjoy the rich, decadent flavors of your delightful creation!
Tips to Prevent Melting or Cracking
Store These Cups Without Losing Texture
Flavor Pairings for Chocolate and Peanut Butter
Tasty Twists on a Timeless Combo
Peanut Butter Cup Q&A
Yes, you can substitute dark, milk, or white chocolate based on your preference. Just ensure it melts smoothly and is of good quality.
Coconut oil helps create a smoother, shinier chocolate coating and prevents it from becoming too hard when chilled. If you don’t have it, you can skip it, but the texture might be slightly different.
Adding powdered sugar helps stabilize the peanut butter filling and makes it easier to work with. Use creamy peanut butter for best results, and avoid natural or oily varieties.
You can use a regular muffin tin or silicone molds. Just adjust the amount of chocolate and peanut butter filling accordingly to maintain the right proportion.
Print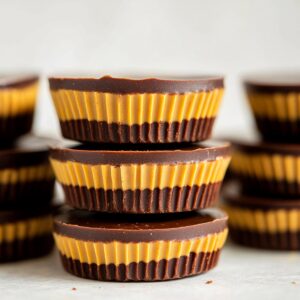
Peanut Butter Cups Recipe
- Total Time: 30 minutes
- Yield: 12 1x
Description
Homemade Peanut Butter Cups bring rich chocolate and creamy peanut butter together in a delightful sweet treat. Chocolate lovers can easily craft these irresistible morsels, indulging in a classic flavor combination that promises pure dessert satisfaction.
Ingredients
Main Ingredients:
- 1 ½ cups (360 ml) dark chocolate or milk chocolate chips
- ¾ cup (190 ml) creamy peanut butter
Sweeteners and Binding Agents:
- ¼ cup (30 g) powdered sugar
Additional Flavor Enhancers:
- 1 tablespoon (15 ml) coconut oil (or butter, optional for smoother chocolate)
- ½ teaspoon (2.5 ml) vanilla extract
- Pinch of salt
Instructions
- Craft a glossy chocolate base by melting chocolate chips with coconut oil in a microwave-safe vessel, stirring periodically until achieving a silky consistency.
- Arrange mini paper liners within a muffin tin, depositing a thin layer of molten chocolate across each liner’s bottom, then rapidly chill in the freezer to solidify the initial chocolate foundation.
- Construct a velvety peanut butter mixture by thoroughly blending peanut butter with powdered sugar, incorporating vanilla extract and a delicate pinch of salt until the texture becomes uniformly smooth.
- Carefully distribute dollops of the prepared peanut butter mixture atop the chilled chocolate layer, gently pressing to create an even surface.
- Generously drape the remaining melted chocolate over the peanut butter layer, ensuring complete coverage and using gentle tapping motions to eliminate potential air bubbles and create a pristine finish.
- Transfer the assembled treats to the freezer, allowing them to set for approximately 15-20 minutes or refrigerate for a more gradual firming process until the confections reach a perfectly firm consistency.
- Delicately remove the paper liners and savor these decadent homemade chocolate peanut butter delicacies.
Notes
- Use high-quality chocolate for a richer, more decadent flavor that elevates the entire dessert experience.
- Soften peanut butter at room temperature before mixing with powdered sugar to ensure a smooth, lump-free filling.
- Line muffin tin precisely to create uniform, professional-looking peanut butter cups with clean edges.
- Customize the recipe by experimenting with different chocolate types like dark, milk, or white chocolate for varied taste profiles.
- Prep Time: 10 minutes
- Cook Time: 20 minutes
- Category: Desserts, Snacks
- Method: Blending
- Cuisine: American
Nutrition
- Serving Size: 12
- Calories: 230
- Sugar: 21 g
- Sodium: 120 mg
- Fat: 8 g
- Saturated Fat: 4 g
- Unsaturated Fat: 3 g
- Trans Fat: 0 g
- Carbohydrates: 34 g
- Fiber: 1 g
- Protein: 2 g
- Cholesterol: 30 mg
Jessica Martinez
Pastry Chef & Recipe Developer
Expertise
Organic Baking Techniques, Gluten-Free Recipe Development, Southwestern Dessert Specialties, Food Styling and Photography
Education
Santa Fe Community College (SFCC)
Jessica brings the sweet side to Urban Organic with her passion for baking and love for the Southwest. She trained at Santa Fe Community College and has built a career creating beautiful, gluten-free, and organic desserts that feel both nostalgic and new.
She believes baking should be fun, creative, and open to everyone, no matter your diet or skill level. Jessica’s recipes are simple enough to follow, but special enough to remember.