Some folks dream about perfect peanut butter cup cookies that melt in your mouth with rich chocolate and creamy peanut butter notes.
Sweet moments often start with unexpected delights in the kitchen.
Memories can spark from simple ingredients combining magically on a baking sheet.
Chocolate lovers understand the power of a perfectly balanced treat that surprises and comforts.
Every bite promises a delectable journey through smooth textures and classic flavors.
Small batches create big smiles, especially when shared with those who appreciate homemade goodness.
Peanut Butter Cup Cookies Everyone Can’t Stop Making
Super quick cookie recipe that takes less than 30 minutes from start to finish.
Kids will love helping press the peanut butter cups into warm cookies, creating delightful memories while making a tasty treat together.
Perfect for potlucks, birthday parties, and casual gatherings where everyone craves a sweet chocolate-peanut butter combination that’s universally appealing.
Beginner bakers can easily master this recipe with simple steps, minimal ingredients, and no complicated mixing or decorating skills required.
What You’ll Need for Peanut Butter Cup Cookies Recipe
Base Cookie Ingredients:
Butter, Peanut Butter: Creamy foundation providing rich flavor and tender texture for the cookie base.
Granulated Sugar, Brown Sugar: Sweet components that contribute to cookie’s caramelization and soft structure.
Egg: Binding agent that helps hold the cookie dough together and adds moisture.
Vanilla Extract: Aromatic enhancer that deepens the overall flavor profile.
Dry Ingredients:
All-Purpose Flour: Structural component that gives the cookie its classic texture and shape.
Baking Soda: Leavening agent that helps cookies rise and spread during baking.
Salt: Flavor balancer that enhances the sweetness of the cookie.
Topping Ingredient:
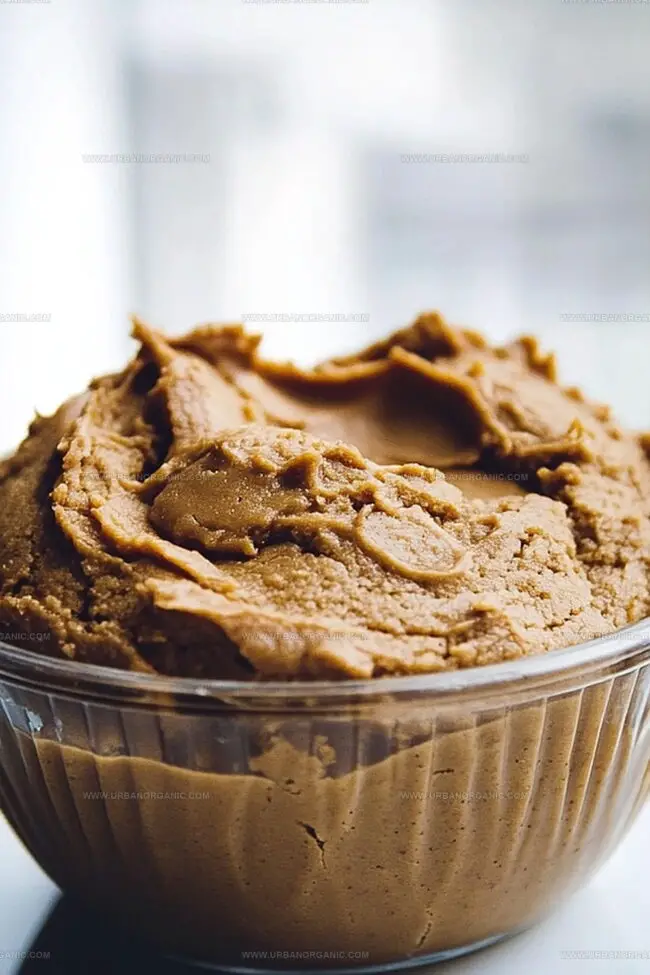
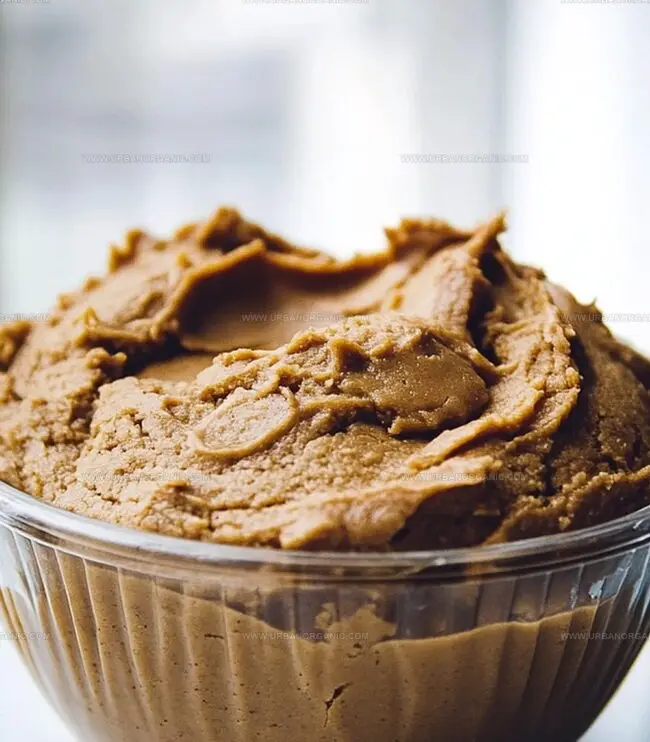
Mini Reeses Peanut Butter Cups: Decadent chocolate-peanut butter candy that creates a delicious center and adds visual appeal to the cookie. Best when fresh and at room temperature for easy melting.
How to Make Peanut Butter Cup Cookies Step by Step
Step 1: Warm Up the Oven
Crank the oven to 350F (175C). Grab your mini muffin tin and give it a quick spray of cooking spray or line with cute paper liners.
Step 2: Create Dreamy Cookie Dough
Ingredients for the dough:
Softened butter
Creamy peanut butter
Granulated sugar
Brown sugar
Egg
Vanilla extract
All-purpose flour
Baking soda
Salt
Grab a mixing bowl and beat the butter, peanut butter, and both sugars until they transform into a fluffy cloud. Crack in the egg and splash of vanilla, mixing until everything looks smooth and happy. In a separate bowl, whisk together the flour, baking soda, and salt. Slowly fold the dry ingredients into the wet mixture until a soft, irresistible dough comes together.
Step 3: Shape Delightful Cookie Bites
Roll the dough into adorable little balls, about an inch in size. Nestle each ball into the mini muffin cups, creating perfect cookie vessels.
Step 4: Bake to Golden Perfection
Pop the tin into the oven and bake for 8-10 minutes. Look for a light golden color with centers that still look slightly soft and tender.
Step 5: Crown with Chocolate Treasure
Right after pulling the cookies from the oven, gently press a mini Reeses peanut butter cup into the center of each warm cookie. The heat will help the chocolate melt just perfectly.
Step 6: Cool and Savor
Let the cookies hang out in the pan for 5 minutes. Then transfer them to a wire rack to cool completely. The chocolate will set, creating a stunning swirl of peanut butter and chocolate that’s impossible to resist.
Tips to Nail the Texture of Peanut Butter Cup Cookies
Chill the Dough: Refrigerate cookie dough for 30 minutes before rolling to prevent spreading and create more uniform, compact cookies.
Prevent Sticking: Lightly coat your hands with cooking spray or flour when rolling dough balls to keep them from sticking and ensure smooth, round shapes.
Choose Quality Chocolate: Use fresh Reese’s mini peanut butter cups at room temperature for best melting and maximum flavor integration into the warm cookie.
Adjust Baking Time: Watch cookies closely as oven temperatures vary; golden edges with soft centers indicate perfect doneness for a tender, chewy texture.
Store Smartly: Keep cookies in an airtight container at room temperature for up to 5 days, separating layers with parchment paper to maintain their shape and prevent sticking.
How to Store Peanut Butter Cup Cookies the Right Way
Store cooled cookies in an airtight container for up to 5 days, separating layers with parchment paper to prevent sticking.
Carefully pack cookies in a freezer-safe container, placing wax paper between layers. Freeze for up to 3 months for maximum freshness.
Remove frozen cookies and let sit at room temperature for 30-45 minutes before serving, ensuring chocolate remains intact.
Warm cookies briefly in microwave for 10-15 seconds or place in a 300F oven for 3-4 minutes to restore soft, gooey texture.
Best Matches for Peanut Butter Cup Cookies
Indulge in a smooth, chocolatey milk stout that complements the rich peanut butter and chocolate flavors of the cookies.
Create a decadent dessert experience by topping the warm cookies with a scoop of creamy vanilla bean ice cream.
Elevate the cookie’s sweetness with a perfectly balanced salted caramel latte that adds depth and warmth to each bite.
Cut through the richness with bright, juicy strawberries that provide a refreshing contrast to the dense, sweet cookies.
Peanut Butter Cup Cookie Ideas for a Twist
Gluten-Free Peanut Butter Cup Cookies: Replace all-purpose flour with gluten-free flour blend for a celiac-friendly version that maintains the same rich, buttery texture.
Vegan Chocolate Peanut Butter Cookies: Swap butter with coconut oil, use egg replacement like flax egg, and choose dairy-free chocolate peanut butter cups for a plant-based treat.
Low-Sugar Alternative: Substitute granulated and brown sugar with monk fruit sweetener or stevia to reduce overall sugar content while keeping the cookie’s delicious flavor profile.
Almond Butter Variation: Replace peanut butter with almond butter for a different nutty taste, perfect for those seeking a lighter nut-based cookie option.
Peanut Butter Cup Cookie Questions Answered
Can I use natural peanut butter instead of regular peanut butter?
Natural peanut butter works, but might make the dough slightly drier. You’ll need to stir it well and possibly adjust the flour slightly to maintain the right cookie consistency.
Do I need any special equipment to make these cookies?
A mini muffin tin is essential. If you don’t have one, you can use a regular muffin tin, but the cookies will be larger and might need slightly adjusted baking time.
How do I know when the cookie dough is properly mixed?
The dough should look uniform and hold together when you roll it into balls. It shouldn’t be crumbly or too sticky – it should have a soft, smooth texture that’s easy to shape.
What if my peanut butter cups start melting too much?
If the cups melt too quickly, let the cookies cool in the pan for an extra minute before pressing the cups in. You can also briefly chill the peanut butter cups before using them to help them maintain their shape.
Focus: Cultivating disciplined kitchen preparation for a safe, organized, and sanitary workstation; mastering the timely production of nutritious, visually appealing pastries; safely operating standard pastry equipment; and honing core patissier techniques for professional pastry work.
Jessica brings the sweet side to Urban Organic with her passion for baking and love for the Southwest. She trained at Santa Fe Community College and has built a career creating beautiful, gluten-free, and organic desserts that feel both nostalgic and new.
She believes baking should be fun, creative, and open to everyone, no matter your diet or skill level. Jessica’s recipes are simple enough to follow, but special enough to remember.

Jessica Martinez
Pastry Chef & Recipe Developer
Expertise
Organic Baking Techniques, Gluten-Free Recipe Development, Southwestern Dessert Specialties, Food Styling and Photography
Education
Santa Fe Community College (SFCC)
Jessica brings the sweet side to Urban Organic with her passion for baking and love for the Southwest. She trained at Santa Fe Community College and has built a career creating beautiful, gluten-free, and organic desserts that feel both nostalgic and new.
She believes baking should be fun, creative, and open to everyone, no matter your diet or skill level. Jessica’s recipes are simple enough to follow, but special enough to remember.