Crispy Golden Panko Shrimp Recipe: A Delightful Seafood Sensation
Crispy panko shrimp dance across my plate like golden treasures from the sea.
Delicate crustaceans await their crunchy transformation with a whisper of anticipation.
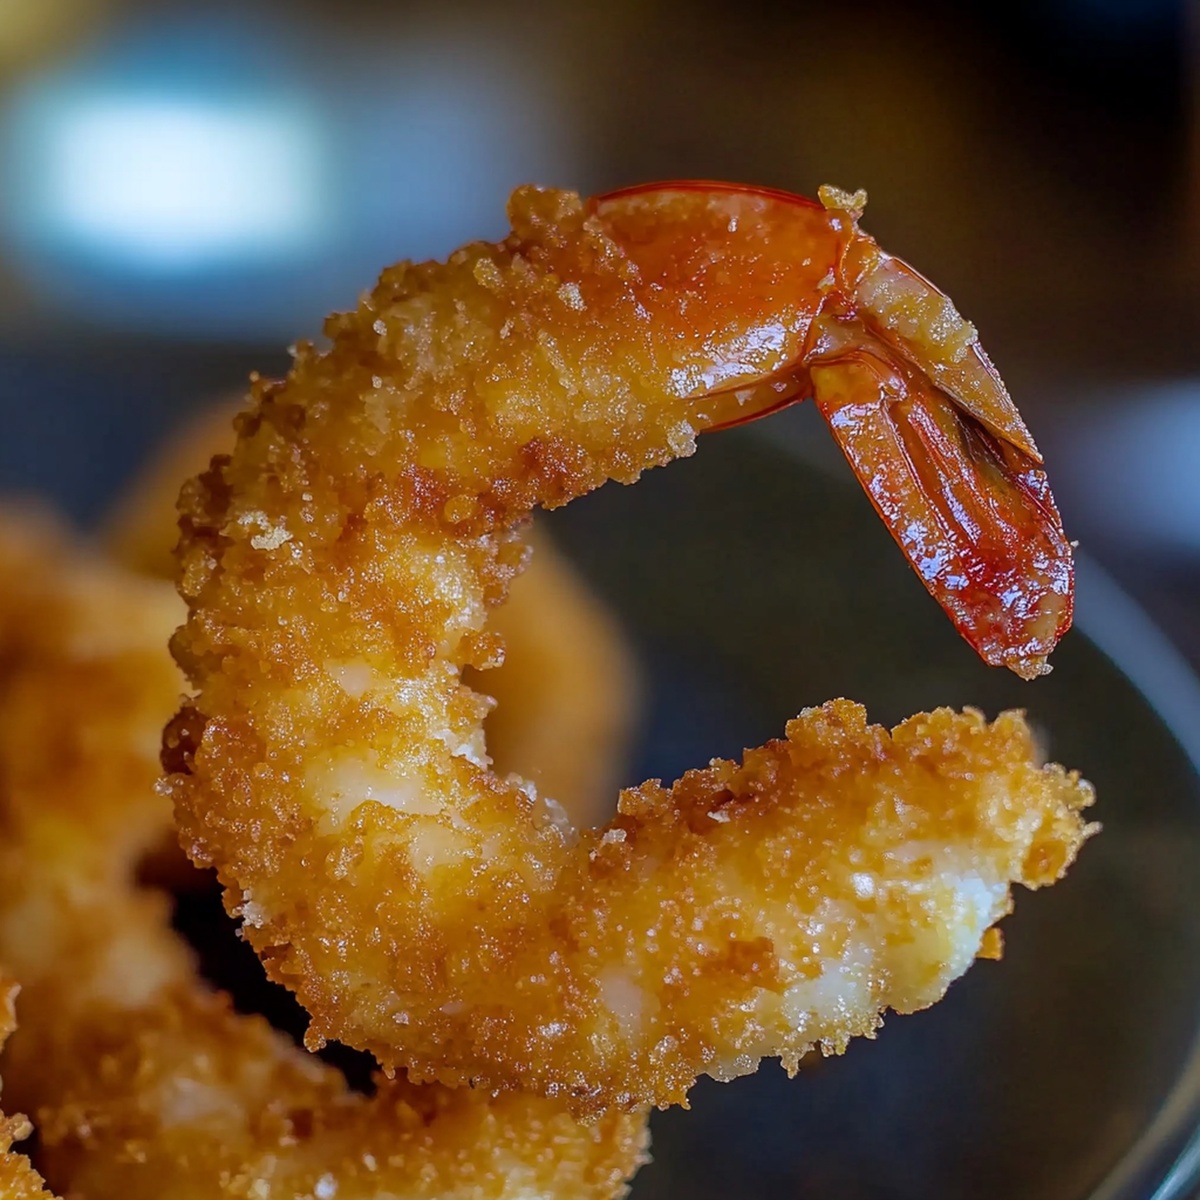
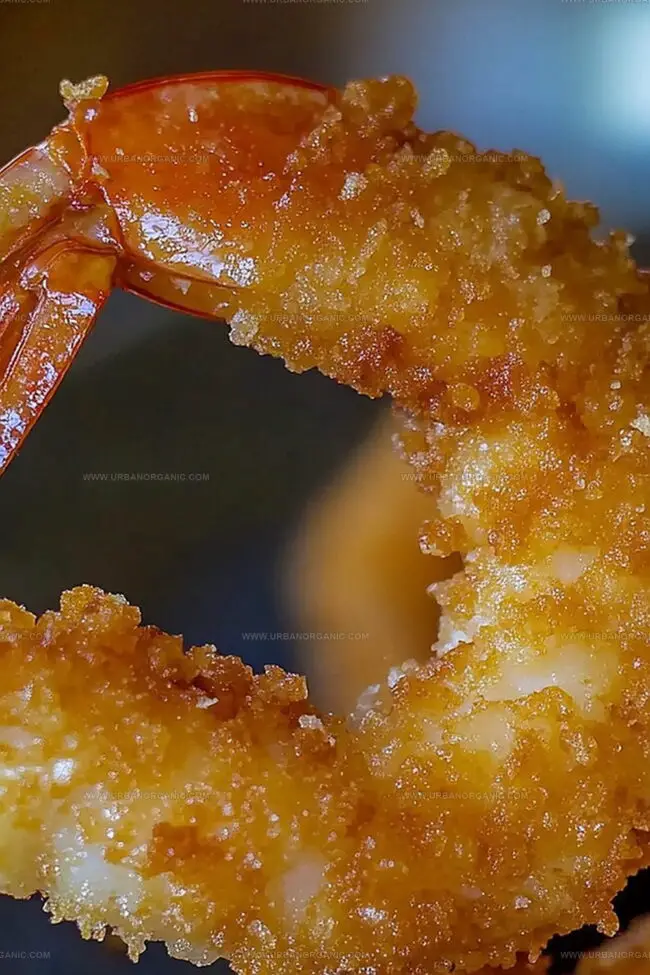
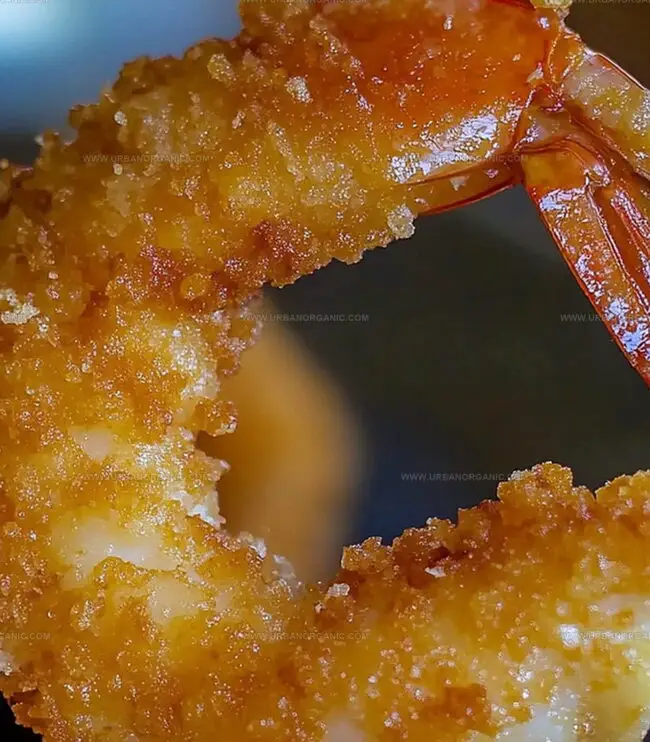
Panko breadcrumbs promise an irresistible exterior that shatters with each delightful bite.
Maritime flavors mingle with golden-brown crunch, creating a symphony of texture and taste.
Light seasonings complement the natural sweetness of tender shrimp nestled beneath a perfectly crisp coating.
Salt and pepper play their subtle magic, enhancing every morsel with simple elegance.
You can practically hear the sizzle and crackle of these delectable morsels calling your name.
One taste will transport you to coastal kitchens where seafood reigns supreme.
Why This Panko Shrimp Recipe Is So Crispy and Light
What You’ll Need for Panko-Crusted Shrimp
Panko Coating:Protein:Dredging Ingredients:Frying Component:Optional Garnish:How to Bread and Cook Shrimp for the Crunch Factor
Step 1: Craft Your Flavor-Packed Breading Station
Arrange three shallow bowls on your kitchen counter:Step 2: Dress Up Your Shrimp
Transform each shrimp into a crispy masterpiece:Step 3: Fire Up The Sizzling Skillet
Prepare your cooking surface:Step 4: Create Golden Seafood Magic
Cook shrimp to crispy perfection:Tips to Avoid Overcooking While Keeping the Coating Golden
How to Reheat Panko Shrimp Without Losing Texture
Best Dips and Sides for Panko Shrimp
Shrimp Recipe Variations Using Panko Crumbs
Panko Shrimp Q&A
Panko is a Japanese-style breadcrumb that’s lighter, crispier, and more flaky than traditional breadcrumbs. It creates a crunchier coating that stays crisp longer and absorbs less oil during frying.
Yes, but make sure to completely thaw and pat the shrimp dry before coating. Excess moisture will prevent the panko from sticking properly and create a less crispy result.
Shrimp cooks quickly and turns opaque with a slight pink color when done. The internal temperature should reach 145°F, and the texture should be firm but not rubbery.
You can bake the panko-coated shrimp in a preheated oven at 425°F for about 10-12 minutes, turning once halfway through. Lightly spray with cooking oil to help achieve a crispy texture.
Print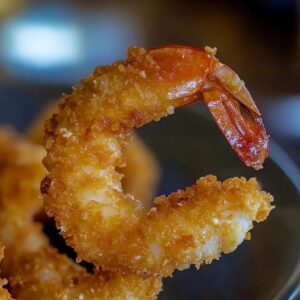
Panko Shrimp Recipe
- Total Time: 20 minutes
- Yield: 4 1x
Description
Crispy panko shrimp brings golden, crunchy perfection to seafood lovers’ tables with a restaurant-quality crunch. Delicate shrimp get enveloped in light, airy breading that promises a delightful bite you cannot resist.
Ingredients
Main Proteins:
- 1 lb (454 grams) large shrimp, peeled and deveined (tails on or off)
Coating and Seasoning:
- ½ cup (60 grams) all-purpose flour
- 2 large eggs
- 1 cup (120 grams) panko breadcrumbs
- ½ teaspoon salt
- ½ teaspoon black pepper
- ½ teaspoon garlic powder
- ½ teaspoon paprika (optional, for extra flavor)
Cooking and Serving:
- 1 cup (240 milliliters) vegetable oil (for frying)
- Lemon wedges (for serving)
- Your favorite dipping sauce (cocktail sauce, tartar sauce, or spicy mayo)
Instructions
- Assemble three separate vessels: one filled with seasoned flour, another with whisked eggs, and the third containing panko breadcrumbs enhanced with aromatic spices like salt, pepper, garlic powder, and paprika.
- Methodically transform each shrimp by first dusting with flour, ensuring complete coverage, then submerging in egg wash, and finally enrobing with the spiced panko mixture, gently pressing to secure the crispy coating.
- Warm a spacious skillet with cooking oil, bringing the temperature to a precise 350F (175C), creating an ideal environment for achieving a perfectly golden exterior.
- Carefully introduce shrimp into the hot oil, working in controlled batches to maintain optimal cooking conditions, and fry until each piece develops a rich, amber-toned crust, approximately 2 minutes per side.
- Extract the golden-brown shrimp using a perforated utensil, allowing excess oil to drain onto absorbent paper towels, which will help preserve the delicate, crispy texture.
- Allow the fried shrimp to rest momentarily, letting the residual heat settle and the coating become uniformly crunchy before serving.
Notes
- Ensure shrimp are completely dry before coating to help panko adhere perfectly and create a crispy exterior without soggy breading.
- Select large or jumbo shrimp for best texture and easier handling during the coating process.
- Maintain consistent oil temperature around 350F to prevent greasy or undercooked shrimp, using a digital thermometer for accuracy.
- Transform this recipe into a gluten-free version by substituting all-purpose flour with rice flour and using gluten-free panko breadcrumbs for those with dietary restrictions.
- Prep Time: 10 minutes
- Cook Time: 10 minutes
- Category: Appetizer, Snacks
- Method: Frying
- Cuisine: Japanese
Nutrition
- Serving Size: 4
- Calories: 120
- Sugar: 24 g
- Sodium: 250 mg
- Fat: 0 g
- Saturated Fat: 0 g
- Unsaturated Fat: 0 g
- Trans Fat: 0 g
- Carbohydrates: 30 g
- Fiber: 0 g
- Protein: 1 g
- Cholesterol: 0 mg
Jessica Martinez
Pastry Chef & Recipe Developer
Expertise
Organic Baking Techniques, Gluten-Free Recipe Development, Southwestern Dessert Specialties, Food Styling and Photography
Education
Santa Fe Community College (SFCC)
Jessica brings the sweet side to Urban Organic with her passion for baking and love for the Southwest. She trained at Santa Fe Community College and has built a career creating beautiful, gluten-free, and organic desserts that feel both nostalgic and new.
She believes baking should be fun, creative, and open to everyone, no matter your diet or skill level. Jessica’s recipes are simple enough to follow, but special enough to remember.