
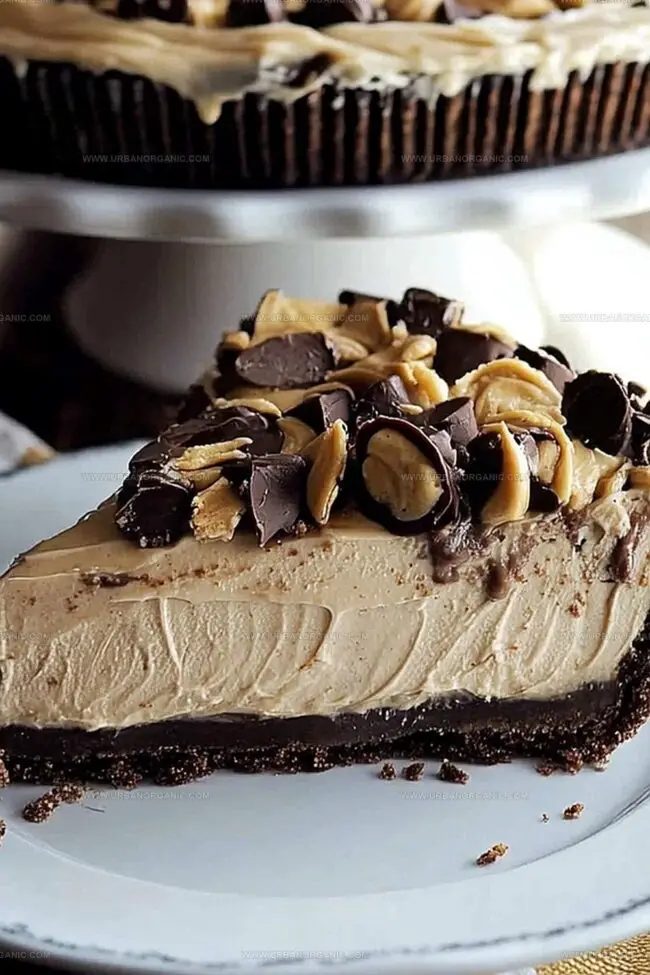
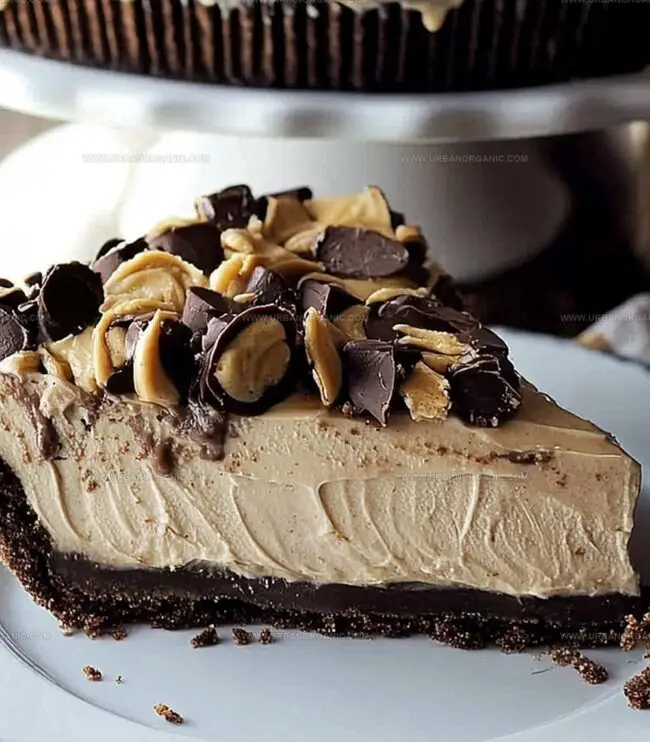
No-Bake Peanut Butter Cup Pie Recipe for Dessert Lovers
Dreamy chocolate and creamy peanut butter cup pie promises decadent delights without firing up the oven.
Sweet magic happens when rich ingredients dance together effortlessly.
Minimal kitchen skills unlock maximum flavor potential here.
Chocolate lovers appreciate how simple ingredients create something spectacular.
Cool refrigeration does the heavy lifting for this dessert.
Chilled slices promise smooth, velvety textures that melt gracefully on your tongue.
Whip up this crowd-pleasing treat and watch everyone’s eyes light with pure joy.
Why This No-Bake Peanut Butter Cup Pie Recipe Is a Must
What’s in This No-Bake Peanut Butter Cup Pie
Crust Ingredients:Filling Ingredients:Topping Ingredients:How to Make the Peanut Butter Cup Pie Step-by-Step
Step 1: Crush Cookie Crust
Grab Oreo cookies and crush them into fine crumbs using a food processor or by placing them in a sealed bag and rolling with a rolling pin. Melt butter and mix thoroughly with cookie crumbs until completely combined. Press the mixture firmly into the bottom and sides of a 9-inch pie dish, creating an even layer. Slide the crust into the refrigerator to chill while preparing the filling.
Step 2: Create Creamy Filling
Grab a large mixing bowl and combine:Beat these ingredients until the mixture becomes silky and uniform. In a separate bowl, whip heavy cream until it forms stiff, fluffy peaks. Carefully fold the whipped cream into the peanut butter mixture, blending gently to maintain the light, airy texture.
Step 3: Assemble Delicious Layers
Pour the creamy filling into the chilled cookie crust, spreading it evenly with a spatula. Sprinkle chopped peanut butter cups generously across the top. For extra decadence, drizzle chocolate syrup or melted chocolate over the surface.
Step 4: Chill and Set
Refrigerate the pie for a minimum of 4 hours, though overnight chilling provides the best texture and flavor development. This allows the filling to firm up and the flavors to meld together perfectly.
Step 5: Serve and Enjoy
Before serving, top the pie with a dollop of whipped cream and additional chopped peanut butter cups for a stunning presentation. Slice and savor each creamy, chocolatey bite of this irresistible dessert.
Handy Tips for a Smooth No-Bake Pie
Store and Chill No-Bake Peanut Butter Cup Pie
Desserts That Pair with This Peanut Butter Pie
Tasty Variations for This No-Bake Treat
Frequently Asked Questions About the Peanut Butter Cup Pie
No, it’s super easy! This no-bake pie requires simple ingredients and basic mixing skills. You don’t need advanced baking techniques or special equipment. Anyone can make this delicious dessert with minimal cooking experience.
Absolutely! While Oreo cookies work perfectly, you can substitute with graham crackers, chocolate wafers, or any similar dark cookie. Just ensure the cookie is crushed finely and mixed well with melted butter.
The filling is ready when it becomes smooth, creamy, and free of lumps. When you beat the peanut butter, cream cheese, powdered sugar, and vanilla extract, the mixture should look uniform and have a consistent light texture without any cream cheese chunks.
No problem! You can use store-bought whipped topping like Cool Whip as a quick substitute. Simply fold it into the peanut butter mixture instead of whipping your own cream. The result will be equally delicious and creamy.
Print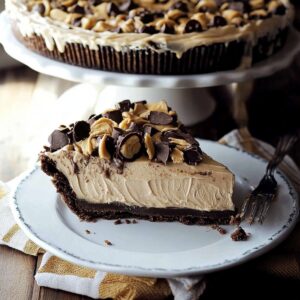
No-Bake Peanut Butter Cup Pie Recipe
- Total Time: 4 hours 20 minutes
- Yield: 8 1x
Description
Classic no-bake peanut butter cup pie redefines dessert indulgence with creamy layers of rich chocolate and smooth peanut butter. Chilled perfection awaits chocolate and peanut butter enthusiasts seeking a quick, delightful treat you can savor with minimal effort.
Ingredients
Crust:
- 24 Oreo cookies (or chocolate sandwich cookies), finely crushed
- 6 tablespoons (90 ml) unsalted butter, melted
Filling:
- 1 cup (250 g) creamy peanut butter
- 8 ounces (225 g) cream cheese, softened
- 1 cup (120 g) powdered sugar
- 1 teaspoon (5 ml) vanilla extract
- 1 ½ cups (360 ml) whipped topping (like Cool Whip) or whipped cream
- 1 cup mini peanut butter cups, chopped
Topping:
- 1 cup mini peanut butter cups, chopped (for garnish)
- ½ cup (90 g) chocolate chips, melted (optional drizzle)
- Whipped topping (optional for garnish)
Instructions
- Pulverize Oreo cookies into fine crumbs using a food processor or by crushing them within a sealed bag with a rolling pin.
- Combine crushed cookies with melted butter until thoroughly incorporated, creating a uniform mixture.
- Press the cookie-butter blend uniformly across the bottom and edges of a 9-inch pie dish, ensuring an even layer.
- Refrigerate the crust while preparing the filling to help it solidify.
- Cream together peanut butter, cream cheese, powdered sugar, and vanilla extract in a mixing bowl until achieving a silky, homogeneous texture.
- Whip heavy cream separately until it develops sturdy, peaked consistency, creating a light and airy base.
- Delicately incorporate the whipped cream into the peanut butter mixture, folding gently to maintain the fluffy texture.
- Transfer the filling into the chilled crust, spreading it smoothly and evenly across the surface.
- Garnish the top with chopped peanut butter cups, creating an appealing decorative layer.
- Optional: Enhance the presentation with a drizzle of chocolate syrup or melted chocolate across the pie.
- Refrigerate the pie for a minimum of 4 hours, preferably overnight, to allow complete setting and flavor melding.
- Before serving, optionally crown the pie with additional whipped cream and scattered peanut butter cup pieces for extra indulgence.
Notes
- Crush Oreos thoroughly to create a smooth, even crust that holds together perfectly when sliced.
- Use room temperature cream cheese and peanut butter to ensure a silky, lump-free filling that blends seamlessly.
- Whip heavy cream to stiff peaks for maximum volume and a light, airy texture that elevates the pie’s richness.
- Opt for natural peanut butter to reduce sweetness and add a more authentic, nutty flavor profile to the dessert.
- Prep Time: 20 minutes
- Cook Time: 4 hours
- Category: Desserts, Snacks
- Method: None
- Cuisine: American
Nutrition
- Serving Size: 8
- Calories: 420
- Sugar: 22 g
- Sodium: 350 mg
- Fat: 27 g
- Saturated Fat: 11 g
- Unsaturated Fat: 16 g
- Trans Fat: 0 g
- Carbohydrates: 38 g
- Fiber: 1 g
- Protein: 7 g
- Cholesterol: 30 mg
Jessica Martinez
Pastry Chef & Recipe Developer
Expertise
Organic Baking Techniques, Gluten-Free Recipe Development, Southwestern Dessert Specialties, Food Styling and Photography
Education
Santa Fe Community College (SFCC)
Jessica brings the sweet side to Urban Organic with her passion for baking and love for the Southwest. She trained at Santa Fe Community College and has built a career creating beautiful, gluten-free, and organic desserts that feel both nostalgic and new.
She believes baking should be fun, creative, and open to everyone, no matter your diet or skill level. Jessica’s recipes are simple enough to follow, but special enough to remember.