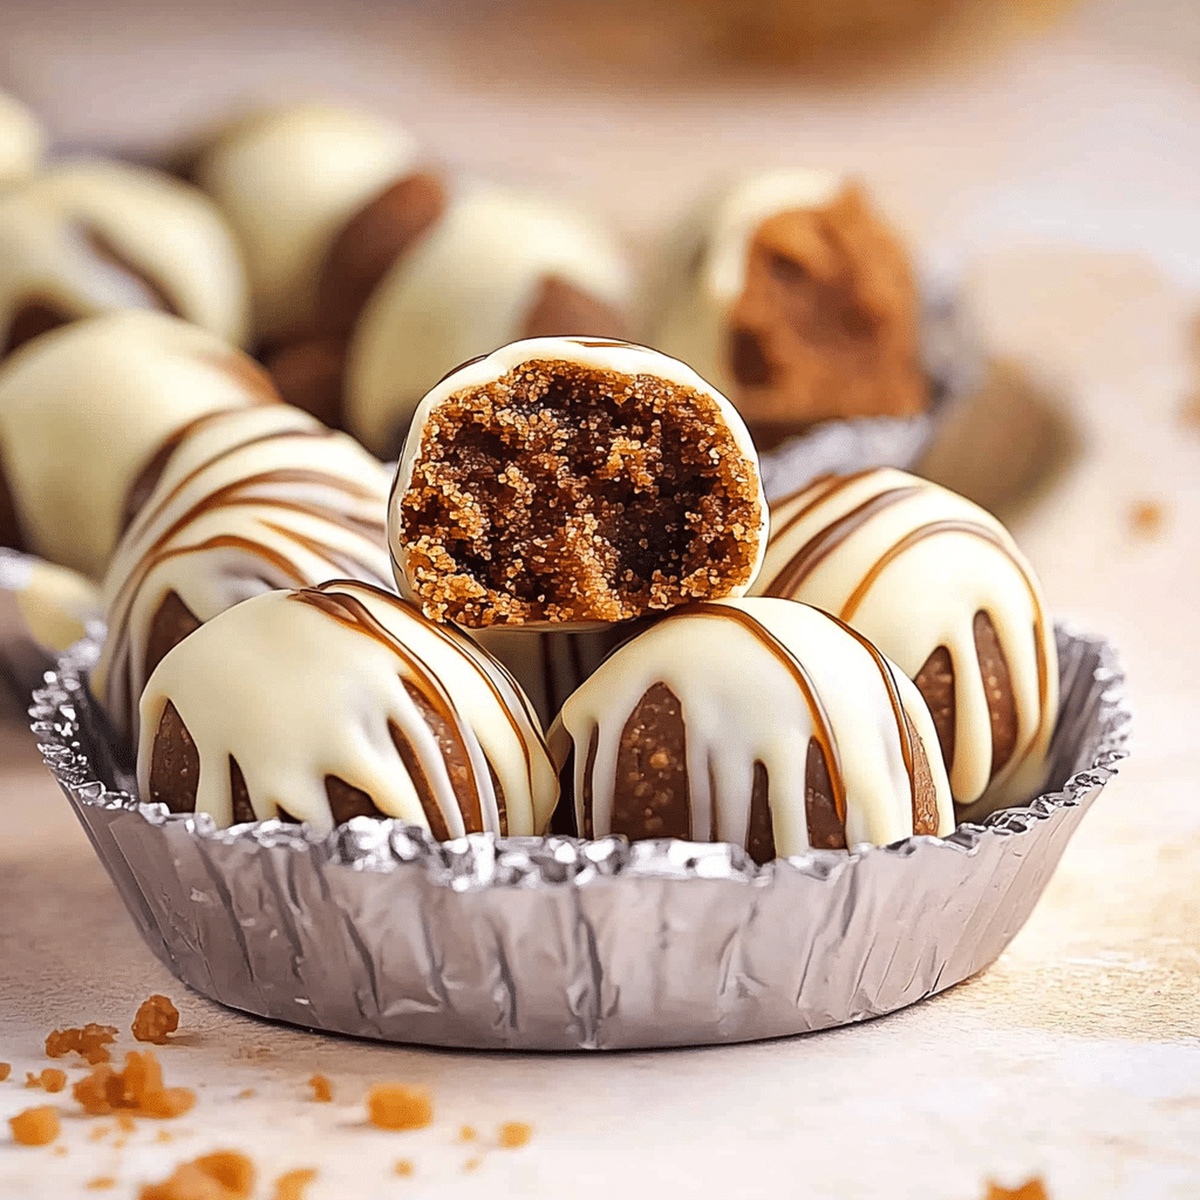
Dreamy No-Bake Biscoff Cookie Truffles Recipe for Sweet Smiles
Sweet cravings for biscoff cookie truffles can strike unexpectedly, tempting you with their irresistible charm.
Creamy textures promise delightful moments of pure indulgence.
Minimal ingredients blend seamlessly to create these decadent treats.
Culinary magic happens when simple components come together effortlessly.
Smooth, rich flavors dance across your palate with each delectable bite.
Crafting these truffles requires no complicated techniques or special equipment.
You’ll find pure joy in whipping up these delightful morsels in minutes.
Dive into this recipe and unlock a world of sweet satisfaction!
Why Biscoff Truffles Are the Perfect No-Bake Treat
Everything You’ll Need for Biscoff Truffles
Base Ingredients:Coating Ingredients:Garnish Ingredients:Rolling Biscoff Truffles Without the Oven
Step 1: Prepare Creamy Filling
Crush Biscoff cookies into fine crumbs. In a mixing bowl, combine:Stir ingredients until smooth and fully blended. Cover the mixture and chill in refrigerator for half an hour to solidify.
Step 2: Create Truffle Shapes
Scoop small portions of the chilled mixture and roll into perfectly round balls. Place each ball on a parchment-lined baking sheet. Return to refrigerator for 15-20 minutes to firm up completely.
Step 3: Chocolate Coating Adventure
Melt chocolate in microwave-safe bowl using short 30-second bursts, stirring between each interval until silky smooth. Carefully dip each truffle ball into melted chocolate using a fork or skewer. Gently tap to remove excess chocolate coating. Set coated truffles back onto parchment-lined sheet.
Step 4: Add Decorative Crunch
Sprinkle freshly crushed Biscoff cookie crumbs over wet chocolate coating. Allow chocolate to set at room temperature or speed up process by placing truffles in refrigerator.
Step 5: Present and Celebrate
Transfer truffles to elegant serving platter or package in decorative gift boxes. These delightful treats are perfect for sharing with friends and family.
Pro Tips for Sweet, Smooth Truffle Texture
How to Store and Serve Biscoff Truffles
What to Pair with Biscoff Cookie Truffles
New Ways to Enjoy Biscoff in Truffle Form
Biscoff Truffle FAQs You Might Need
While Biscoff cookies are key to the recipe’s flavor, you can experiment with similar spiced or graham cracker cookies. Just keep in mind that the taste will be slightly different from the original recipe.
Yes, cream cheese helps bind the ingredients and provides a creamy texture. Without it, the truffles won’t hold together as well and might be crumbly.
These truffles can be stored in an airtight container in the refrigerator for up to 1 week. They’re best enjoyed chilled for the perfect texture and taste.
Absolutely! You can freeze the truffles for up to 2 months. Just place them in a freezer-safe container between layers of parchment paper to prevent sticking.
Print
No-Bake Biscoff Cookie Truffles Recipe
- Total Time: 1 hour 5 minutes
- Yield: 12 1x
Description
Irresistible no-bake Biscoff cookie truffles bring sweet Belgian cookie magic to dessert lovers’ hearts. Creamy chocolate-coated spheres deliver rich caramelized flavor, promising pure indulgence you’ll crave again and again.
Ingredients
Truffles Base:
- 1 ½ cups (200 g) Biscoff cookies
- 4 ounces (115 g) cream cheese
- 2 tablespoons Biscoff cookie butter
Coating:
- 8 ounces (225 g) white or milk chocolate
- ¼ cup (40 g) Biscoff cookies (for garnish)
Instructions
- Pulverize the Biscoff cookies into fine crumbs using a food processor or rolling pin, creating a uniform texture that will ensure smooth truffle filling.
- In a spacious mixing vessel, amalgamate the cookie crumbs with softened cream cheese and Biscoff cookie butter, stirring meticulously until the mixture transforms into a cohesive, velvety consistency.
- Seal the truffle base and refrigerate for approximately half an hour, allowing the mixture to solidify and become more manageable for shaping.
- Extract the chilled mixture and utilize a small scoop or spoon to portion uniform spherical portions, gently rolling each between palms to create perfectly round truffles.
- Arrange the nascent truffles on a parchment-lined tray, returning them to the refrigerator for an additional 15-20 minutes to enhance their structural integrity.
- Melt chocolate in a microwave-safe bowl, employing 30-second intervals and stirring between each to prevent scorching, until achieving a smooth, glossy liquid state.
- Delicately immerse each truffle into the molten chocolate using a fork or skewer, ensuring complete coverage and allowing excess chocolate to drip away.
- Carefully position the chocolate-enrobed truffles back onto the parchment, immediately sprinkling crushed Biscoff cookies as a decorative and textural garnish.
- Allow the truffles to set at ambient temperature or expedite the process by placing them in the refrigerator until the chocolate coating hardens completely.
- Present the truffles on an elegant serving platter or package them in decorative containers for a delightful homemade gift.
Notes
- Chill the mixture thoroughly to ensure the truffles hold their shape and are easier to roll.
- Use cold cream cheese for a smoother, more consistent filling that binds well with the crushed cookies.
- Opt for high-quality chocolate with at least 60% cocoa content for a richer, more decadent coating that complements the Biscoff flavor.
- Store truffles in an airtight container in the refrigerator for up to a week, allowing the flavors to meld and intensify.
- Prep Time: 20 minutes
- Cook Time: 45 minutes
- Category: Desserts, Snacks
- Method: Blending
- Cuisine: American
Nutrition
- Serving Size: 12
- Calories: 370
- Sugar: 3g
- Sodium: 800mg
- Fat: 24g
- Saturated Fat: 7g
- Unsaturated Fat: 14g
- Trans Fat: 0g
- Carbohydrates: 18g
- Fiber: 2g
- Protein: 22g
- Cholesterol: 170mg
Jessica Martinez
Pastry Chef & Recipe Developer
Expertise
Organic Baking Techniques, Gluten-Free Recipe Development, Southwestern Dessert Specialties, Food Styling and Photography
Education
Santa Fe Community College (SFCC)
Jessica brings the sweet side to Urban Organic with her passion for baking and love for the Southwest. She trained at Santa Fe Community College and has built a career creating beautiful, gluten-free, and organic desserts that feel both nostalgic and new.
She believes baking should be fun, creative, and open to everyone, no matter your diet or skill level. Jessica’s recipes are simple enough to follow, but special enough to remember.