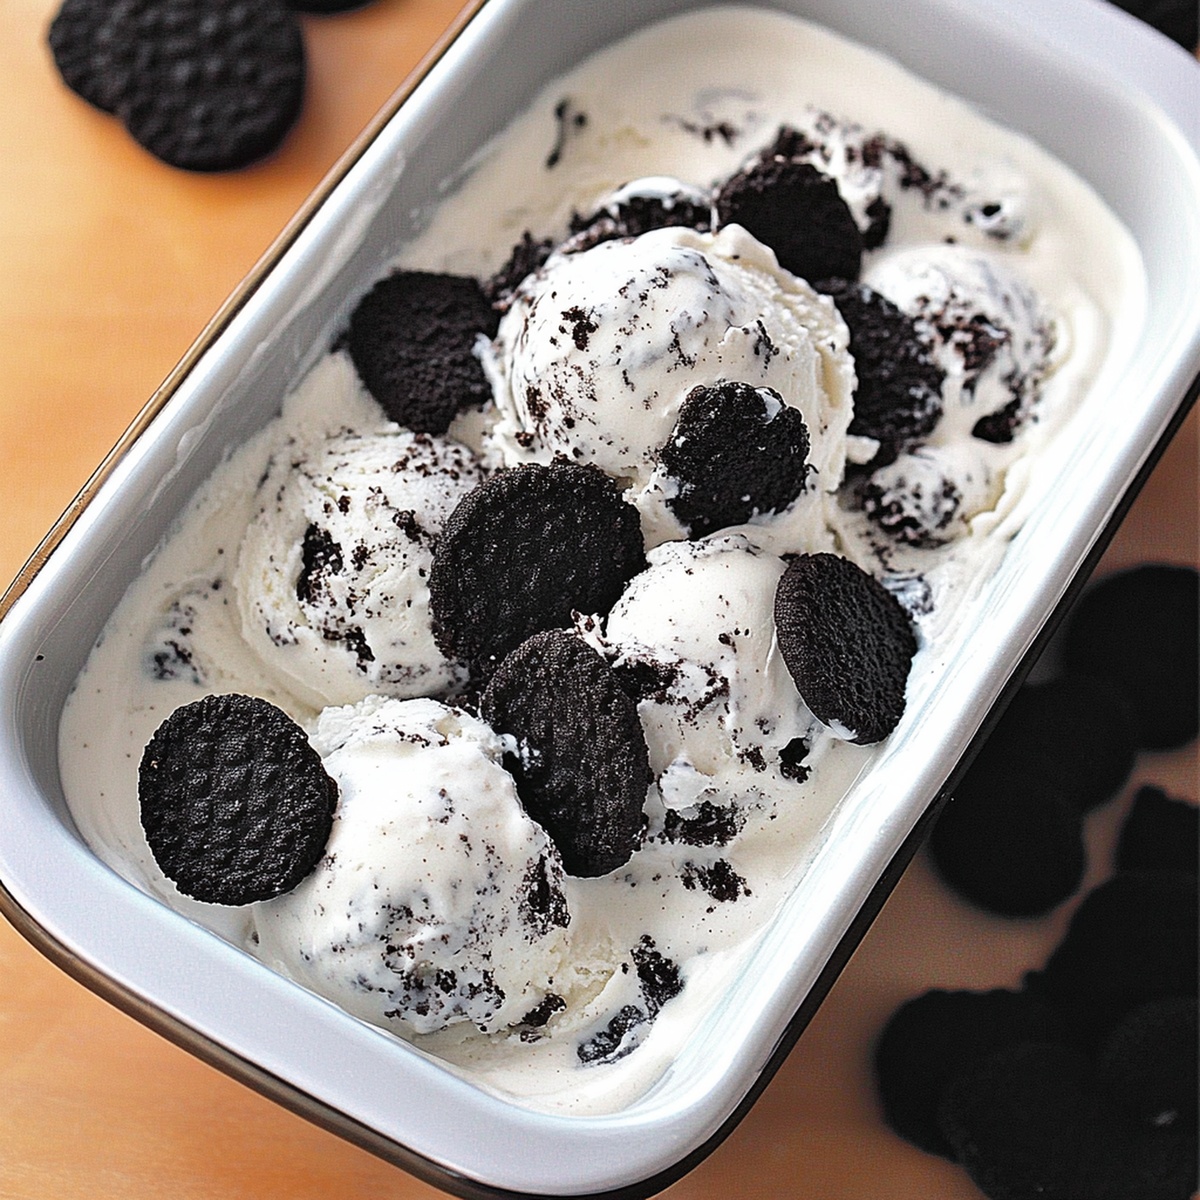
No-Churn Cookies and Cream Ice Cream Recipe for Ultimate Creaminess
Whipping up a delightful no churn cookies and cream ice cream can transform an ordinary afternoon into a sweet celebration.
Creamy textures and crunchy cookie bits dance together in this simple dessert.
Cool summer afternoons beg for something indulgent and effortless.
Each spoonful promises pure bliss without complicated techniques or extensive preparation.
Minimal ingredients create maximum flavor in this delectable treat.
Rich vanilla undertones complement the classic chocolate cookie crumbles perfectly.
Dessert Made with This No-Churn Treat
Basic Ingredients for Cookies and Cream Ice Cream
Base Ingredients:Flavor and Texture Ingredients:Garnish Ingredients:Instructions for Mixing and Freezing Smoothly
Step 1: Whip Cream to Dreamy Peaks
Grab your electric mixer and a spacious mixing bowl. Pour in the chilled heavy whipping cream and blend with enthusiasm. Whip until the cream transforms into luxurious, stiff peaks that stand tall and proud – this should take around 3-4 minutes of continuous blending.
Step 2: Blend Creamy Sweetness
Gently introduce sweetened condensed milk and vanilla extract into your whipped cream. Fold these ingredients with a delicate touch, creating a smooth, velvety base that promises incredible flavor.
Step 3: Sprinkle Cookie Magic
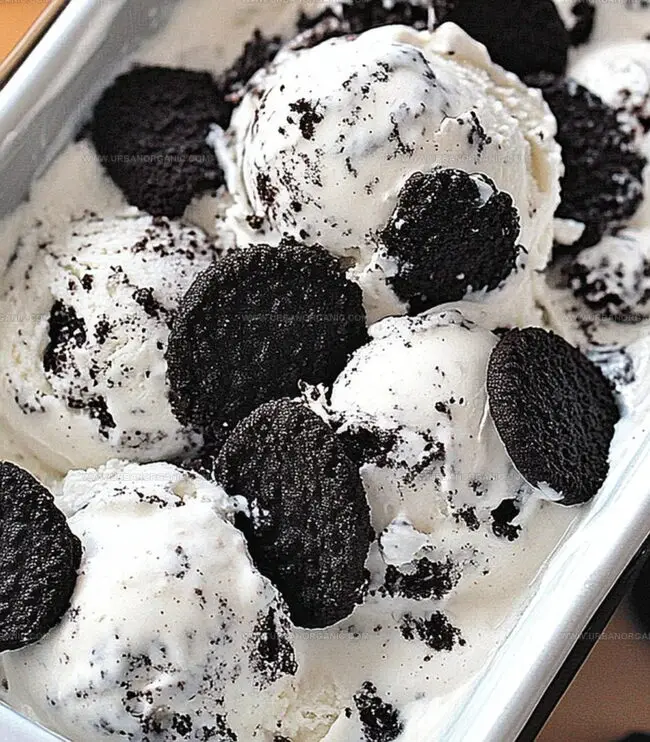
Crush Oreo cookies into delightful chunks. These will be your flavor heroes! Carefully fold the cookie pieces throughout the creamy mixture, ensuring each spoonful will have a perfect cookie crunch.
Step 4: Prepare Freezing Container
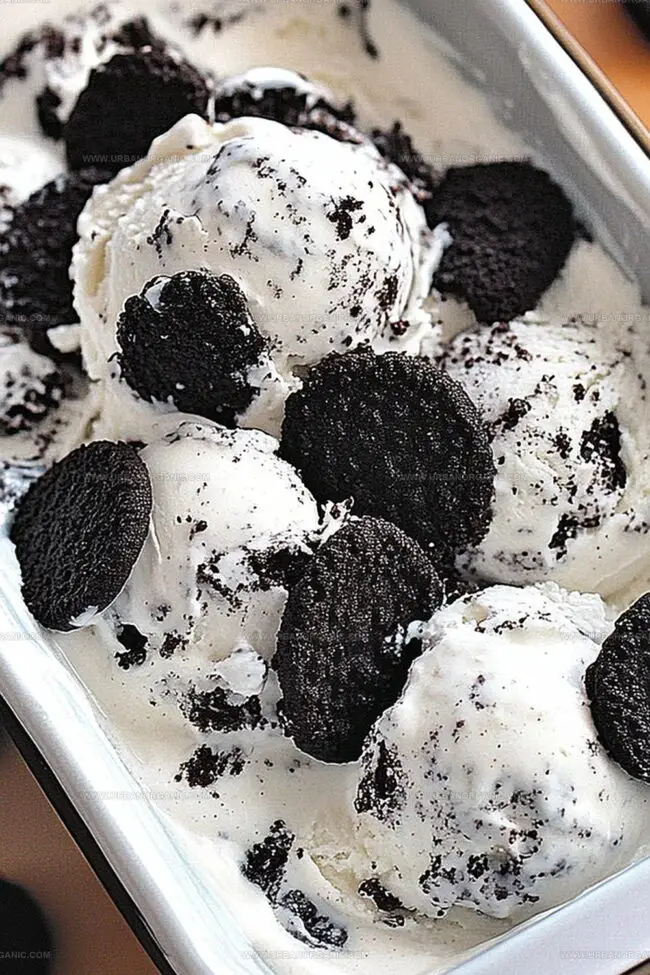
Select a loaf pan or freezer-safe container. Pour your cookie-studded cream mixture into the container, smoothing the top with a spatula. Sprinkle additional crushed Oreos across the surface for extra visual appeal and crunch.
Step 5: Freeze and Wait
Cover the container securely with plastic wrap. Place in the freezer and let the magic happen. Allow 6-8 hours or overnight for the ice cream to set perfectly.
Step 6: Scoop and Celebrate
Remove from freezer, grab your ice cream scoop, and serve this homemade delight. Watch as friends and family marvel at your delicious creation!
Tips for Sweetness, Texture, and Mix-Ins
How to Store Ice Cream for Best Scoopability
Fun Toppings and Treats That Work Well Together
Adjustments to Play With Flavor
No-Churn Ice Cream Questions You May Have
Yes, you can substitute Oreos with other chocolate sandwich cookies like store-brand alternatives or similar dark chocolate cookies.
While an electric mixer makes whipping cream easier, you can use a whisk and some arm strength, though it will take longer and require more effort.
If the cream isn’t whipped properly, your ice cream might turn out icy and less creamy, losing the smooth, rich texture that makes no-churn ice cream delicious.
No, sweetened condensed milk is crucial for creating the creamy texture and sweetness in no-churn ice cream. Substituting it will significantly change the recipe’s outcome.
Print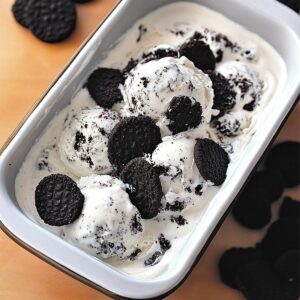
No Churn Cookies and Cream Ice Cream Recipe
- Total Time: 6 hours 10 minutes
- Yield: 8 1x
Description
Creamy no churn cookies and cream ice cream brings pure dessert magic to your summer gatherings. Sweet condensed milk and whipped cream combine with crushed chocolate sandwich cookies for an irresistible frozen treat you’ll crave again and again.
Ingredients
Main Ingredients:
- 2 cups (480 milliliters) heavy whipping cream
- 1 can (14 ounces / 396 grams) sweetened condensed milk
- 15 Oreo cookies
Flavor Enhancers:
- 1 teaspoon (5 milliliters) vanilla extract
Garnish:
- Extra Oreo cookies (for topping)
Instructions
- Prepare the whipping cream in a spacious mixing bowl, utilizing an electric mixer to transform the cold heavy cream into a luxurious, voluminous texture with pronounced stiff peaks, which typically requires 3-4 minutes of dedicated whisking.
- Delicately incorporate the sweetened condensed milk and vanilla extract into the whipped cream, employing a gentle folding technique to maintain the airy consistency while ensuring thorough integration.
- Introduce the crushed Oreo cookies into the creamy mixture, meticulously distributing the cookie fragments to guarantee an even dispersion throughout the ice cream base.
- Transfer the fully blended concoction into a freezer-safe container, carefully smoothing the surface to create an aesthetically pleasing finish and generously garnish with additional crushed Oreo pieces for visual appeal and textural contrast.
- Securely envelop the container with plastic wrap, creating an airtight seal to prevent potential freezer burn or unwanted flavor absorption.
- Position the prepared ice cream in the freezer, allowing it to solidify and develop its rich, creamy texture for a minimum of 6 hours, though overnight chilling is recommended for optimal results.
- When ready to indulge, retrieve the ice cream from the freezer and use a high-quality scoop to serve, revealing the delectable cookies and cream creation that promises a delightful sensory experience.
Notes
- Chill all ingredients beforehand to ensure maximum volume and stability when whipping cream.
- Use cold heavy whipping cream straight from the refrigerator for the fluffiest texture and fastest peak formation.
- Crush Oreo cookies roughly to maintain delightful cookie chunks throughout the ice cream, creating a more exciting texture and visual appeal.
- Customize the recipe by using gluten-free cookies for those with dietary restrictions or switching to dairy-free alternatives like coconut cream for a vegan version.
- Prep Time: 10 minutes
- Cook Time: 6 hours
- Category: Desserts, Snacks
- Method: Freezing
- Cuisine: American
Nutrition
- Serving Size: 8
- Calories: 410
- Sugar: 33 g
- Sodium: 180 mg
- Fat: 22 g
- Saturated Fat: 10 g
- Unsaturated Fat: 12 g
- Trans Fat: 0 g
- Carbohydrates: 48 g
- Fiber: 3 g
- Protein: 6 g
- Cholesterol: 55 mg
Jessica Martinez
Pastry Chef & Recipe Developer
Expertise
Organic Baking Techniques, Gluten-Free Recipe Development, Southwestern Dessert Specialties, Food Styling and Photography
Education
Santa Fe Community College (SFCC)
Jessica brings the sweet side to Urban Organic with her passion for baking and love for the Southwest. She trained at Santa Fe Community College and has built a career creating beautiful, gluten-free, and organic desserts that feel both nostalgic and new.
She believes baking should be fun, creative, and open to everyone, no matter your diet or skill level. Jessica’s recipes are simple enough to follow, but special enough to remember.