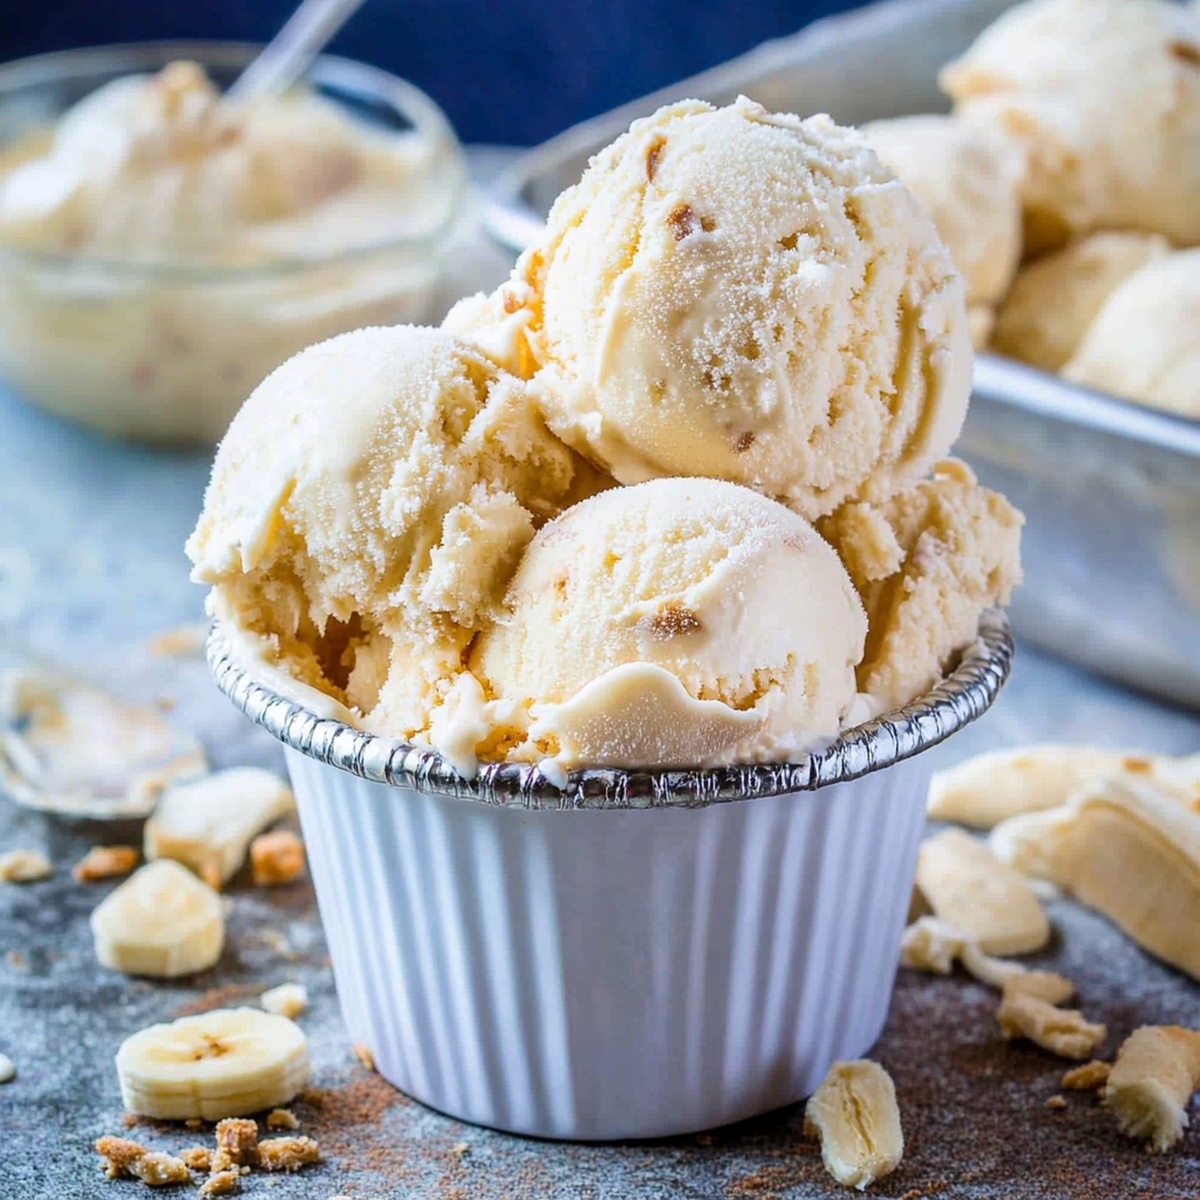
Quick & Creamy No Churn Banana Ice Cream Recipe for Summer
Cold banana magic happens when simple ingredients blend into a creamy dream without an ice cream machine.
Smooth frozen treats can surprise even skeptical dessert lovers with minimal effort.
Each spoonful promises rich, velvety texture that melts beautifully on your tongue.
Summer afternoons deserve something extraordinary and deliciously cool.
Sweet bananas create a naturally rich base that feels indulgent yet surprisingly light.
No complicated techniques stand between you and this delightful dessert.
Wake up your taste buds and whip up something special that feels like pure happiness.
Why No Churn Banana Ice Cream Is a Must-Try
What You’ll Need for No Churn Banana Ice Cream
Base Ingredients:Dairy Components:Flavor Enhancers:Optional Mix-Ins:Quick How-To for No Churn Banana Ice Cream
Step 1: Mash Ripe Bananas
Grab ripe bananas and mash them thoroughly in a large mixing bowl until completely smooth and creamy. Add:Stir everything together until ingredients are fully blended.
Step 2: Whip Cream
Using an electric mixer, whip cold heavy whipping cream in a separate bowl. Beat until stiff peaks form that stand up straight and hold their shape.
Step 3: Blend Mixtures
Carefully fold whipped cream into banana mixture using a spatula. Gently mix until no white streaks remain and the mixture looks smooth and fluffy.
Step 4: Add Extra Goodies
If desired, softly incorporate additional mix-ins like:Step 5: Prepare For Freezing
Transfer the entire mixture into a loaf pan or freezer-safe container. Use a spatula to create an even surface on top.
Step 6: Freeze and Chill
Cover the container with plastic wrap or a tight lid. Place in freezer for 4-6 hours or overnight until ice cream becomes firm and scoopable.
Step 7: Serve and Enjoy
Scoop into bowls and top with favorite garnishes like:Tips to Improve No Churn Banana Ice Cream
How to Keep No Churn Banana Ice Cream Ready to Serve
Pairings for No Churn Banana Ice Cream
Ways to Customize No Churn Banana Ice Cream
Common Questions About No Churn Banana Ice Cream
Ripe bananas are key because they have more natural sugars, which enhance sweetness and provide a deeper, more intense banana flavor. They also mash more easily, creating a smoother ice cream base.
Yes, you can use a whisk, but it will require more arm strength and time to whip the cream to stiff peaks. An electric mixer makes the process faster and ensures a more consistent texture.
When you lift the mixer beaters, the cream should stand up straight without falling over. The peaks should be firm and hold their shape when the beater is turned upside down.
Sweetened condensed milk helps create a creamy, smooth texture and prevents ice crystals from forming. It also adds sweetness and helps keep the ice cream soft and scoopable.
Print
No Churn Banana Ice Cream Recipe
- Total Time: 6 hours 15 minutes
- Yield: 2 1x
Description
Creamy no churn banana ice cream delivers a dreamy dessert that takes minimal effort and maximum flavor. Cool, smooth swirls of sweet banana goodness will delight you with each refreshing spoonful.
Ingredients
Main Ingredients:
- 3 ripe bananas, peeled and sliced
- 1 can (14 ounces / 400 grams) sweetened condensed milk
- 2 cups (480 milliliters) heavy whipping cream, cold
Flavor and Texture Enhancers:
- 1 teaspoon vanilla extract
- ¼ teaspoon salt (optional)
Mix-Ins and Toppings:
- ½ cup chocolate chips or chocolate chunks
- ½ cup crushed cookies (e.g., vanilla wafers or graham crackers)
- ¼ cup chopped nuts (e.g., walnuts, pecans)
- ¼ cup caramel or chocolate sauce, for swirling
Instructions
- Crush ripened bananas thoroughly in a spacious mixing vessel until achieving a velvety consistency, ensuring no lumps remain.
- Incorporate sweetened condensed milk, vanilla essence, and a subtle salt enhancement, stirring until ingredients harmonize seamlessly.
- Using a chilled electric mixer, whip heavy cream vigorously until peaks stand tall and maintain their structured form.
- Execute a delicate folding technique, merging the whipped cream into banana blend with precise, gentle motions to preserve airy texture.
- Continue folding methodically until mixture transforms into a uniform, silky composition with zero visible cream streaks.
- Optional enrichment involves introducing complementary elements like chocolate fragments, chopped nuts, or preferred mix-ins through careful integration.
- Transfer the luxurious concoction into a designated freezer-compatible container, meticulously smoothing the surface for uniform freezing.
- Shield the mixture with protective wrap or container lid, positioning carefully in freezer’s stable zone.
- Allow transformation to occur undisturbed for 4-6 hours, preferably overnight, enabling complete solidification and flavor melding.
- Extract from freezer, allowing minimal softening period, then artfully scoop into serving vessels, complementing with preferred garnishes.
Notes
- Choose perfectly ripe, brown-spotted bananas for maximum natural sweetness and deeper flavor profile.
- Chill all ingredients beforehand to ensure smoother, fluffier texture during mixing and freezing process.
- Consider dairy-free alternatives by substituting coconut cream for heavy whipping cream to make this recipe vegan-friendly.
- Add extra flavor dimensions by incorporating spices like cinnamon, nutmeg, or a splash of rum during the mixing stage for sophisticated taste variations.
- Prep Time: 15 minutes
- Cook Time: 6 hours
- Category: Desserts, Snacks
- Method: Blending
- Cuisine: American
Nutrition
- Serving Size: 2
- Calories: 577
- Sugar: 47 g
- Sodium: 140 mg
- Fat: 36 g
- Saturated Fat: 22 g
- Unsaturated Fat: 14 g
- Trans Fat: 0 g
- Carbohydrates: 61 g
- Fiber: 3 g
- Protein: 6 g
- Cholesterol: 105 mg
Jessica Martinez
Pastry Chef & Recipe Developer
Expertise
Organic Baking Techniques, Gluten-Free Recipe Development, Southwestern Dessert Specialties, Food Styling and Photography
Education
Santa Fe Community College (SFCC)
Jessica brings the sweet side to Urban Organic with her passion for baking and love for the Southwest. She trained at Santa Fe Community College and has built a career creating beautiful, gluten-free, and organic desserts that feel both nostalgic and new.
She believes baking should be fun, creative, and open to everyone, no matter your diet or skill level. Jessica’s recipes are simple enough to follow, but special enough to remember.