
Bake Bliss: Joy Of Cooking Chocolate Chip Cookies Recipe
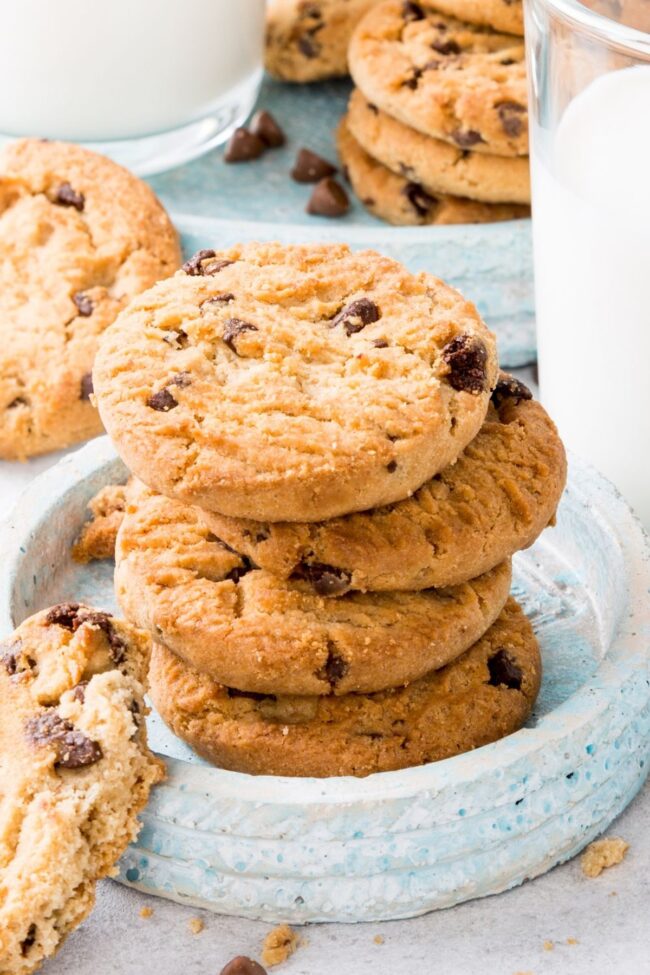
Chocolate chip cookies from joy of cooking burst with nostalgic comfort and sweet, mouthwatering allure.
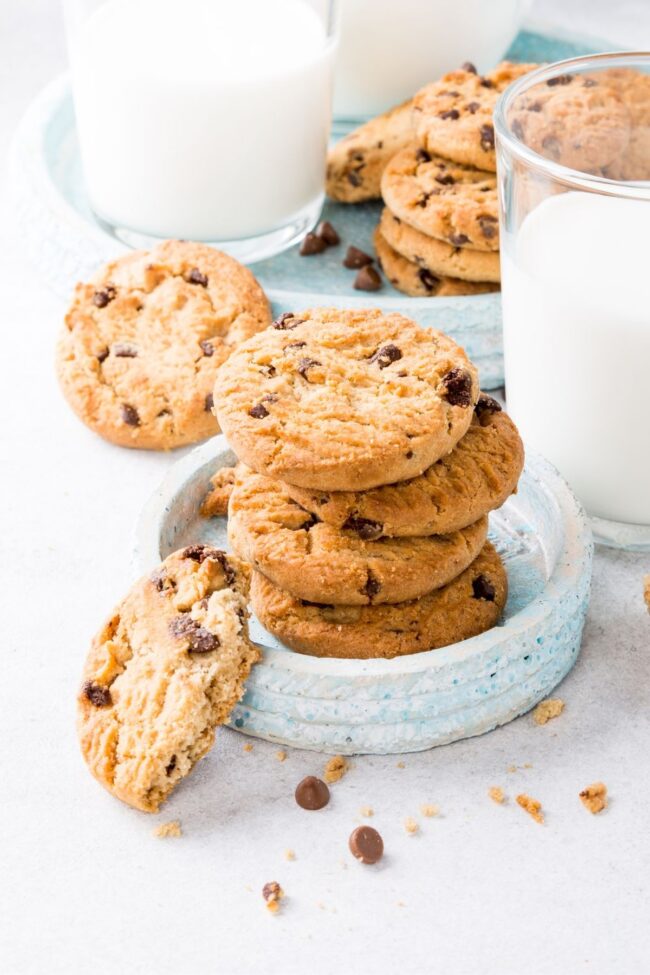
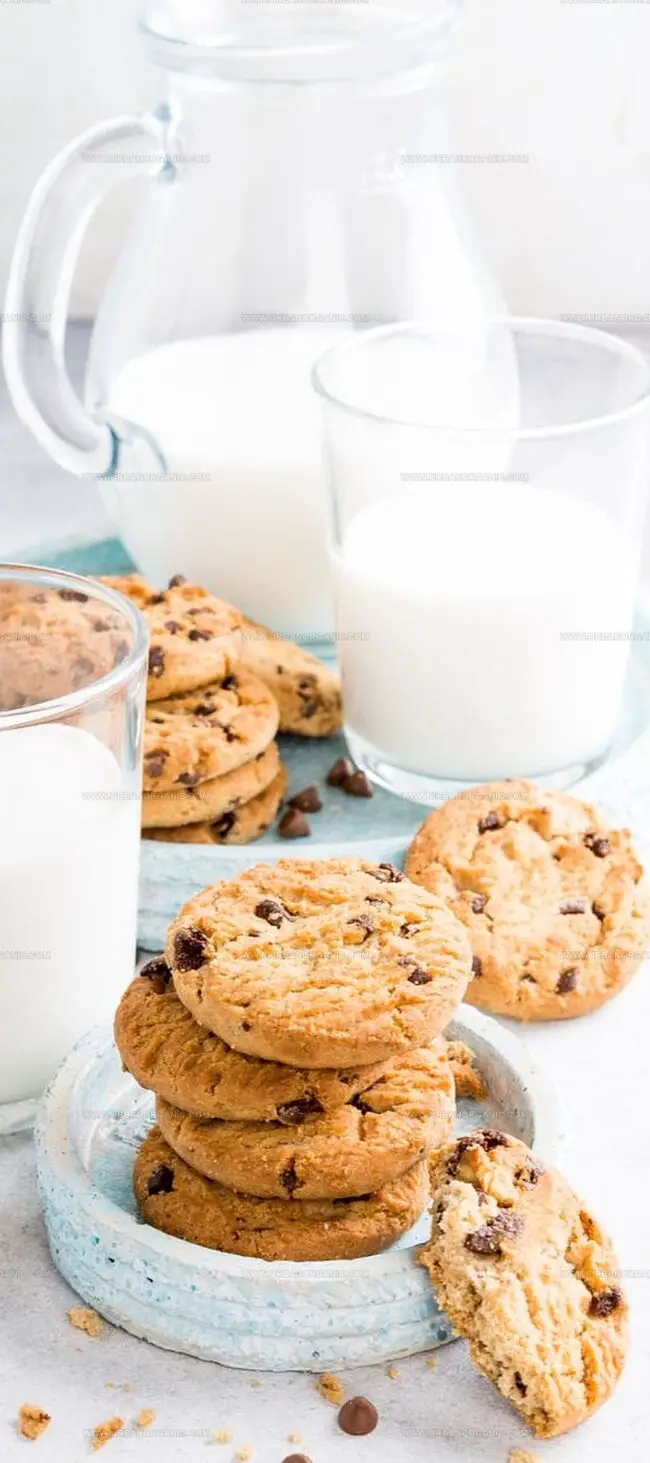
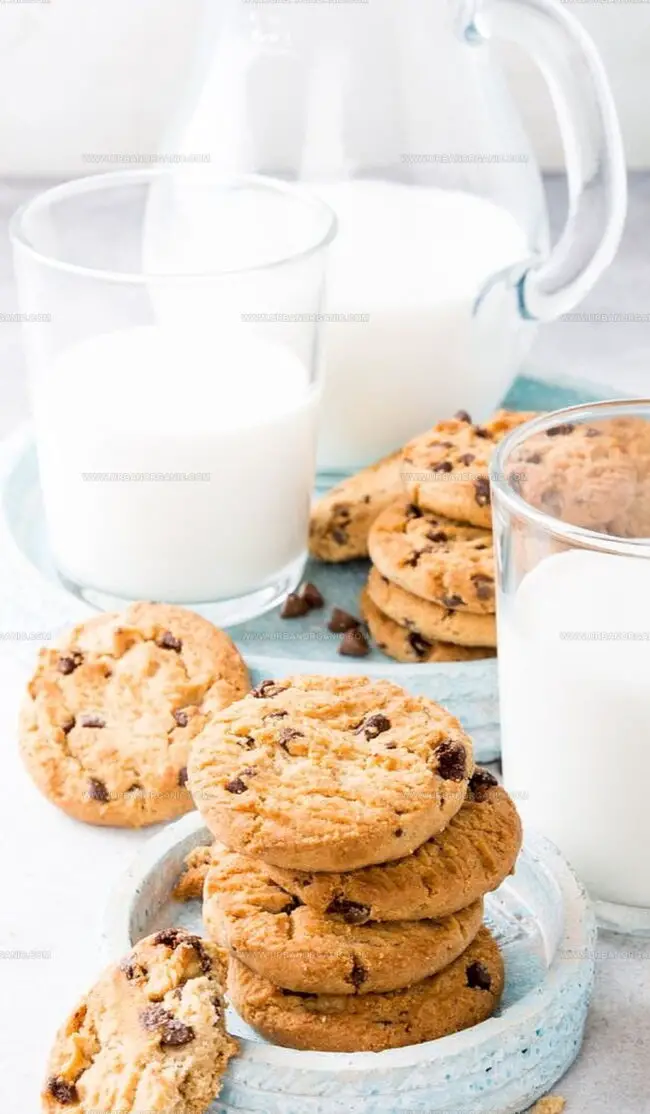
These golden-edged delights have captivated taste buds across generations.
Crisp on the outside and meltingly tender within, they transform ordinary ingredients into extraordinary magic.
Butter, sugar, and rich chocolate dance together in a symphony of flavor that enchants every palate.
Each bite tells a story of home-baked warmth and culinary tradition.
Precise mixing techniques elevate these cookies from simple treats to legendary status.
Grab your mixing bowl and get ready to create a batch of pure, unapologetic deliciousness that will make hearts sing.
Quick Recipe Overview
Chocolate Chip Cookie Ingredient Rundown
For Wet Ingredients:For Dry Ingredients:For Mix-In Ingredients:Must-Have Tools for Baking Chocolate Chip Cookies
Instructions for Classic Chocolate Chip Cookies
Arrange oven rack centrally and warm the oven to 375°F. Cover baking sheets with parchment paper for smooth cookie release.
Grab a mixer and transform butter into a silky smooth base. Pour in white and brown sugars with vanilla, blending until the mixture looks light and airy.
Gently incorporate eggs one by one, making sure each blends completely. Scrape mixer sides to create a consistent texture.
Softly mix flour, baking soda, and salt in a separate bowl. These powdery ingredients will transform your mixture into delectable cookie magic.
Slowly introduce dry ingredients into the creamy base. Sprinkle chocolate chips throughout, stirring until just combined for maximum deliciousness.
Cover the dough and let it relax in the refrigerator for 30-60 minutes. This pause helps develop rich, complex flavors.
Scoop dough onto prepared sheets, leaving space between each cookie. Press a few extra chocolate pieces on top for visual appeal.
Slide cookies into the oven, watching for golden edges and soft centers. Bake around 10-12 minutes until they look irresistibly tempting.
Transfer cookies to a cooling rack. Wait until they reach room temperature before diving into your freshly baked treats.
Cookie Baking Tips and Creative Add-ins
Presentation and Serving Tips for Chocolate Chip Cookies
Storing Chocolate Chip Cookies for Later
Print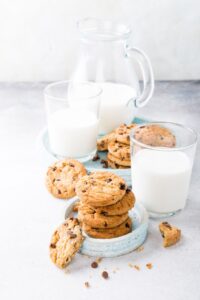
Mouthwatering Chocolate Chip Cookies Recipe
- Total Time: 14 minutes
- Yield: 24 1x
Description
Homemade chocolate chip cookies bring warmth and comfort to classic American baking. Sweet morsels of chocolate nestled in buttery dough create irresistible treats you cannot wait to share with family and friends.
Ingredients
- 1 cup unsalted butter (room temperature)
- ¾ cup granulated white sugar
- ¾ cup light brown sugar (firmly packed)
- 2 large eggs (room temperature)
- 2 ¼ cups all-purpose flour
- 1 ½ cups semisweet or bittersweet chocolate chips
- 1 ½ tsp pure vanilla extract
- 1 tsp baking soda
- ½ tsp salt
- Chocolate chunks or chips
Instructions
- Prep Station: Align oven rack in center and heat to 375°F (190°C). Shield two baking sheets with parchment paper for seamless cookie release.
- Butter Fusion: Whip butter using electric mixer until cloud-like and velvety. Blend vanilla, white and brown sugars until silky and homogeneous, approximately 2 minutes.
- Egg Integration: Introduce eggs sequentially, thoroughly incorporating each while scraping mixer sides to ensure uniform mixture.
- Dry Component Fusion: Sift flour, baking soda, and salt in separate vessel to eliminate potential granular clusters.
- Dough Formation: Delicately fold dry ingredients into wet mixture, gently folding chocolate chips throughout without overworking the dough.
- Chill Technique: Refrigerate dough for 30-60 minutes, allowing flavor complexity and preventing excessive cookie spread during baking.
- Portioning and Shaping: Utilize ice cream scoop to distribute dough onto prepared sheets, maintaining 2-3 inches between cookies. Softly flatten each mound, optionally embellishing with additional chocolate chunks.
- Baking Process: Roast cookies 10-12 minutes until edges transform golden brown while preserving tender centers.
- Cooling Protocol: Transfer cookies to wire rack, permitting complete cooling before serving or storing.
Notes
- Chill Dough Strategically: Refrigerating the cookie dough for 30-60 minutes helps develop deeper flavors and prevents cookies from spreading too quickly during baking.
- Measure Precisely: Use an ice cream scoop or consistent 2-tablespoon portions to ensure uniform cookie size and even baking.
- Watch Baking Time Carefully: Golden brown edges with a soft center indicate perfectly baked cookies; remove from oven immediately to prevent overcooking.
- Handle with Care: Allow cookies to cool completely on a wire rack to maintain their delicate texture and prevent breaking.
- Prep Time: 2 minutes
- Cook Time: 12 minutes
- Category: Snacks, Desserts
- Method: Baking
- Cuisine: British
Nutrition
- Serving Size: 24
- Calories: 210
- Sugar: 14 g
- Sodium: 150 mg
- Fat: 10 g
- Saturated Fat: 6 g
- Unsaturated Fat: 4 g
- Trans Fat: 0 g
- Carbohydrates: 29 g
- Fiber: 1 g
- Protein: 2 g
- Cholesterol: 30 mg
Michael Thompson
Founder & Culinary Director
Expertise
Classical & Contemporary Cooking Techniques, Global Cuisine Appreciation, Nutrition & Menu Engineering, Sustainable Cooking Practices, Farm-to-Table Cuisine
Education
Southwestern Oregon Community College
Michael grew up in Oregon, where he learned early that food tastes better when it’s fresh, local, and made with care.
After earning his degree from the Southwestern Oregon Community College, he focused his career on teaching others how to cook with the seasons, reduce food waste, and reconnect with what’s on their plate.
Michael keeps his cooking simple, sustainable, and full of flavor. His favorite part of the process? Watching people realize how easy and satisfying it can be to cook a single great meal from scratch.