Quick Banana Bread Recipe: A Fun Twist on a Classic Treat
Banana bread from Joy of Cooking elevates those languishing, browning fruits into a soul-warming culinary masterpiece that beckons with irresistible charm.
Barely containing its sweet promise, this quick bread whispers of cozy kitchens and cherished family recipes.
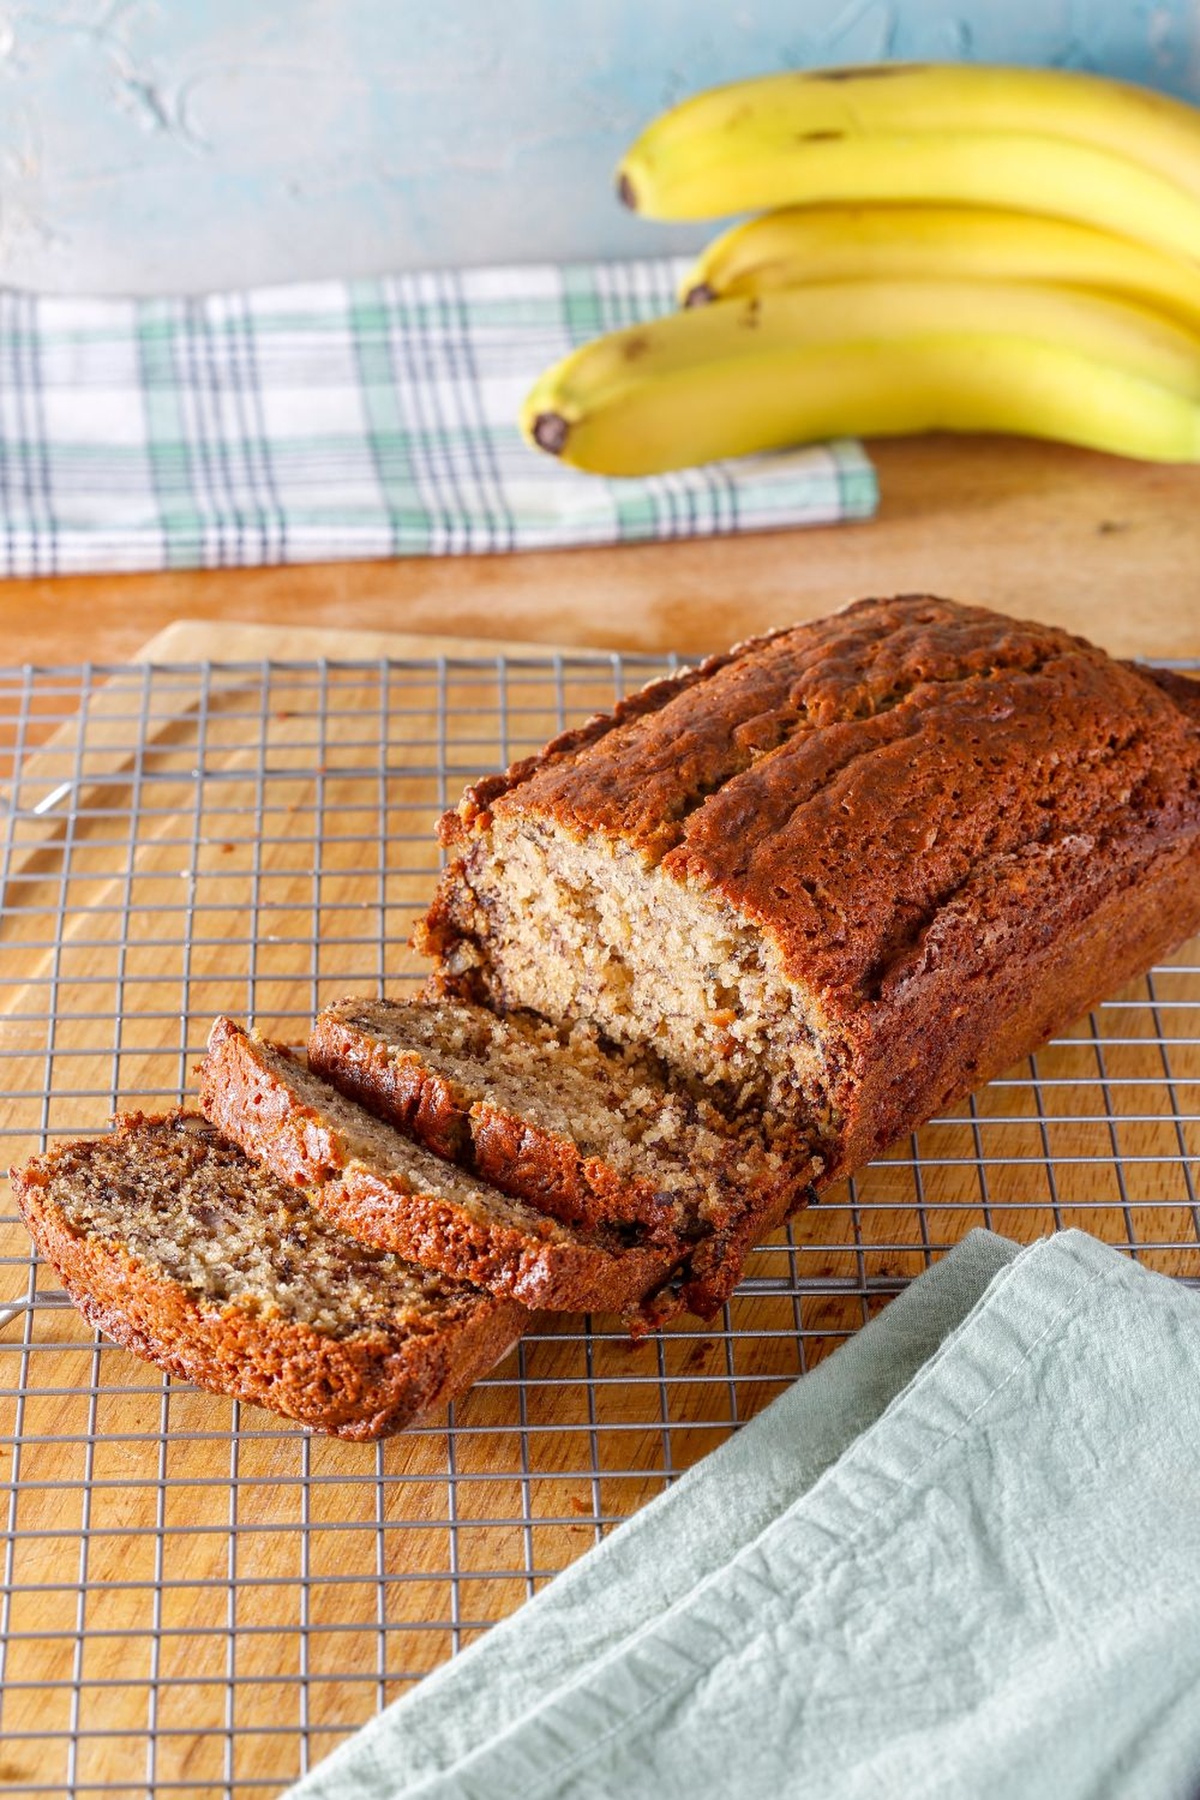
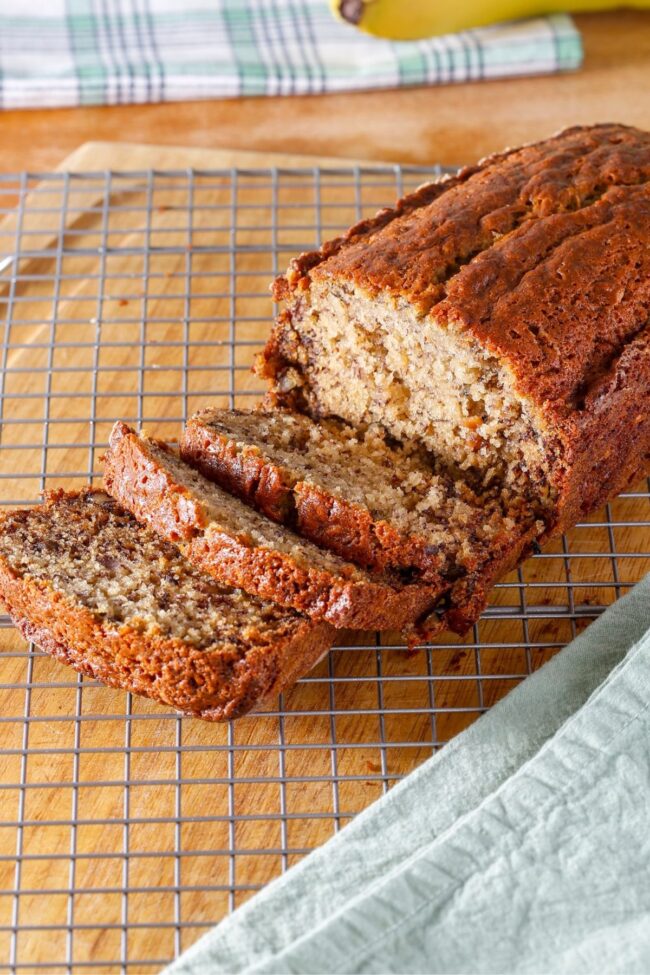
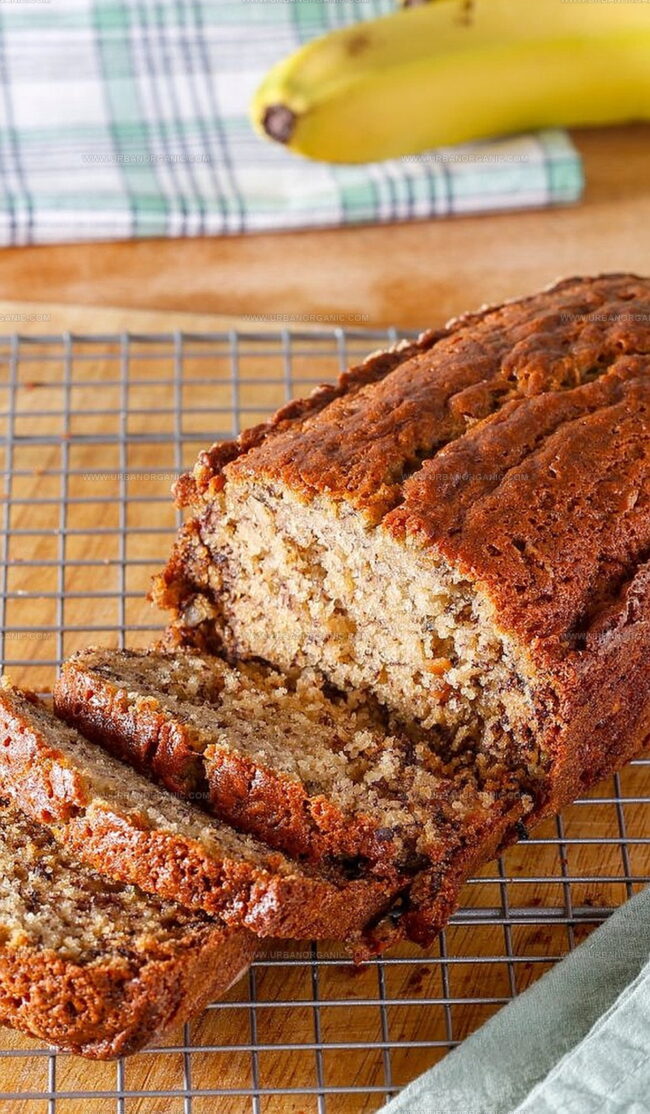
Golden-brown edges hint at the luscious interior waiting to surprise your taste buds.
Fragrant spices weave through the batter, creating an aromatic symphony that transforms ordinary ingredients into extraordinary comfort.
Bakers love how effortlessly this recipe comes together, turning simple pantry staples into a decadent treat.
Each slice carries the warmth of tradition, blending soft crumb with subtle textural nuances that dance on your palate.
Check out this timeless recipe and let nostalgia and deliciousness collide on your plate!
Quick Recipe Overview

Banana Bread Baking Ingredients
For Dry Ingredients:For Wet Ingredients:For Texture and Crunch:Tools for Classic Banana Bread
Banana Bread Instructions and Timing
Fire up the oven to a cozy 350°F and give your loaf pan a quick butter massage, then dust with a light flour sprinkle to keep things from sticking.
Scatter your favorite nuts on a baking sheet and toast them until they’re dancing with golden warmth and releasing a rich, inviting aroma. Let them cool down while keeping the oven ready.
Whisk together your flour, sugar, baking heroes (powder and soda), a pinch of salt, and a whisper of cinnamon in a big mixing bowl until everything looks friendly and well-acquainted.
Mash those ripe bananas into submission, crack in some eggs, drizzle melted butter, and splash vanilla extract. Blend this liquid gold until smooth and dreamy.
Gently marry your dry ingredients into the wet mixture. Fold with love, stopping right when flour disappears – no aggressive mixing allowed! Sprinkle in those toasted nuts for extra personality.
Pour your beautiful batter into the prepared pan and slide it into the waiting oven. Bake for about an hour, checking with a trusty toothpick to ensure perfect doneness.
Let your bread rest in the pan for a short breather, then transfer to a cooling rack. Slice when completely cool and enjoy your homemade treasure.
Ripeness and Flavor Tips for Banana Bread

Serving Banana Bread at Any Occasion
Best Storage Tips for Banana Bread
Print
Moist Banana Bread Recipe
- Total Time: 1 hour 10 minutes
- Yield: 8 1x
Description
Classic banana bread celebrates comfort and nostalgia with ripe bananas, warm spices, and a moist crumb. Home bakers can easily master this timeless treat that brings memories of grandma’s kitchen and weekend morning pleasures.
Ingredients
- 3 large ripe bananas, mashed
- 2 large eggs, room temperature
- ½ cup (118 ml/4 fl oz) melted unsalted butter, cooled
- 1 ¾ cups (220 g/7.8 oz) all-purpose flour
- 1 cup (100 g/3.5 oz) walnuts or pecans, roughly chopped
- ¾ cup (150 g/5.3 oz) granulated sugar
- 1 tsp baking powder
- ¼ tsp baking soda
- ¼ tsp salt
- 1 tsp ground cinnamon
- 1 tsp vanilla extract
Instructions
- Preparation: Preheat oven to 350°F (175°C) and meticulously grease a 9x5x3-inch loaf pan with butter, then dust with flour to prevent adhesion.
- Nut Toasting: Spread chopped walnuts or pecans on a baking sheet, roast for 7-10 minutes until aromatic, then cool completely while maintaining oven temperature.
- Dry Ingredient Fusion: Whisk flour, sugar, baking powder, baking soda, salt, and cinnamon in a medium bowl until perfectly integrated.
- Wet Ingredient Amalgamation: Thoroughly mash ripe bananas, blend with eggs, melted butter, and vanilla extract in a large bowl until harmoniously combined.
- Batter Creation: Gently fold dry ingredients into banana mixture using a rubber spatula, mixing until flour streaks vanish, ensuring a delicate bread texture.
- Nut Integration: Incorporate cooled, toasted nuts evenly throughout the batter, creating a rustic, chunky consistency.
- Baking Process: Pour batter into prepared pan, smoothing the surface for uniform baking, and place in preheated oven for 55-60 minutes.
- Doneness Check: Verify bread is fully baked by inserting a toothpick into the center – it should emerge with minimal moist crumbs.
- Cooling and Serving: Allow bread to rest in pan for 10 minutes, then transfer to a wire rack, letting it cool completely before slicing to preserve moisture and structure.
Notes
- Select Ripe Bananas: Use overripe bananas with dark brown or black spots for maximum sweetness and deeper banana flavor, ensuring a moist and rich bread.
- Prevent Tough Texture: Mix batter minimally when combining dry and wet ingredients to avoid developing gluten, which can result in a dense, chewy bread.
- Customize Nut Toasting: Toast nuts carefully to enhance their flavor and prevent burning; watch closely and stir occasionally for even golden-brown coloration.
- Check Moisture Levels: A few moist crumbs on the toothpick indicate perfect doneness, preventing overbaking and maintaining the bread’s soft, tender interior.
- Prep Time: 30 minutes
- Cook Time: 40 minutes
- Category: Breakfast, Snacks, Desserts
- Method: Baking
- Cuisine: British
Nutrition
- Serving Size: 8
- Calories: 300
- Sugar: 20 g
- Sodium: 200 mg
- Fat: 15 g
- Saturated Fat: 6 g
- Unsaturated Fat: 9 g
- Trans Fat: 0 g
- Carbohydrates: 40 g
- Fiber: 2 g
- Protein: 4 g
- Cholesterol: 70 mg
Michael Thompson
Founder & Culinary Director
Expertise
Classical & Contemporary Cooking Techniques, Global Cuisine Appreciation, Nutrition & Menu Engineering, Sustainable Cooking Practices, Farm-to-Table Cuisine
Education
Southwestern Oregon Community College
Michael grew up in Oregon, where he learned early that food tastes better when it’s fresh, local, and made with care.
After earning his degree from the Southwestern Oregon Community College, he focused his career on teaching others how to cook with the seasons, reduce food waste, and reconnect with what’s on their plate.
Michael keeps his cooking simple, sustainable, and full of flavor. His favorite part of the process? Watching people realize how easy and satisfying it can be to cook a single great meal from scratch.