Quick & Fudgy Lunch Lady Brownies Recipe: School Nostalgia
School cafeterias sparked memories of these incredible chocolate lunch lady brownies that always disappeared faster than anything else on the tray.
Sweet nostalgia hits differently when you bite into these decadent squares of pure comfort.
Memories flood back from childhood, reminding you of those delightful dessert moments.
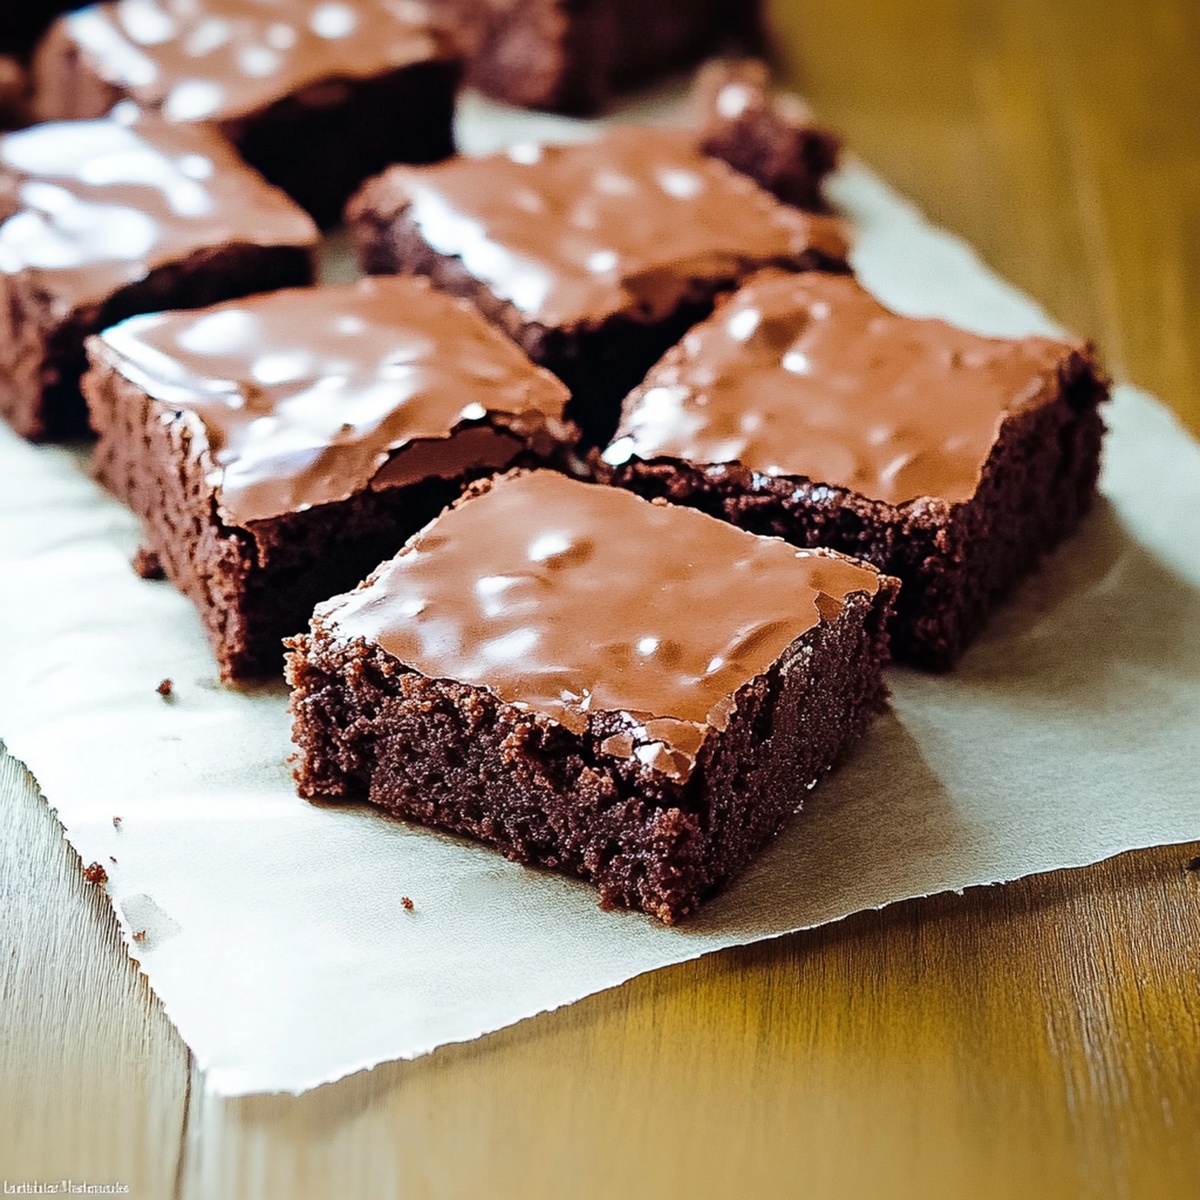
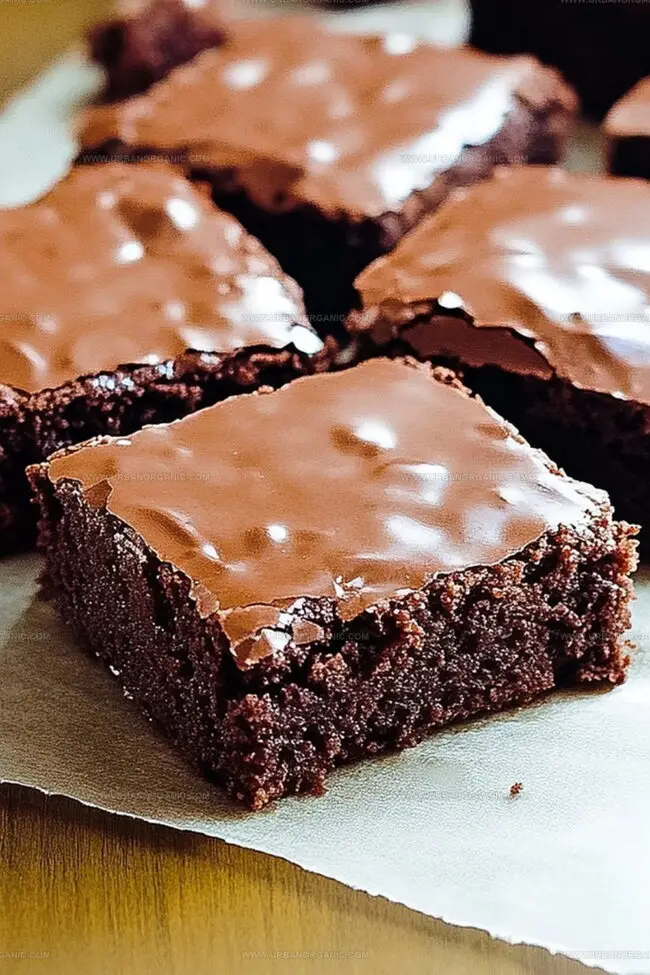
Thick, fudgy layers promise an indulgent experience that transcends typical homemade treats.
Soft edges with crispy tops create a textural symphony that makes every bite magical.
Kids and adults alike will swoon over this classic dessert that celebrates simple, unpretentious deliciousness.
One taste will transport you back to those carefree lunchroom days, making these brownies an irresistible journey through time.
Nostalgia Meets Rich Chocolate in These Brownies
What Goes Into Lunch Lady Brownies
Base Ingredients:Dry Ingredients:Frosting Ingredients:Baking Instructions for Fudgy, Rich Results

Step 1: Warm Up The Oven
Preheat the oven to 350F (175C). Grab a 9×13-inch baking pan and line it with parchment paper or give it a quick spray of cooking oil.
Step 2: Create Chocolate Magic
Grab a large mixing bowl and whisk together:Stir until the mixture looks silky smooth, then add sugar and mix thoroughly.
Step 3: Blend In The Goodness
Crack eggs into the bowl one at a time, beating well after each addition. Pour in vanilla extract and give everything a good stir until perfectly combined.
Step 4: Fold In The Dry Ingredients
Gently incorporate flour and salt into the mixture. Use a light touch and stop mixing as soon as everything looks combined – don’t go crazy with stirring!
Step 5: Bake To Perfection
Pour the batter into your prepared pan. Slide it into the preheated oven and bake for 25-30 minutes. You’ll know they’re done when a toothpick comes out with just a few moist crumbs.
Step 6: Whip Up Decadent Frosting
While the brownies are baking, create the frosting by beating together:Blend until the mixture is smooth and spreadable.
Step 7: Frost And Chill
Once the brownies are slightly cooled but still warm, spread the frosting evenly across the top. Let them cool completely before cutting.
Step 8: Slice And Devour
Cut into squares and serve up these irresistible chocolate treats!
Tips for a Crackly Top and Chewy Center
How to Keep Brownies Moist After Day One
Tasty Matches for These Chocolate Squares
Fun Ways to Elevate the Classic Recipe
Brownie Questions Answered
These brownies got their name from classic cafeteria-style desserts served in school lunch lines, known for being incredibly rich, fudgy, and nostalgic.
Natural cocoa powder works best for this recipe, as it provides a deeper chocolate flavor and helps with the brownie’s texture and rise.
Look for slightly pulled edges, a set center, and a toothpick with a few moist crumbs when inserted – this ensures a fudgy, not dry, texture.
The combination of softened butter, cocoa powder, milk, and powdered sugar creates a smooth, rich frosting that perfectly complements the dense chocolate brownies.
Print
Lunch Lady Brownies Recipe
- Total Time: 35 minutes
- Yield: 24 1x
Description
Nostalgic lunch lady brownies bring classic cafeteria comfort straight to home kitchens. Rich chocolate squares deliver sweet memories with each indulgent bite you’ll savor.
Ingredients
Main Ingredients:
- 2 cups granulated sugar
- 1 ½ cups all-purpose flour
- 1 cup unsalted butter, melted
- 4 large eggs
- ½ cup unsweetened cocoa powder
Flavoring and Enhancers:
- 1 tablespoon vanilla extract
- ¼ teaspoon salt
Frosting Ingredients:
- 2 cups powdered sugar
- ¼ cup unsalted butter, softened
- ¼ cup unsweetened cocoa powder
- ¼ cup milk
- 1 teaspoon vanilla extract
Instructions
- Prepare the baking vessel by coating a 9×13-inch pan with cooking spray or parchment paper, ensuring complete coverage. Adjust the oven rack to the center position and warm to 350F (175C).
- Create a rich chocolate base by whisking melted butter and cocoa powder until the mixture transforms into a glossy, uniform consistency. Incorporate granulated sugar, stirring until fully integrated.
- Introduce eggs individually, thoroughly blending after each addition. Pour in vanilla extract and mix until the batter achieves a silky texture with no visible egg streaks.
- Gently incorporate flour and salt, using delicate folding motions to prevent overmixing. The goal is a smooth batter with minimal lumps, stopping when dry ingredients are just combined.
- Transfer the chocolate mixture into the prepared pan, spreading evenly to create a level surface. Slide the pan into the preheated oven and bake for 25-30 minutes, monitoring for a slightly firm center and moist crumb texture.
- While brownies bake, craft the decadent frosting by whipping softened butter with cocoa powder until light and fluffy. Gradually introduce powdered sugar, milk, and vanilla, blending until the mixture reaches a spreadable, velvety consistency.
- Remove brownies from the oven and allow a brief cooling period – approximately 10 minutes. While still warm, generously spread the chocolate frosting across the surface, creating an even layer that will slightly melt into the brownie.
- Allow the frosted brownies to cool completely at room temperature, which helps the topping set and flavors meld. Once stabilized, slice into square portions and serve.
Notes
- Use room temperature eggs for smoother batter integration and consistent texture.
- Avoid overmixing the batter to prevent tough, dense brownies; stop stirring once flour is just incorporated.
- For gluten-free option, substitute all-purpose flour with almond or gluten-free flour blend, ensuring 1:1 measurement ratio.
- Cool brownies completely before cutting to achieve clean, sharp edges and prevent crumbling.
- Prep Time: 10 minutes
- Cook Time: 25 minutes
- Category: Desserts, Snacks
- Method: Baking
- Cuisine: American
Nutrition
- Serving Size: 24
- Calories: 460
- Sugar: 30 g
- Sodium: 350 mg
- Fat: 34 g
- Saturated Fat: 20 g
- Unsaturated Fat: 10 g
- Trans Fat: 0 g
- Carbohydrates: 38 g
- Fiber: 1 g
- Protein: 5 g
- Cholesterol: 80 mg
Jessica Martinez
Pastry Chef & Recipe Developer
Expertise
Organic Baking Techniques, Gluten-Free Recipe Development, Southwestern Dessert Specialties, Food Styling and Photography
Education
Santa Fe Community College (SFCC)
Jessica brings the sweet side to Urban Organic with her passion for baking and love for the Southwest. She trained at Santa Fe Community College and has built a career creating beautiful, gluten-free, and organic desserts that feel both nostalgic and new.
She believes baking should be fun, creative, and open to everyone, no matter your diet or skill level. Jessica’s recipes are simple enough to follow, but special enough to remember.