Foolproof Key Lime Pie Recipe Bursting with Tang
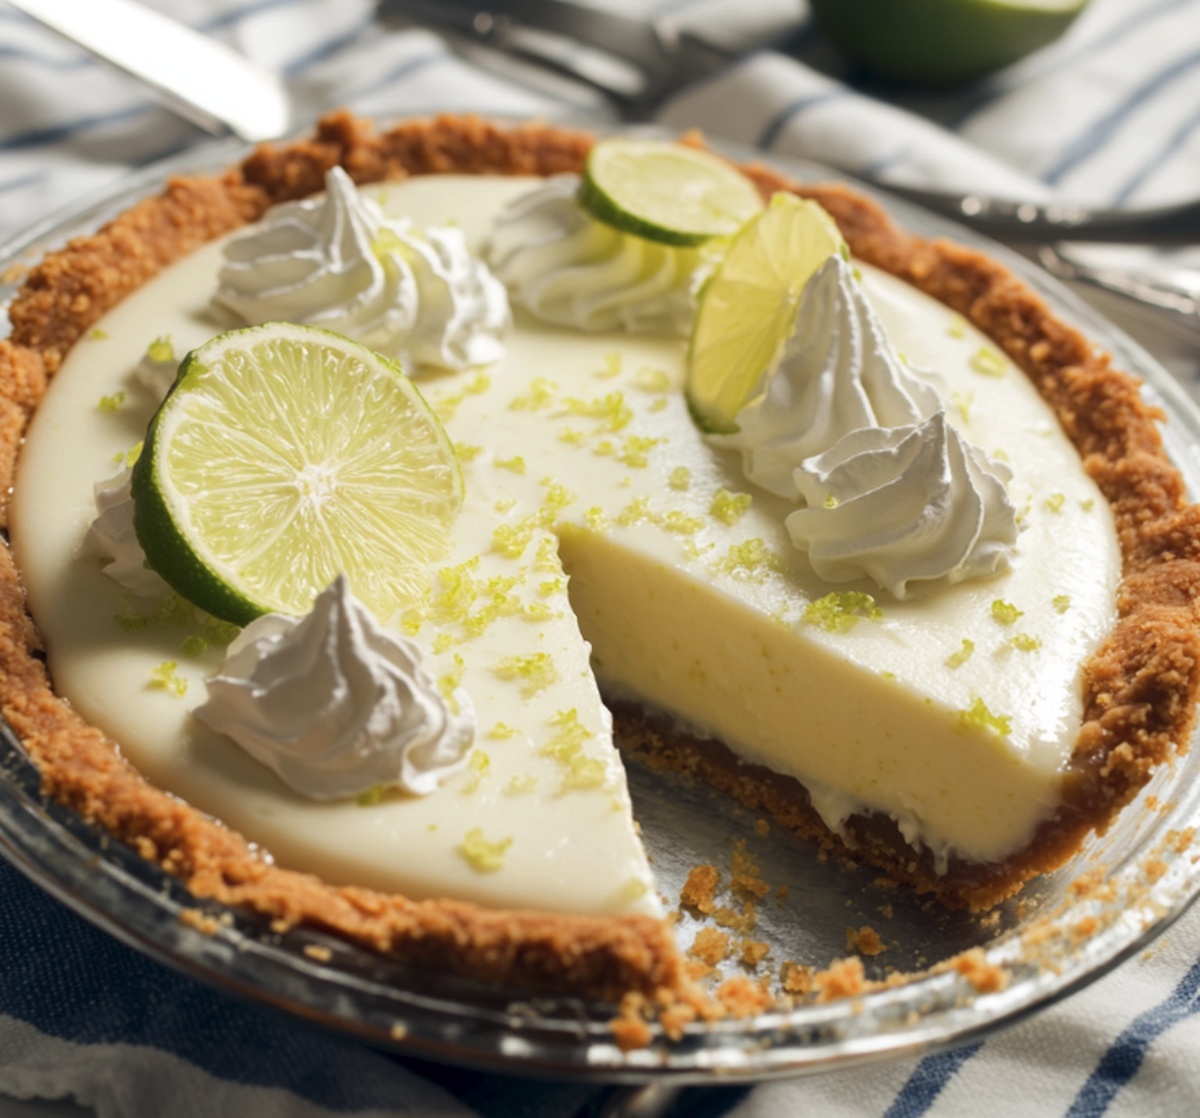
Creamy and zesty key lime pie captures the essence of tropical sunshine on a plate.
Tangy citrus notes dance alongside a buttery graham cracker crust that crumbles perfectly with each bite.
Memories of summer vacations flood back when you slice into this classic dessert.
Smooth, velvety filling provides a refreshing counterpoint to the rich, crisp base.
Whispers of florida’s sweet orchards infuse every delectable spoonful with bright, vibrant flavor.
Sweet and tart flavors mingle in a delightful harmony that promises pure culinary joy.
Take a forkful and transport yourself to a beachside paradise with this irresistible treat.
Why Key Lime Pie Is Tart, Sweet, and So Refreshing
Ingredients That Make a Great Key Lime Pie
Crust Ingredients:Filling Ingredients:Topping Ingredients:How to Bake a Pie with That Signature Tang
Step 1: Prepare The Crust
Warm your oven to a toasty 350F. Grab a mixing bowl and combine:Mix until everything looks perfectly blended. Press the mixture firmly into a 9-inch pie dish, covering bottom and sides. Pop into the oven and bake for 8-10 minutes. Once done, let it cool down a bit.
Step 2: Whip Up The Zesty Filling
In a medium bowl, whisk together:Blend until the mixture looks silky smooth. Pour this vibrant filling into your cooled crust, spreading it evenly.
Step 3: Bake To Perfection
Slide the pie back into the oven and bake for 15 minutes. You’ll know it’s ready when the filling looks just set. Remove and let it cool completely at room temperature.
Step 4: Chill And Set
Transfer the pie to the refrigerator. Let it rest for at least 3 hours or overnight. The longer it chills, the more delicious it becomes.
Step 5: Crown With Whipped Cream
When ready to serve, whip up some cream with powdered sugar and vanilla until soft peaks form. Dollop generously on top of your chilled pie and serve immediately.
Tips for That Silky Smooth Pie Filling
Store Key Lime Pie Like a Pro
What to Pair with This Lively Dessert
Ideas to Remix the Classic
Questions About Key Lime Pie? Here’s Help
Key limes have a more intense, tart flavor and floral aroma that gives the pie its signature tangy and bright taste, which regular limes can’t replicate.
The filling should look slightly firm and have a gentle jiggle when you move the pie dish. It shouldn’t be completely liquid or completely solid when you take it out of the oven.
Yes, key lime pie is perfect for preparing ahead. You can make the entire pie 1-2 days before serving and keep it refrigerated, which actually helps the flavors develop and intensify.
Fresh lime juice is recommended for the best flavor. Bottled juice can taste flat and lack the bright, zesty notes that make key lime pie delicious.
Print
Key Lime Pie Recipe
- Total Time: 40 minutes
- Yield: 8 1x
Description
Creamy key lime pie brings zesty Florida flavors to your dessert table with a tangy graham cracker crust and silky smooth filling. Cool citrus notes and sweet whipped cream create a refreshing finale you’ll savor with pure tropical delight.
Ingredients
Crust Ingredients:
- 1.5 cups graham cracker crumbs (about 10–12 full crackers)
- ⅓ cup granulated sugar
- 6 tablespoons unsalted butter, melted
Filling Ingredients:
- 1 14-ounce can sweetened condensed milk
- 4 large egg yolks
- ½ cup key lime juice (fresh or bottled)
- 1 tablespoon key lime zest
Topping Ingredients:
- 1 cup heavy whipping cream
- 2 tablespoons powdered sugar
- ½ teaspoon vanilla extract
Instructions
- Prepare the graham cracker foundation by combining crushed crackers with sugar and melted butter, ensuring a uniform mixture that will create a sturdy base for the pie.
- Carefully press the crumb mixture into a 9-inch pie dish, sculpting it evenly across the bottom and up the sides to form a consistent crust.
- Crisp the crust in a preheated 350°F oven for 8-10 minutes, allowing it to develop a light golden color and firm texture, then set aside to cool slightly.
- Craft the zesty filling by whisking together sweetened condensed milk, vibrant lime juice, aromatic lime zest, and rich egg yolks until the mixture achieves a silky, smooth consistency.
- Pour the luminous lime filling into the cooled crust, spreading it gently to create an even layer that will set into a creamy, tangy interior.
- Return the pie to the oven and bake for approximately 15 minutes, watching for the filling to set with a gentle wobble but without browning.
- Allow the pie to cool completely at room temperature, then transfer to the refrigerator for a minimum of 3 hours to achieve optimal chilling and flavor melding.
- Optional: Whip heavy cream with powdered sugar and vanilla until soft peaks form, creating a delicate cloud-like topping to adorn the pie just before serving.
- Garnish with a sprinkle of lime zest or a delicate lime slice for an elegant finishing touch that hints at the pie’s vibrant citrus profile.
Notes
- Choose graham crackers with rich, buttery flavor for a more decadent crust that complements the tangy lime filling.
- Toast graham cracker crumbs briefly before mixing with butter to enhance their nutty, caramelized undertones and create a deeper crust flavor.
- Opt for fresh key lime juice instead of bottled for a brighter, more authentic citrus taste that elevates the entire pie’s profile.
- Chill the pie for at least 4 hours to allow the filling to set completely and develop a silky, smooth texture that cuts cleanly when served.
- Prep Time: 15 minutes
- Cook Time: 25 minutes
- Category: Desserts
- Method: Baking
- Cuisine: American
Nutrition
- Serving Size: 8
- Calories: 320
- Sugar: 3 g
- Sodium: 550 mg
- Fat: 22 g
- Saturated Fat: 4 g
- Unsaturated Fat: 16 g
- Trans Fat: 0 g
- Carbohydrates: 30 g
- Fiber: 2 g
- Protein: 6 g
- Cholesterol: 15 mg
Jessica Martinez
Pastry Chef & Recipe Developer
Expertise
Organic Baking Techniques, Gluten-Free Recipe Development, Southwestern Dessert Specialties, Food Styling and Photography
Education
Santa Fe Community College (SFCC)
Jessica brings the sweet side to Urban Organic with her passion for baking and love for the Southwest. She trained at Santa Fe Community College and has built a career creating beautiful, gluten-free, and organic desserts that feel both nostalgic and new.
She believes baking should be fun, creative, and open to everyone, no matter your diet or skill level. Jessica’s recipes are simple enough to follow, but special enough to remember.