Make Sweet Magic: Fun Jello Candy Melts Recipe for Everyone
Sweet tooth enthusiasts adore these quirky jello candy melts that dance between childhood nostalgia and grown-up creativity.
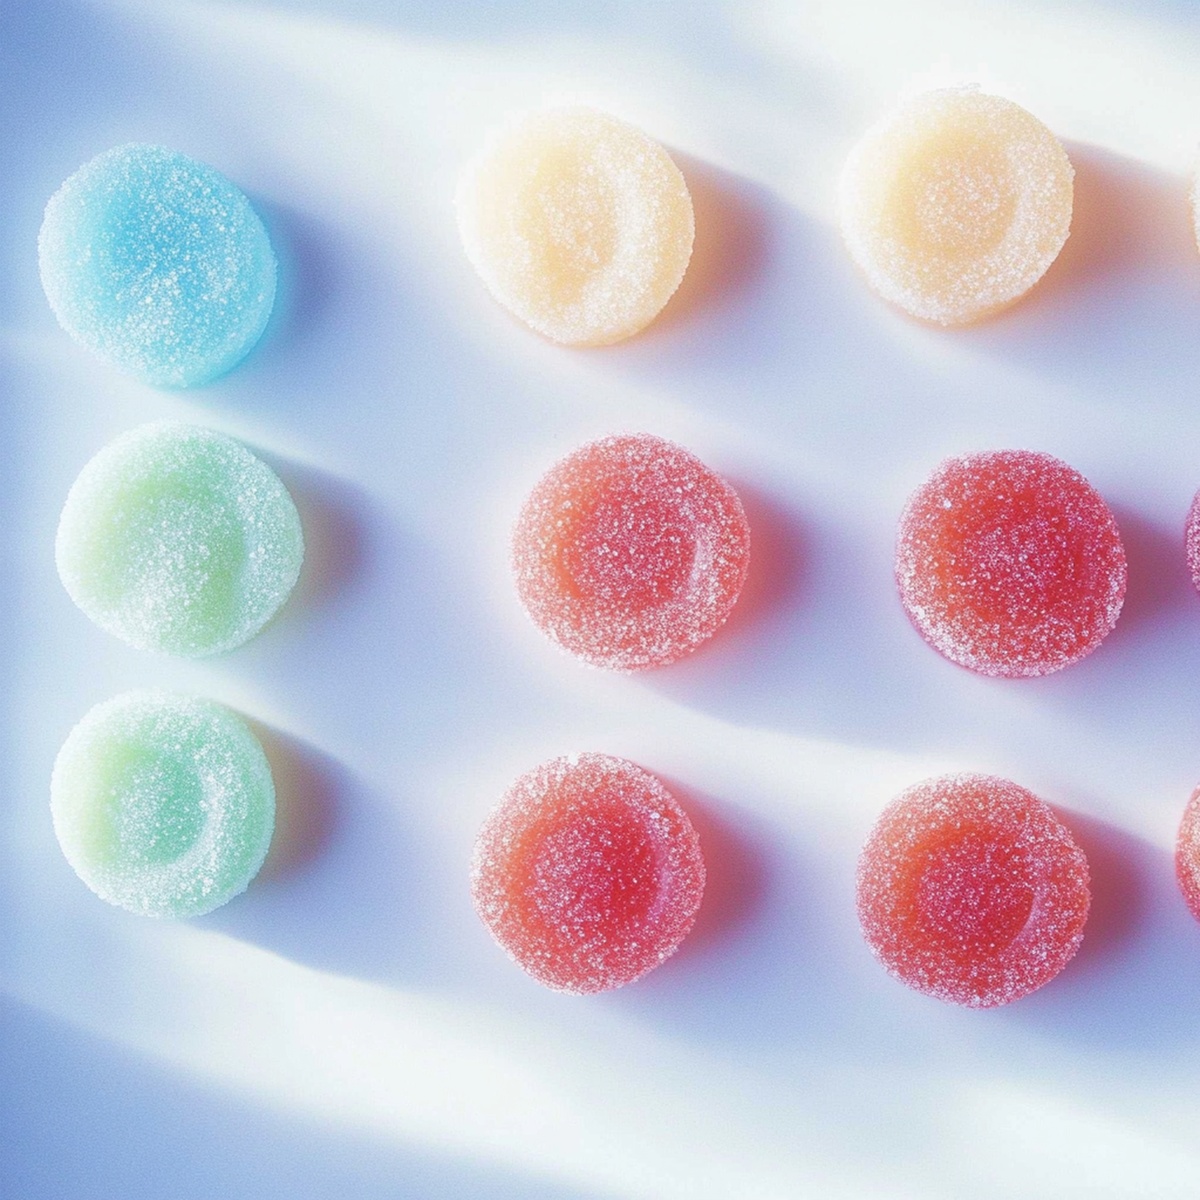
Colorful little treats promise surprising texture and vibrant flavor combinations.
Gelatin gives these confections an unexpected springy quality that surprises most people.
Kitchen experiments with fruit-flavored jellies create delightful bite-sized morsels perfect for parties.
Simple ingredients and minimal preparation make these candies accessible for novice cooks.
Homemade sweets always taste better when crafted with personal care and imagination.
Whip up these playful treats and watch eyes light up with delighted anticipation.
Why Jello Candy Melts Are So Fun to Make
What You’ll Need for Jello Candy Melts
Chocolate Base:Flavor and Color:Molding Supplies:How to Make Bright and Colorful Jello Candy Melts
Step 1: Melt Chocolate Base
Grab a microwave-safe bowl and gently warm white chocolate chips with a touch of coconut oil. Zap in short bursts, stirring between each interval until the mixture becomes silky smooth and glossy.
Step 2: Infuse Vibrant Flavor
Sprinkle in Jello powder:Stir thoroughly until the powder completely blends with the melted chocolate, creating a colorful and fragrant mixture.
Step 3: Shape Sweet Treats
Choose your candy creation method:
Option A: Silicone Mold Approach
Option B: Free-Form Candy Technique
Step 4: Solidify Candies
Let candies rest at room temperature for half an hour. For faster results, slide the tray into the refrigerator and wait 15 minutes until completely set. Your fruity chocolate treats are ready to enjoy!
Tips to Help with Better Candy Melts
Best Way to Store Your Jello Candy Melts
Fun Additions to Serve with Candy Melts
Jello Candy Melts – New Twists to Try
Candy Melts – Common Questions Answered
Coconut oil helps create a smoother, shinier chocolate texture and prevents the white chocolate from becoming too hard or brittle when it sets.
Absolutely! You can experiment with various Jello powder flavors like strawberry, raspberry, orange, or lime to create different colored and flavored candy melts.
Use high-quality white chocolate chips or melting wafers that are specifically designed for candy making. Avoid using white chocolate bars, as they might not melt as smoothly.
No special equipment is required. You just need a microwave-safe bowl, silicone molds or parchment paper, and a spoon or piping bag for shaping the candies.
Print
Jello Candy Melts Recipe
- Total Time: 35 minutes
- Yield: 12 1x
Description
Sweet jello candy melts deliver a nostalgic rainbow treat that dazzles dessert lovers. Colorful, jiggly morsels create playful magic perfect for parties, bringing smiles and childhood memories with each delightful bite.
Ingredients
Main Ingredients:
- 1 (3 ounces/85 grams) box flavored Jello (any flavor)
- 1 cup white chocolate chips (or candy melts)
Binding/Melting Agents:
- 1 teaspoon coconut oil or vegetable shortening
Instructions
- Prepare a microwave-safe vessel, combining white chocolate chips with coconut oil. Gently heat in short bursts, stirring between intervals until the mixture transforms into a silky, uniform liquid.
- Incorporate the selected Jello powder, whisking thoroughly to ensure complete integration. Observe the vibrant color and aromatic flavor emerging as the powder blends seamlessly into the molten chocolate base.
- Select your preferred candy configuration: carefully transfer the liquid mixture into intricately designed silicone molds, creating precisely shaped confections. Alternatively, artfully pipe delicate circular droplets onto parchment paper, crafting freeform candy delights.
- Allow the candies to stabilize and solidify naturally at ambient room temperature for approximately half an hour. For expedited results, utilize refrigeration to accelerate the hardening process, reducing setting time to roughly fifteen minutes.
- Once fully set, gently extract the candies from their molds or carefully lift the parchment paper. Inspect each morsel for a glossy, smooth finish that promises a delectable sensory experience.
Notes
- Customize flavors by selecting different Jello powder colors and tastes for unique candy varieties.
- Prevent chocolate from burning by microwaving in short intervals and stirring thoroughly between each round.
- Use high-quality white chocolate chips for smoother melting and better texture in your final candy melts.
- Store candy melts in an airtight container at room temperature for up to one week, ensuring they remain fresh and crisp.
- Prep Time: 5 minutes
- Cook Time: 15-30 minutes
- Category: Snacks, Desserts
- Method: Blending
- Cuisine: American
Nutrition
- Serving Size: 12
- Calories: 295
- Sugar: 26 g
- Sodium: 150 mg
- Fat: 12 g
- Saturated Fat: 7 g
- Unsaturated Fat: 3 g
- Trans Fat: 0 g
- Carbohydrates: 42 g
- Fiber: 0.5 g
- Protein: 3 g
- Cholesterol: 55 mg
Jessica Martinez
Pastry Chef & Recipe Developer
Expertise
Organic Baking Techniques, Gluten-Free Recipe Development, Southwestern Dessert Specialties, Food Styling and Photography
Education
Santa Fe Community College (SFCC)
Jessica brings the sweet side to Urban Organic with her passion for baking and love for the Southwest. She trained at Santa Fe Community College and has built a career creating beautiful, gluten-free, and organic desserts that feel both nostalgic and new.
She believes baking should be fun, creative, and open to everyone, no matter your diet or skill level. Jessica’s recipes are simple enough to follow, but special enough to remember.