
Raisin Scones Recipe by Ina Garten You’ll Want Every Morning
Raisin scones dance between rustic tradition and gourmet delight, capturing the essence of British baking magic.
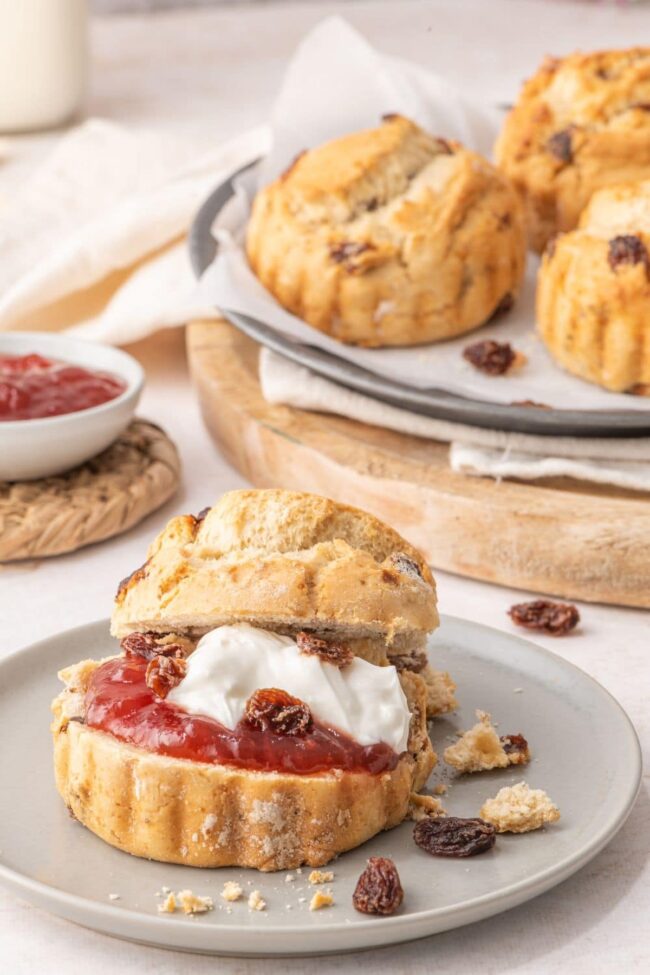
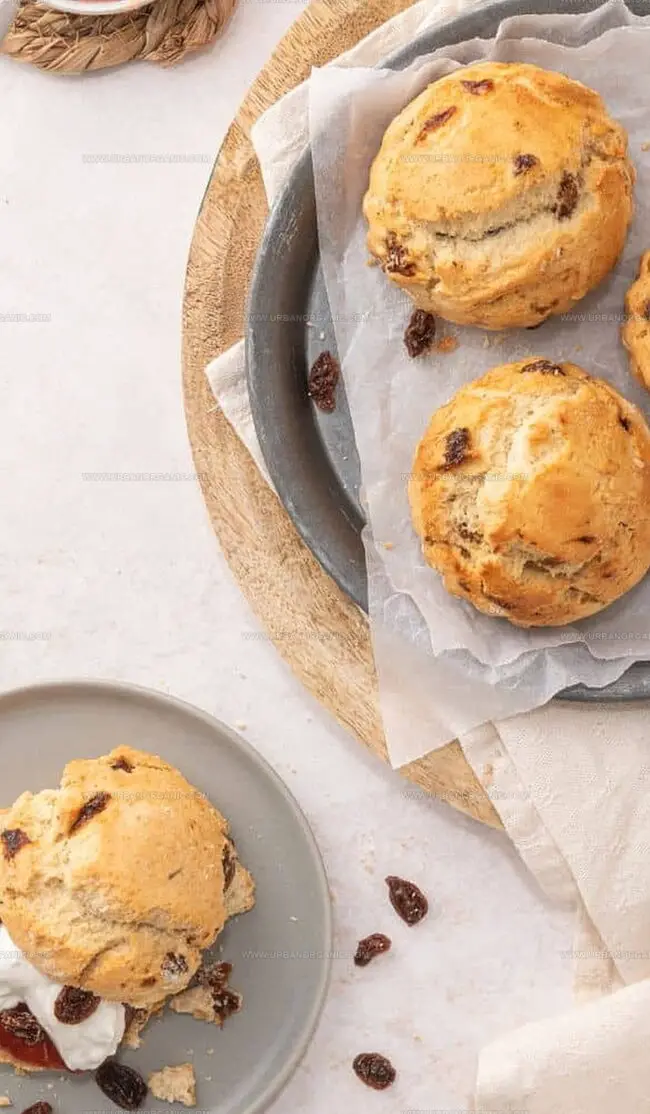
These golden-brown treasures burst with sweet, plump raisins nestled in a tender crumb.
Crafted with precision, each scone tells a story of culinary craftsmanship and comfort.
Generations have savored these delectable pastries as a symbol of leisurely mornings and warm hospitality.
The delicate balance of buttery richness and fruity sweetness creates an irresistible harmony on your palate.
Fresh from the oven, they radiate an enticing warmth that beckons you closer.
Check out this timeless recipe and let the first bite transport you to a cozy British tea room.
Quick Recipe Overview
What’s Inside Ina Garten’s Raisin Scones Recipe
For Dry Base:For Moisture Elements:For Fruity Accent:Tools to Bake the Best Raisin Scones Like Ina
How to Whip Up Raisin Scones with Ina’s Method

Blast your oven to a sizzling 400°F, creating the perfect warm welcome for your delectable scones.
Toss flour, sugar, baking powder, and salt into your stand mixer. Drop in chilled butter and blend until it transforms into tiny, delightful pebbles.
Pour beaten eggs and cold cream into the mixture. Gently swirl the ingredients until they just start to dance together – remember, less mixing means more tenderness.
Dust raisins with a whisper of flour, then softly fold them into the dough, distributing sweet bursts of flavor throughout.
Sprinkle flour on your work surface and tenderly knead the dough. Roll it out to a plump thickness, then slice into triangular treasures that promise golden deliciousness.
Brush each scone with an egg wash for a gorgeous golden shine. Arrange them on a parchment-lined baking sheet, ready to transform in the oven’s warm embrace.
Bake for 20-25 minutes until the scones develop a crispy, sun-kissed exterior and a tender, dreamy interior. Keep a watchful eye to prevent any burnt edges.
Tricks to Nail the Texture of Ina’s Scones
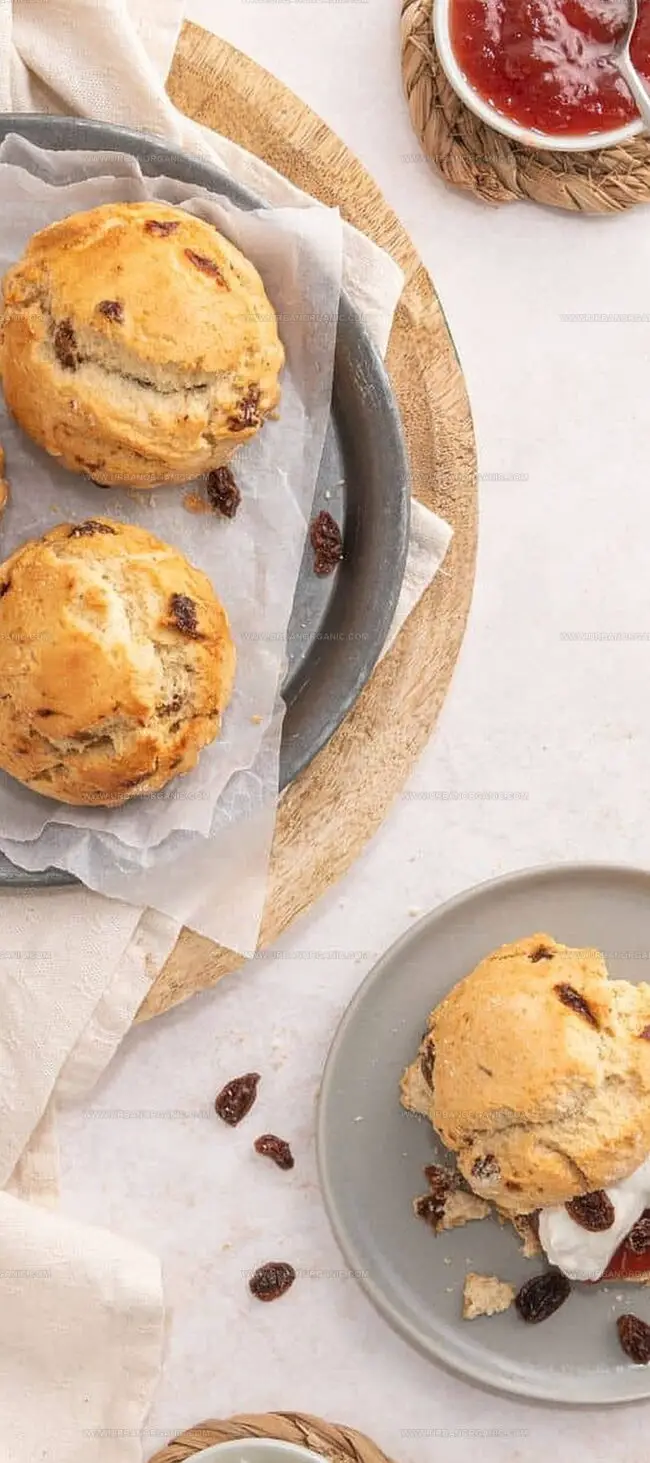
Serving Suggestions for Ina Garten’s Raisin Scones
Ina’s Tips for Keeping Scones Fresh Longer
Print
Irresistible Ina Garten Raisin Scones Recipe
- Total Time: 40 minutes
- Yield: 11 1x
Description
Ina Garten’s raisin scones bring classic British bakery charm to morning tables. Delicate pastry combines rich butter, sweet raisins, and simple ingredients for a luxurious breakfast you’ll savor with morning coffee or afternoon tea.
Ingredients
- 4 cups (960 ml) flour
- ¾ lb (340 g) cold unsalted butter, diced
- 4 eggs, lightly beaten
- 1 cup (240 ml) cold heavy cream
- ¾ cup (120 g) raisins
- 2 tbsps sugar
- 2 tbsps baking powder
- 2 tsps kosher salt
- 1 tbsp flour
- 1 extra-large egg beaten with 2 tbsps milk or water
Instructions
- Preheat Oven: Set the oven to 400°F (200°C), preparing a perfectly calibrated baking environment for golden, flaky scones.
- Combine Dry Ingredients: Sift flour, sugar, baking powder, and salt in a large mixing bowl, ensuring a uniform blend of dry components that will create a consistent texture.
- Integrate Butter: Using a stand mixer, cut cold butter into the flour mixture until it resembles coarse, pea-sized crumbs, which will ultimately contribute to the scones’ signature flakiness.
- Prepare Wet Mixture: Whisk eggs and heavy cream together, then gently incorporate into the dry ingredients. Mix minimally to prevent overworking the dough and maintaining a tender crumb.
- Incorporate Raisins: Lightly dust raisins with flour, then fold into the dough with delicate strokes, distributing them evenly without disrupting the dough’s delicate structure.
- Shape Scones: Transfer dough to a floured surface, knead briefly, then roll to 3/4-inch thickness. Cut into precise triangular shapes, ensuring uniform size for consistent baking.
- Prepare for Baking: Arrange scones on a parchment-lined baking sheet, spacing them to allow for even browning and proper expansion during the baking process.
- Finish and Bake: Brush scone tops with an egg wash to create a lustrous, golden-brown exterior. Bake for 20-25 minutes, monitoring carefully until they reach a rich, warm brown color with a crisp exterior and tender center.
Notes
- Prevent Raisin Sinking: Toss raisins in flour before adding to prevent them from dropping to the bottom of the scones, ensuring an even distribution of fruit in every bite.
- Handle Dough Gently: Mix ingredients minimally to maintain a tender, flaky texture. Overmixing develops gluten, resulting in tough, dense scones that lack the desired light crumb.
- Butter Temperature Matters: Use cold, diced butter and work quickly to create pea-sized crumbs. This technique guarantees the signature flaky layers that make these scones irresistibly delicious.
- Egg Wash Trick: Brush scone tops with egg wash for a beautiful golden-brown finish that adds shine and enhances the overall visual appeal of your homemade treat.
- Prep Time: 15 minutes
- Cook Time: 25 minutes
- Category: Breakfast, Snacks, Desserts
- Method: Baking
- Cuisine: American
Nutrition
- Serving Size: 11
- Calories: 493
- Sugar: 10 g
- Sodium: 310 mg
- Fat: 32 g
- Saturated Fat: 20 g
- Unsaturated Fat: 8 g
- Trans Fat: 0 g
- Carbohydrates: 41 g
- Fiber: 1 g
- Protein: 7 g
- Cholesterol: 118 mg
Jessica Martinez
Pastry Chef & Recipe Developer
Expertise
Organic Baking Techniques, Gluten-Free Recipe Development, Southwestern Dessert Specialties, Food Styling and Photography
Education
Santa Fe Community College (SFCC)
Jessica brings the sweet side to Urban Organic with her passion for baking and love for the Southwest. She trained at Santa Fe Community College and has built a career creating beautiful, gluten-free, and organic desserts that feel both nostalgic and new.
She believes baking should be fun, creative, and open to everyone, no matter your diet or skill level. Jessica’s recipes are simple enough to follow, but special enough to remember.