Create Your Own Bubbly Sourdough Starter From Scratch Recipe
Crafting a delicious sourdough starter can transform your baking adventures in unexpected ways.
Wild yeasts dance around us, waiting to be captured by curious hands.
Flour and water become a magical ecosystem teeming with microscopic life.
Each bubbly mixture tells a unique story of fermentation and patience.
Bakers across cultures have shared this ancient technique for generations.
Nurturing your own sourdough starter connects you to a rich culinary tradition.
Get ready to embark on a flavorful journey that will revolutionize your bread-making skills.
What to Expect from Making Sourdough Starter from Scratch
What You’ll Need to Start Your Sourdough Starter
Flour and Water Base:Fermentation Essentials:Equipment:How to Create Your Own Sourdough Starter Easily
Step 1: Create Initial Mixture
Mix equal parts flour and water in a clean glass jar. Whisk thoroughly until the blend reaches a smooth, consistent texture without any lumps. Use whole wheat or rye flour for extra flavor complexity.
Step 2: Enable Fermentation
Cover the jar with a breathable material like:Ensure air can circulate while protecting the mixture from debris.
Step 3: Nurture the Starter
Place the jar in a warm spot with consistent temperature around 70-75°F. Find a location away from direct sunlight and drafts, such as:Step 4: Wait and Observe
Let the mixture rest undisturbed for 24 hours. During this time, natural wild yeasts and bacteria will begin developing in the blend.
Step 5: First Feeding
After 24 hours, you might notice small bubbles forming. This indicates fermentation has started. Discard half the mixture and add fresh flour and water, maintaining the same proportions as initial mixture.
Step 6: Continuous Care
Repeat feeding process daily at the same time. Each feeding helps strengthen your sourdough starter’s microbial community. Consistency is key to developing a robust, flavorful starter.
Step 7: Recognize Readiness
Your starter is mature and ready when it:Sourdough Starter Tips That Actually Work
How to Store and Feed Your Sourdough Starter
Bread Recipes That Use Sourdough Starter Well
Sourdough Starter Variations and Tweaks
Sourdough Starter FAQs for Beginners
A sourdough starter is a fermented mixture of flour and water that contains wild yeast and beneficial bacteria, which helps bread rise and gives it a distinctive tangy flavor.
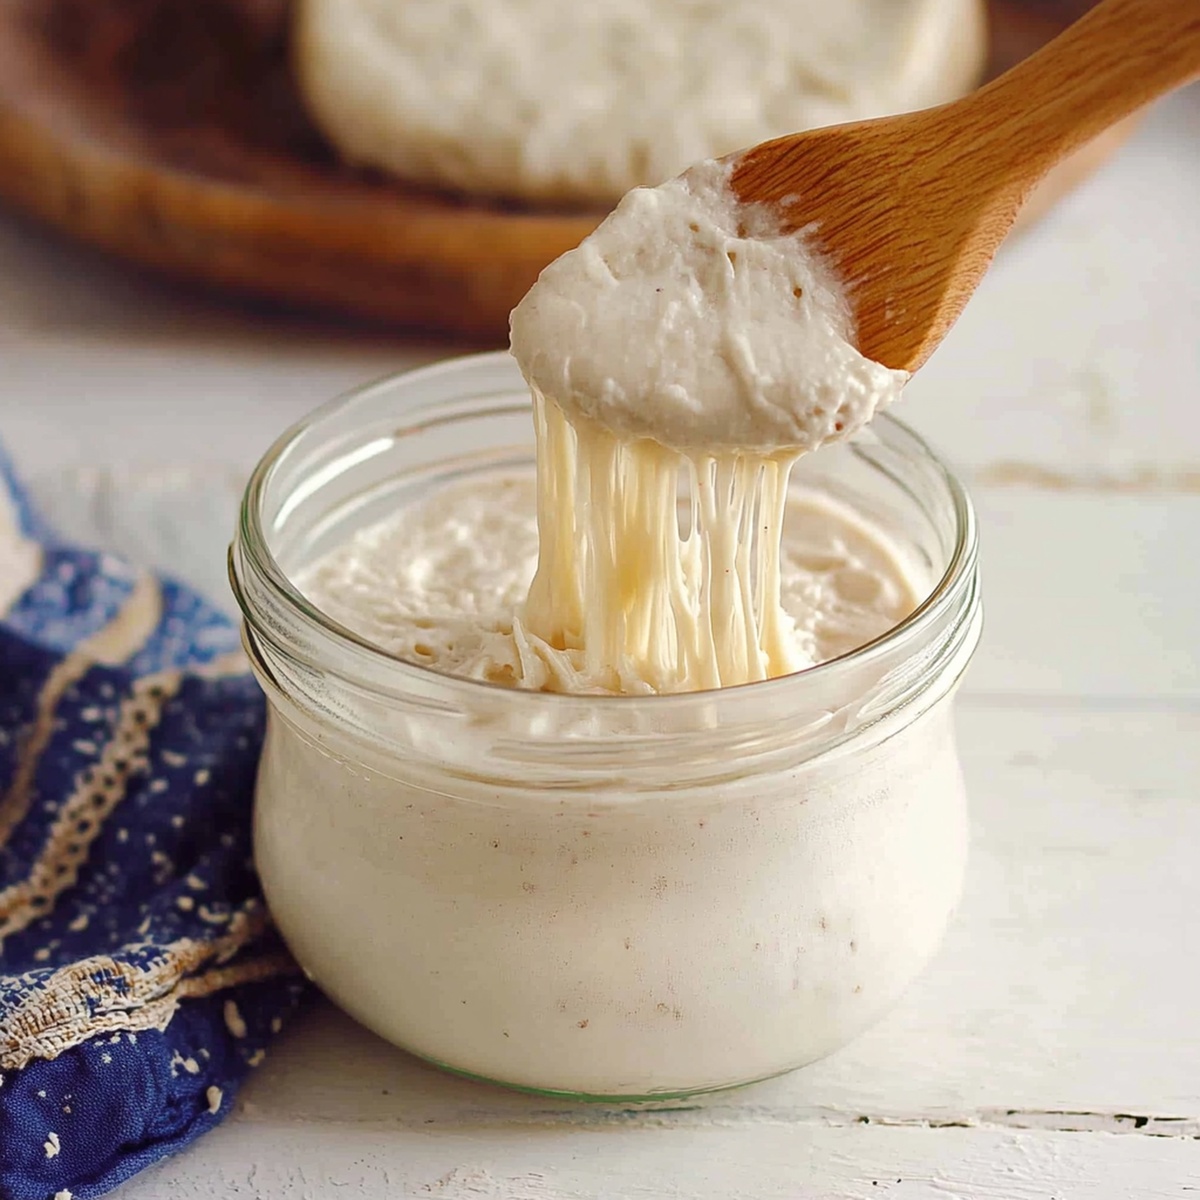
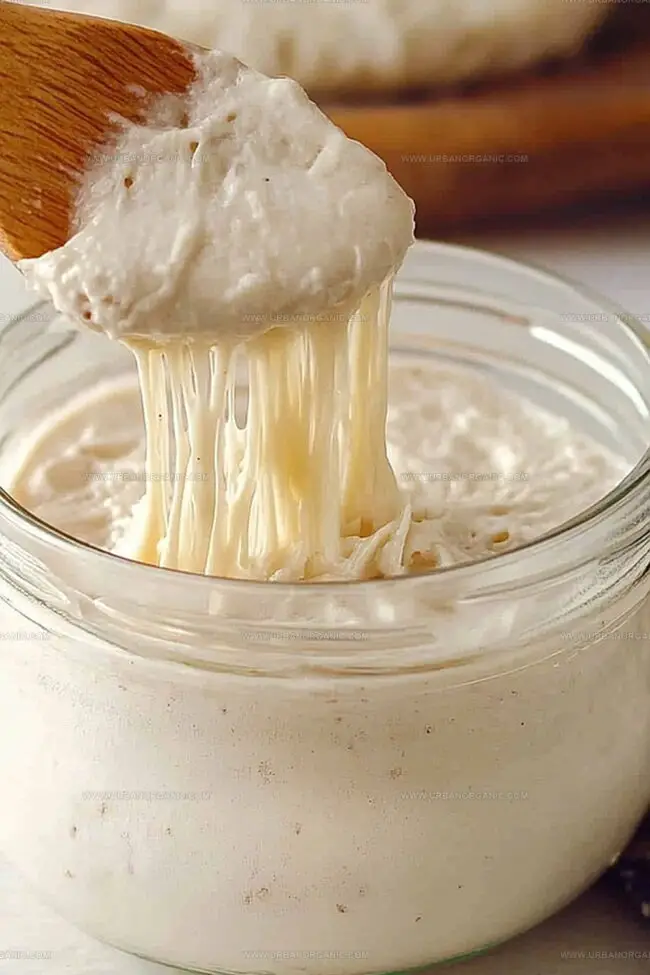
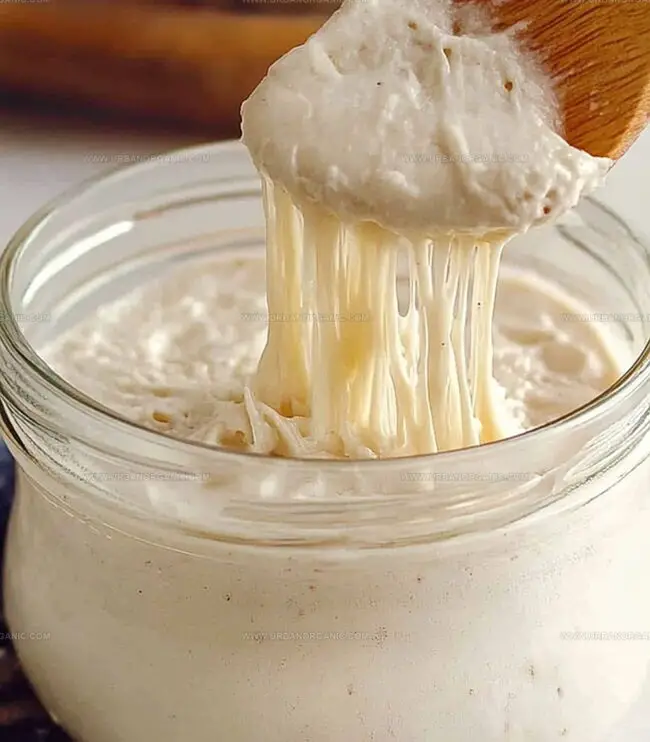
A healthy starter will have bubbles throughout, a slightly sour smell, and will consistently rise and fall predictably after feeding, showing active fermentation.
Yes, you can use various flours like whole wheat, rye, or all-purpose flour. Whole grain flours often kickstart fermentation faster due to their higher nutrient content.
Typically, it takes about 5-7 days of consistent daily feeding to develop a strong, active starter that’s ready to bake bread.
Print
How To Make Sourdough Starter From Scratch Recipe
- Total Time: 5 minutes
- Yield: 1 1x
Description
Sourdough starter magic begins with simple flour and water, creating a living culture of wild yeast and bacteria. This homemade fermentation process connects you to generations of bakers, offering a gateway to delicious, tangy bread that fills kitchens with warmth and flavor.
Ingredients
Main Ingredients:
- 1 cup (120 grams) whole wheat flour
- 1 cup (120 grams) all-purpose flour (unbleached preferred)
Water Ingredients:
- ½ cup (120 milliliters) filtered water
- ½ cup (120 milliliters) non-chlorinated water
Instructions
- Select a pristine glass container with ample room for fermentation, combining whole wheat or rye flour with filtered water to create a thick, uniform paste.
- Whisk the mixture thoroughly, ensuring no dry flour pockets remain, then drape a breathable cloth or lightweight lid over the container to allow natural yeast circulation.
- Position the mixture in a stable environment with consistent warmth, avoiding direct sunlight or drafty areas, and let the natural fermentation process commence for approximately one full day.
- After the initial 24-hour period, discard half the original mixture and replenish with fresh flour and water, maintaining the same hydration ratio and mixing technique.
- Repeat the feeding process daily at consistent times, observing gradual transformation as bubbles emerge and a tangy, slightly sour aroma develops.
- Monitor the starter’s growth, seeking a doubling in volume and notable frothy texture, which typically occurs within 5-7 days of consistent feeding.
- Test the starter’s readiness by performing a float test: drop a small amount into water, and if it rises and remains buoyant, the culture has reached optimal fermentation and is prepared for bread making.
- Once mature, maintain the sourdough starter through regular feedings, storing at room temperature if used frequently or refrigerating for less active periods.
Notes
- Choose whole wheat or rye flour for a more robust starter with deeper flavor complexity.
- Use filtered or bottled water to avoid chlorine, which can inhibit wild yeast growth.
- Mix ingredients thoroughly, ensuring no dry flour clumps remain for consistent fermentation.
- Keep your starter in a consistent warm environment away from direct sunlight or drafts to promote steady microbial activity.
- Prep Time: 5 minutes per day
- Cook Time: 0 minutes
- Category: Snacks, Breakfast
- Method: Blending
- Cuisine: American
Nutrition
- Serving Size: 1
- Calories: 400 kcal
- Sugar: 0 g
- Sodium: 0 mg
- Fat: 1.5 g
- Saturated Fat: 0.3 g
- Unsaturated Fat: 1.2 g
- Trans Fat: 0 g
- Carbohydrates: 84 g
- Fiber: 14 g
- Protein: 14 g
- Cholesterol: 0 mg
Jessica Martinez
Pastry Chef & Recipe Developer
Expertise
Organic Baking Techniques, Gluten-Free Recipe Development, Southwestern Dessert Specialties, Food Styling and Photography
Education
Santa Fe Community College (SFCC)
Jessica brings the sweet side to Urban Organic with her passion for baking and love for the Southwest. She trained at Santa Fe Community College and has built a career creating beautiful, gluten-free, and organic desserts that feel both nostalgic and new.
She believes baking should be fun, creative, and open to everyone, no matter your diet or skill level. Jessica’s recipes are simple enough to follow, but special enough to remember.