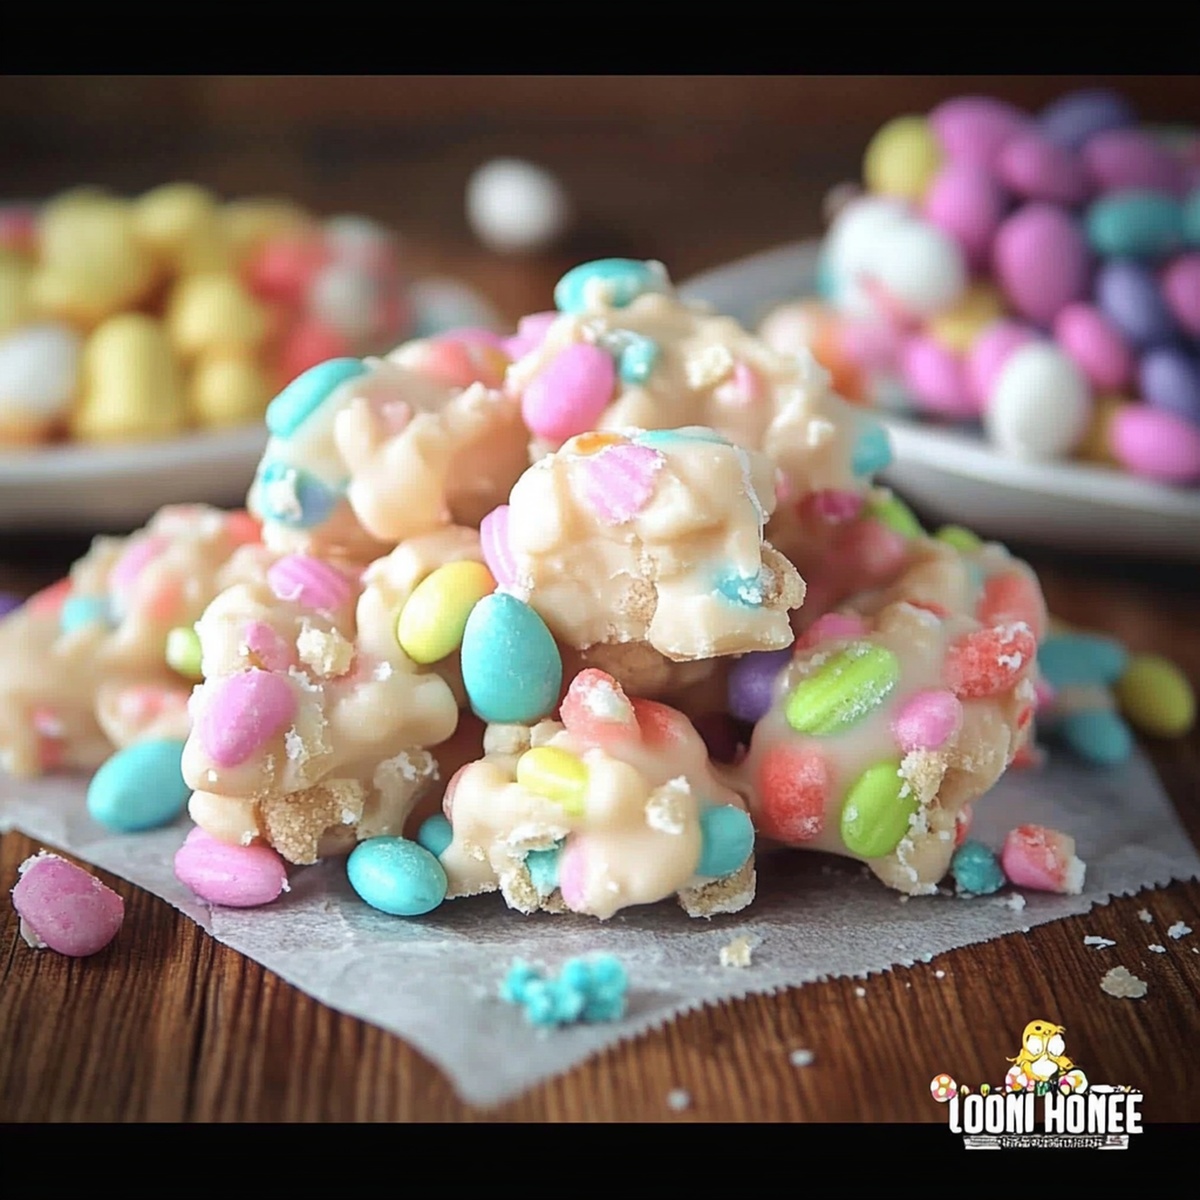
Make Your Easter Magical with This Homemade Easter Candy Recipe
Sweet memories of childhood easter celebrations dance around this homemade easter candy recipe that connects generations through delectable treats.
Chocolate and sugar beckon with nostalgic whispers of springtime joy.
Crafting confections at home allows you to control ingredients and infuse personal magic into every delightful bite.
Grandmothers and mothers have long understood the secret language of sugar and love.
Mixing, melting, and molding become an intimate ritual that transcends simple cooking.
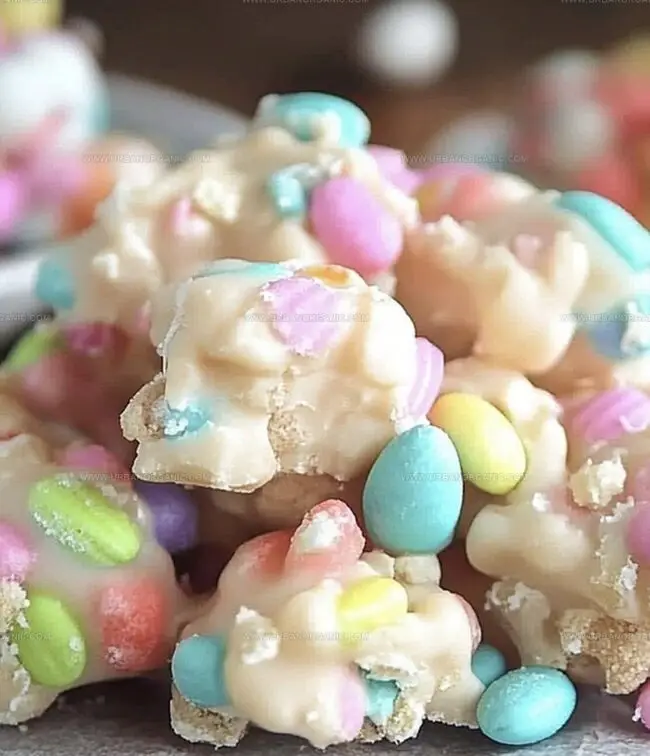
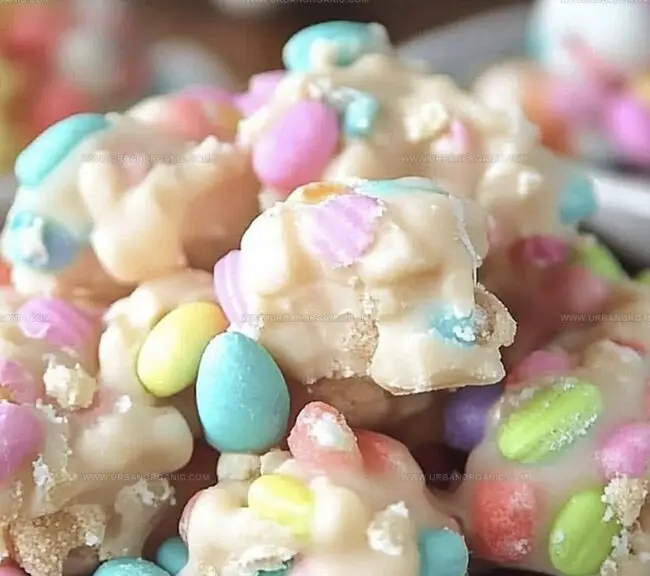
Vibrant colors and playful shapes emerge from your kitchen, promising delight for eager taste buds.
Why settle for store-bought when you can create something truly spectacular with your own hands?
Homemade Easter Candy That Brings Back Nostalgia
Key Ingredients in Homemade Easter Candy
Candy Base:Coating Ingredients:Decorative Toppings:Directions for Crafting Homemade Easter Candy
Step 1: Whip Up Creamy Filling
Grab a mixing bowl and blend together:Mix everything until silky smooth. Shape the mixture into egg-like forms and arrange them on a parchment-lined baking sheet. Pop the tray into the freezer for half an hour until the eggs become completely solid.
Step 2: Transform Chocolate Into Liquid Gold
Select a microwave-safe container and combine:Melt the ingredients in short 30-second bursts, stirring between each interval until the mixture becomes perfectly smooth and glossy.
Step 3: Dive Into Chocolate Coating
Take a fork and gently lower each frozen peanut butter egg into the melted chocolate. Allow excess chocolate to drip off, creating an even, elegant coating. Place the chocolate-covered eggs back onto the parchment paper.
Optional decorating ideas:Step 4: Chill And Reveal
Transfer the chocolate-covered eggs to the refrigerator. Let them rest for half an hour until the chocolate sets completely. Serve and enjoy your homemade Easter treats!
Tips for Shaping and Storing Homemade Easter Candy
How to Keep Homemade Easter Candy Fresh for Gifting
What to Pair with Homemade Easter Candy Treats
Fun Variants of Homemade Easter Candy You’ll Love
Homemade Easter Candy FAQs You Might Need
Yes, you can substitute almond butter, cashew butter, or sunflower seed butter for a different flavor or allergy-friendly option.
When stored in an airtight container in the refrigerator, these peanut butter eggs will stay fresh for up to 2 weeks.
No, just a mixing bowl, fork, baking sheet, parchment paper, and basic kitchen tools are needed to create these delicious treats.
Absolutely! Kids can help shape the eggs, mix ingredients, and add sprinkles, making it a fun family baking activity.
Print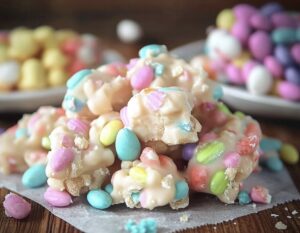
Homemade Easter Candy Recipe
- Total Time: 30 minutes
- Yield: 12 1x
Description
Sweet chocolate treats emerge from grandma’s classic Easter candy recipe, blending nostalgic memories with delightful homemade charm. Crafted with love, these delectable morsels bring family traditions and pure joy directly to your holiday table.
Ingredients
Chocolate Peanut Butter Eggs:
Main Ingredients:
- 1 cup (240 milliliters / 8 fluid ounces) creamy peanut butter
- ¼ cup (57 grams) unsalted butter, softened
- 2 cups (340 grams) milk or dark chocolate chips
Sweetening and Flavoring:
- 1 ½ cups (180 grams) powdered sugar
- ½ teaspoon vanilla extract
Melting Aid:
- 1 tablespoon coconut oil or shortening
Coconut Macaroon Nests:
Main Ingredients:
- 2 cups (160 grams) sweetened shredded coconut
- ½ cup (120 milliliters / 4 fluid ounces) sweetened condensed milk
- 1 cup (170 grams) chocolate chips (for drizzle, optional)
Flavoring:
- ½ teaspoon vanilla extract
Decoration:
- 24 mini chocolate eggs
Pastel White Chocolate Truffles:
Main Ingredients:
- 8 ounces (226 grams) white chocolate, finely chopped
- ¼ cup (60 milliliters / 2 fluid ounces) heavy cream
Flavoring and Coloring:
- 1 teaspoon vanilla extract
- 3 drops food coloring (pastel pink, yellow, green, or blue)
Coating:
- ½ cup (60 grams) powdered sugar or sprinkles
Instructions
- Craft a creamy, luxurious filling by whisking peanut butter with softened butter, powdered sugar, and a splash of vanilla extract until the mixture achieves a silky, uniform consistency.
- Gently mold the peanut butter mixture into elegant, elongated egg-shaped forms, carefully placing each one on a parchment-lined baking sheet.
- Transfer the shaped eggs to the freezer, allowing them to solidify and become perfectly chilled for approximately half an hour.
- Prepare a smooth chocolate coating by gradually melting chocolate chips with a touch of coconut oil in a microwave-safe vessel, stirring periodically to ensure a glossy, even texture.
- Delicately submerge each frozen peanut butter egg into the molten chocolate, using a fork to lift and drain excess coating, ensuring a thin, even layer.
- Return the chocolate-enrobed eggs to the parchment-lined tray, creating a pristine surface for setting.
- Embellish the chocolates with an artistic flourish – sprinkle with colorful decorations, drizzle with white chocolate, or dust with a pinch of flaky sea salt for gourmet flair.
- Refrigerate the decorated confections for 30 minutes, allowing the chocolate to crystallize and create a perfect, glossy shell.
- Serve chilled and enjoy these homemade Easter treats that blend creamy, sweet, and decadent flavors.
Notes
- Experiment with alternative nut butters like almond or cashew for unique flavor profiles and dietary restrictions.
- Use dairy-free chocolate and coconut oil to create a vegan-friendly version of these homemade Easter treats.
- Freeze the peanut butter eggs longer for a more stable filling that’s easier to dip in melted chocolate.
- Control chocolate coating thickness by using a dipping tool or letting excess chocolate drip off completely for a smoother, more professional finish.
- Prep Time: 15 minutes
- Cook Time: 15 minutes
- Category: Desserts, Snacks
- Method: Blending
- Cuisine: American
Nutrition
- Serving Size: 12
- Calories: 150
- Sugar: 8 g
- Sodium: 80 mg
- Fat: 7 g
- Saturated Fat: 3.5 g
- Unsaturated Fat: 3.5 g
- Trans Fat: 0 g
- Carbohydrates: 20 g
- Fiber: 1 g
- Protein: 3 g
- Cholesterol: 10 mg
Jessica Martinez
Pastry Chef & Recipe Developer
Expertise
Organic Baking Techniques, Gluten-Free Recipe Development, Southwestern Dessert Specialties, Food Styling and Photography
Education
Santa Fe Community College (SFCC)
Jessica brings the sweet side to Urban Organic with her passion for baking and love for the Southwest. She trained at Santa Fe Community College and has built a career creating beautiful, gluten-free, and organic desserts that feel both nostalgic and new.
She believes baking should be fun, creative, and open to everyone, no matter your diet or skill level. Jessica’s recipes are simple enough to follow, but special enough to remember.