Irresistible Homemade 3 Musketeers Bars Recipe for Sweet Fans
Crafting delectable homemade 3 musketeers bars brings nostalgic memories flooding back from childhood candy counters.
Sweet memories dance through kitchen adventures when chocolate meets whipped magic.
Commercial treats pale next to personal creations bursting with genuine flavor.
Each bite connects you with classic confectionery traditions in delightful ways.
Chocolate lovers understand the pure joy of recreating beloved classics from scratch.
Simple ingredients combine into something extraordinary with careful technique and passion.
Mastering this recipe promises sweet satisfaction that store-bought bars can never match.
Let’s unwrap the delicious potential waiting in your kitchen today!
Homemade 3 Musketeers Bars: Why You’ll Love Them
What’s Inside These Homemade 3 Musketeers Bars
Chocolate Base:Filling Components:Binding Elements:How to Make Your Own 3 Musketeers Bars
Step 1: Melt Chocolate Chips
In a microwave-safe bowl, place the semi-sweet chocolate chips. Heat in 30-second intervals, stirring thoroughly between each interval until the chocolate becomes completely smooth and glossy. Be careful not to overheat, as chocolate can burn quickly.
Step 2: Create Fluffy Filling
Gently fold marshmallow fluff into the melted chocolate. Mix carefully until the ingredients are fully integrated, creating a light and airy mixture. The combination should look uniform and have a silky texture.
Step 3: Shape The Candy Bar
Pour the chocolate-marshmallow mixture into a lined rectangular baking pan. Use a spatula to spread the mixture evenly, ensuring a consistent thickness throughout. Smooth the top to create a clean surface.
Step 4: Chill And Set
Place the pan in the refrigerator for approximately 2 hours. The candy needs to firm up completely, allowing it to hold its shape when cut. The cooling process helps develop the classic 3 Musketeers texture.
Step 5: Cut And Serve
Remove the chilled candy from the refrigerator. Using a sharp knife, cut into rectangular bars. For authentic look, aim for uniform sizes similar to store-bought candy bars. Serve chilled for the best texture and flavor.
Tips to Get the Right Texture in 3 Musketeers Bars
Keep Your Homemade Candy Bars Fresh
Snacks and Sweets That Pair with 3 Musketeers Bars
Flavor Spins on Homemade 3 Musketeers
FAQs About Homemade 3 Musketeers Bars
Yes, but semi-sweet provides the best balance of sweetness and chocolate flavor for this recipe. Milk chocolate might make the bars too sweet.
Fold the marshmallow fluff gently and mix until just combined. Overmixing can deflate the fluffy texture and make the bars dense.
You’ll need a microwave-safe bowl for melting chocolate, a mixing bowl, and a baking pan. Standard kitchen tools work perfectly for this recipe.
These bars are actually quite simple and beginner-friendly. The process involves basic melting and mixing techniques that even novice bakers can master easily.
Print
Homemade 3 Musketeers Bars Recipe
- Total Time: 1 hour 10 minutes
- Yield: 12 1x
Description
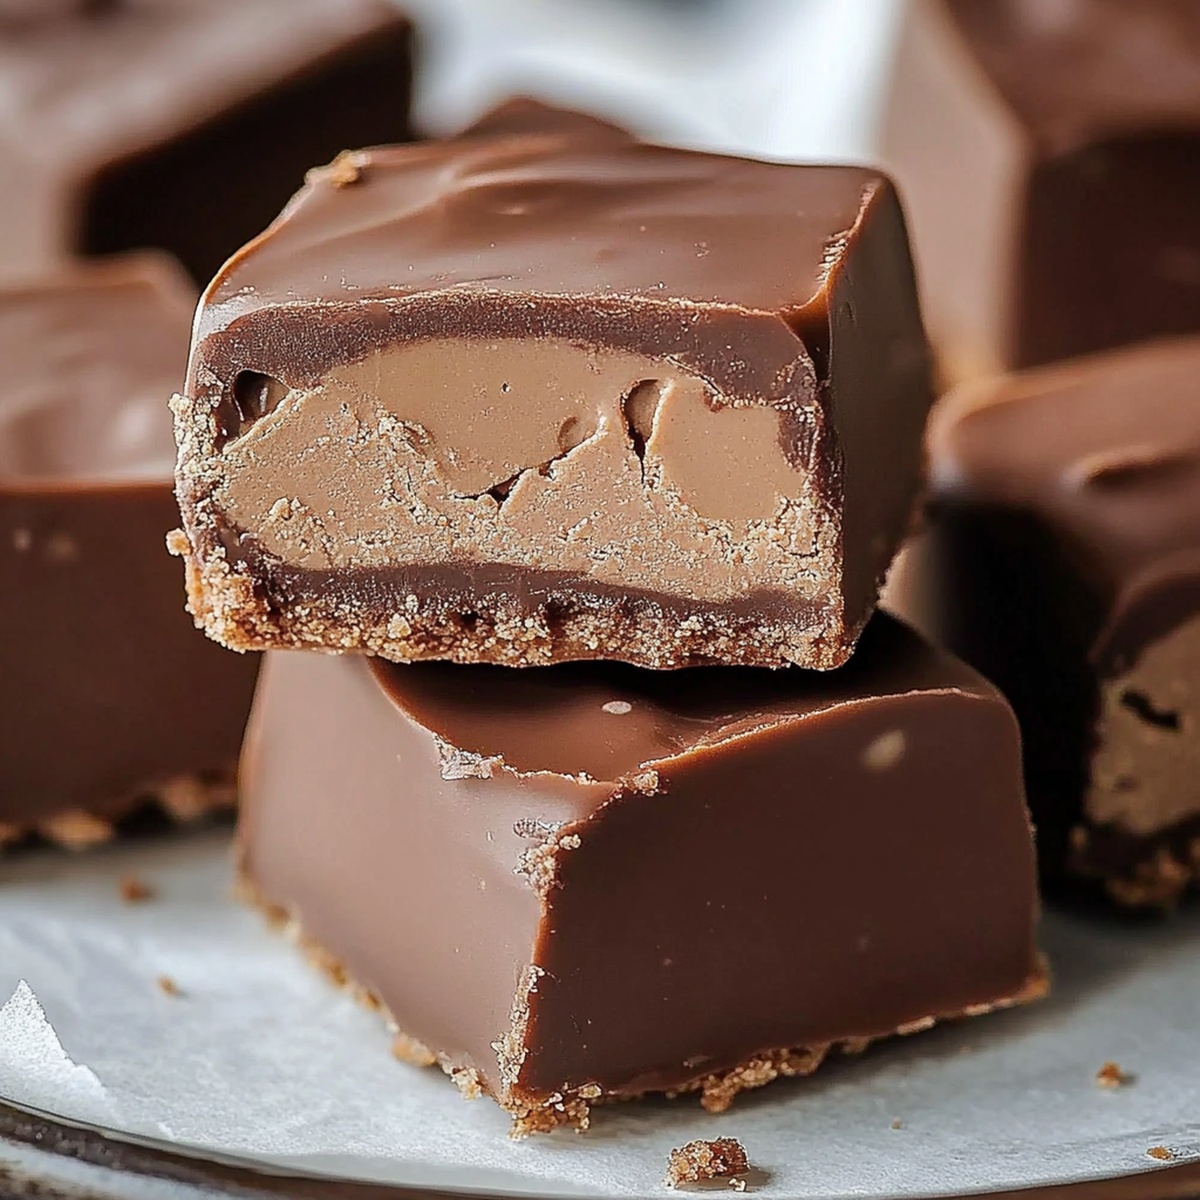
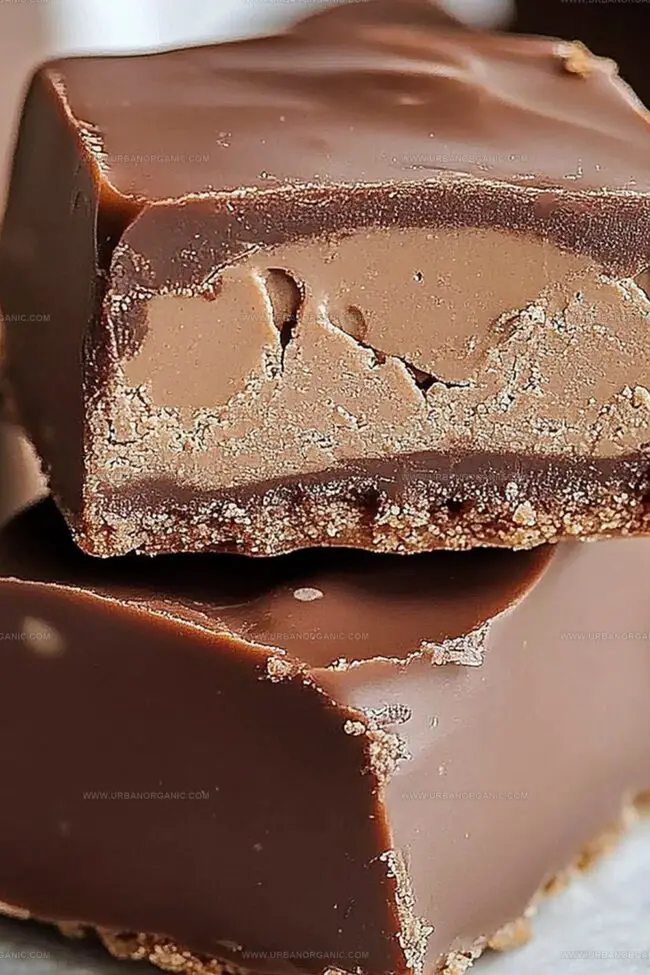
Dive into chocolate bliss with these homemade 3 Musketeers bars, a nostalgic treat reimagined in your kitchen. Silky whipped chocolate centers enrobed in rich chocolate create an irresistible classic that brings childhood memories right to your plate.
Ingredients
Main Chocolate Ingredients:
- 2 cups (230 grams) semi-sweet chocolate chips
- 1 (10 ounces) bag milk chocolate melting wafers
Marshmallow Ingredients:
- 1 (7 ounces) jar marshmallow fluff
- 1 ½ cups homemade marshmallow cream
Additional Coating Ingredients:
- 1 tablespoon coconut oil (optional, for chocolate coating)
Instructions
- Create a smooth chocolate base by gradually melting semi-sweet chocolate chips in the microwave, stirring carefully between 30-second intervals until achieving a glossy, uniform consistency.
- Integrate marshmallow fluff gently into the melted chocolate, using a spatula to fold and blend thoroughly, ensuring no streaks remain.
- Pour the chocolate-marshmallow mixture into a lined rectangular baking pan, spreading evenly to create a consistent layer about half an inch thick.
- Refrigerate the mixture for approximately 30-40 minutes, allowing it to set and firm up completely while maintaining a smooth texture.
- Once chilled and solidified, remove the chocolate slab from the refrigerator and slice into rectangular bar shapes using a sharp knife.
- Prepare a final chocolate coating by melting additional semi-sweet chocolate chips, creating a smooth dipping medium.
- Carefully immerse each bar into the melted chocolate, ensuring complete coverage, then place on a parchment-lined tray to allow excess chocolate to drip off.
- Return the coated bars to the refrigerator for a final 15-20 minutes to set the outer chocolate shell, creating a crisp, glossy finish.
- Store the homemade chocolate bars in an airtight container, keeping them chilled to maintain their structured shape and optimal texture.
Notes
- Ensure chocolate chips melt gently to prevent burning by using short microwave bursts and stirring frequently.
- Use a candy thermometer for precise temperature control when working with chocolate and marshmallow mixture.
- Chill the bars completely before cutting to achieve clean, sharp edges and prevent crumbling.
- For a gluten-free version, verify all ingredients are certified gluten-free and use alternative binding agents if needed.
- Prep Time: 10 minutes
- Cook Time: 1 hour
- Category: Desserts, Snacks
- Method: Blending
- Cuisine: American
Nutrition
- Serving Size: 12
- Calories: 150
- Sugar: 20g
- Sodium: 50mg
- Fat: 7g
- Saturated Fat: 4g
- Unsaturated Fat: 3g
- Trans Fat: 0g
- Carbohydrates: 22g
- Fiber: 1g
- Protein: 1g
- Cholesterol: 0mg
Jessica Martinez
Pastry Chef & Recipe Developer
Expertise
Organic Baking Techniques, Gluten-Free Recipe Development, Southwestern Dessert Specialties, Food Styling and Photography
Education
Santa Fe Community College (SFCC)
Jessica brings the sweet side to Urban Organic with her passion for baking and love for the Southwest. She trained at Santa Fe Community College and has built a career creating beautiful, gluten-free, and organic desserts that feel both nostalgic and new.
She believes baking should be fun, creative, and open to everyone, no matter your diet or skill level. Jessica’s recipes are simple enough to follow, but special enough to remember.