Irresistible Peanut Butter Cookies Recipe: Joy Of Cooking Magic!
Peanut butter cookies from Joy of Cooking offer a nostalgic journey through flavor and comfort that melts hearts instantly.
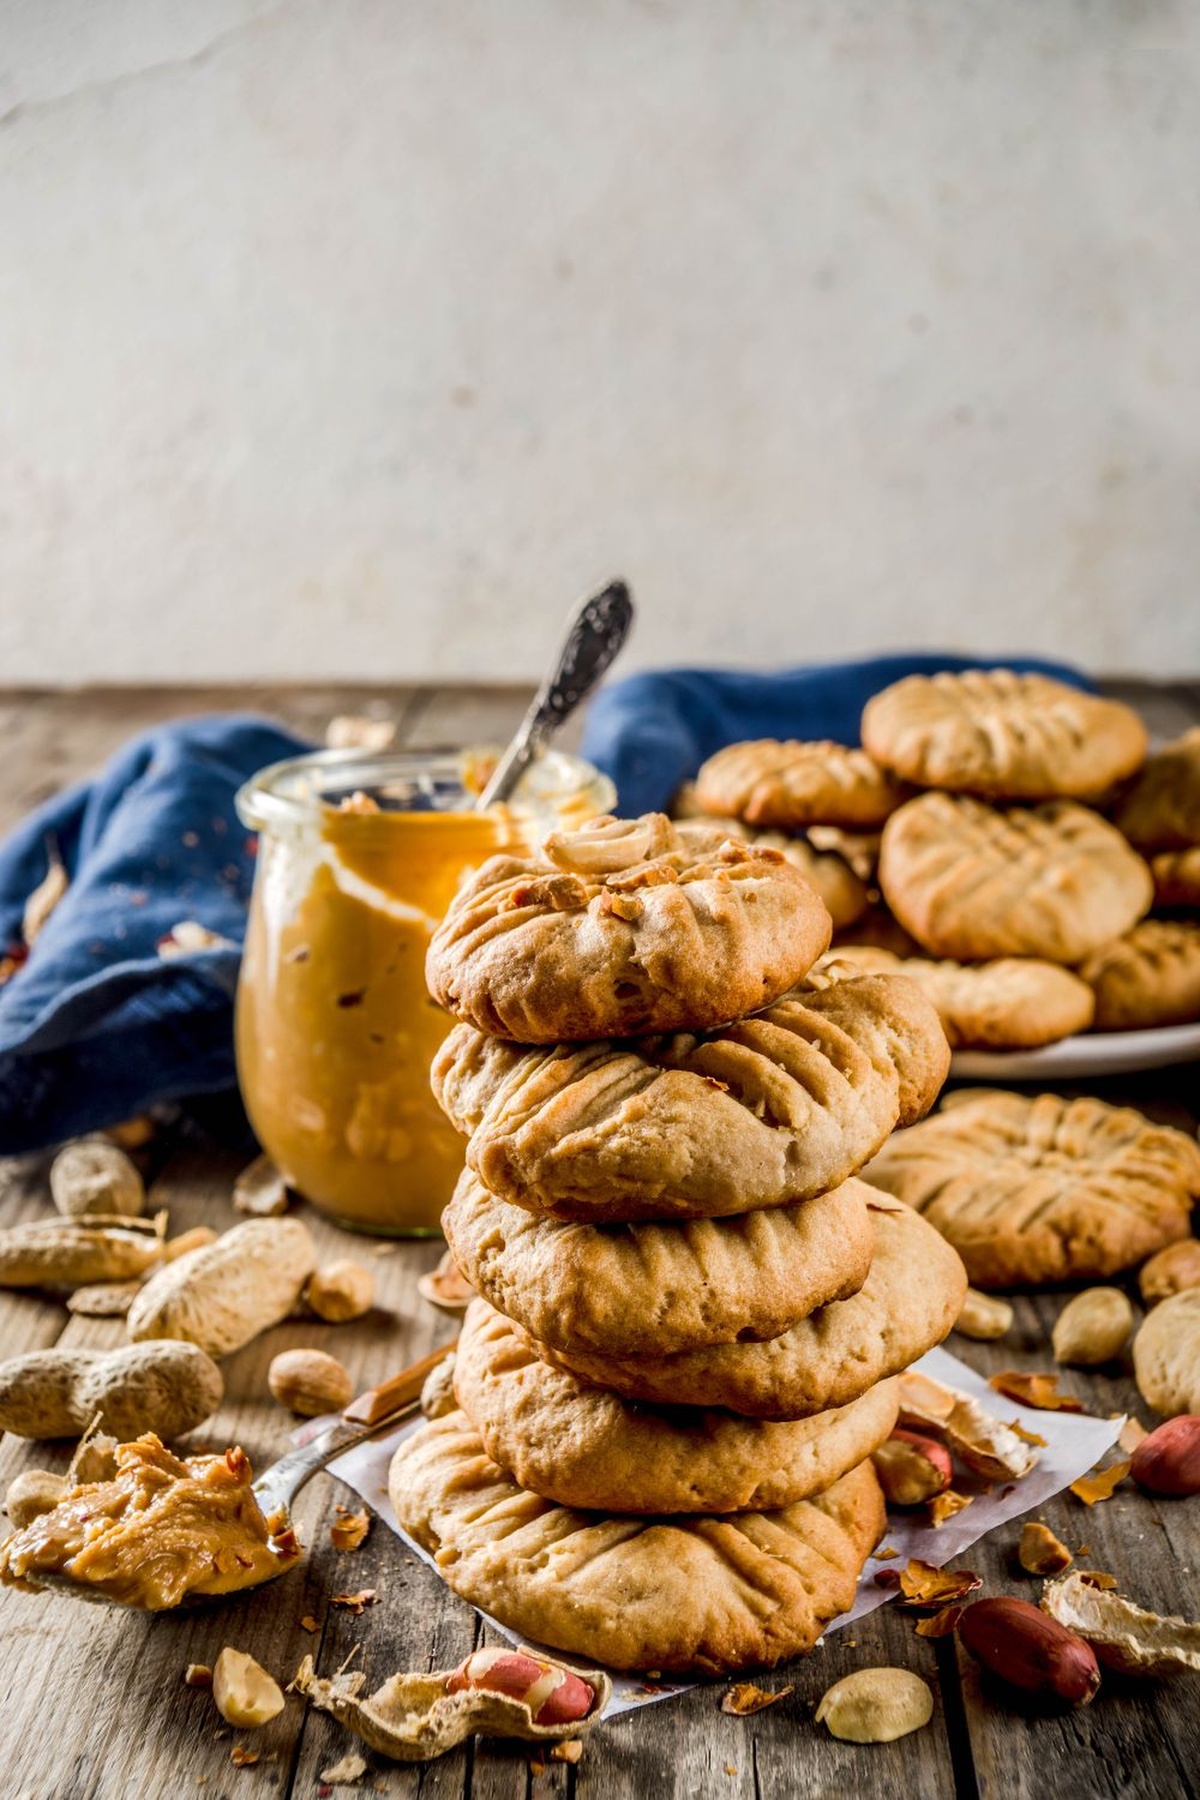
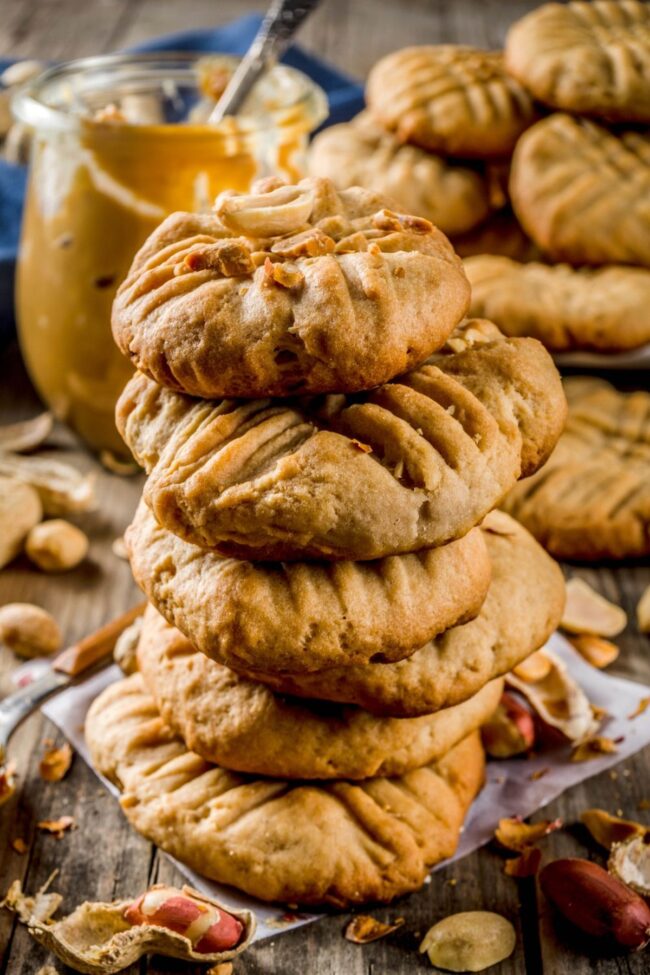
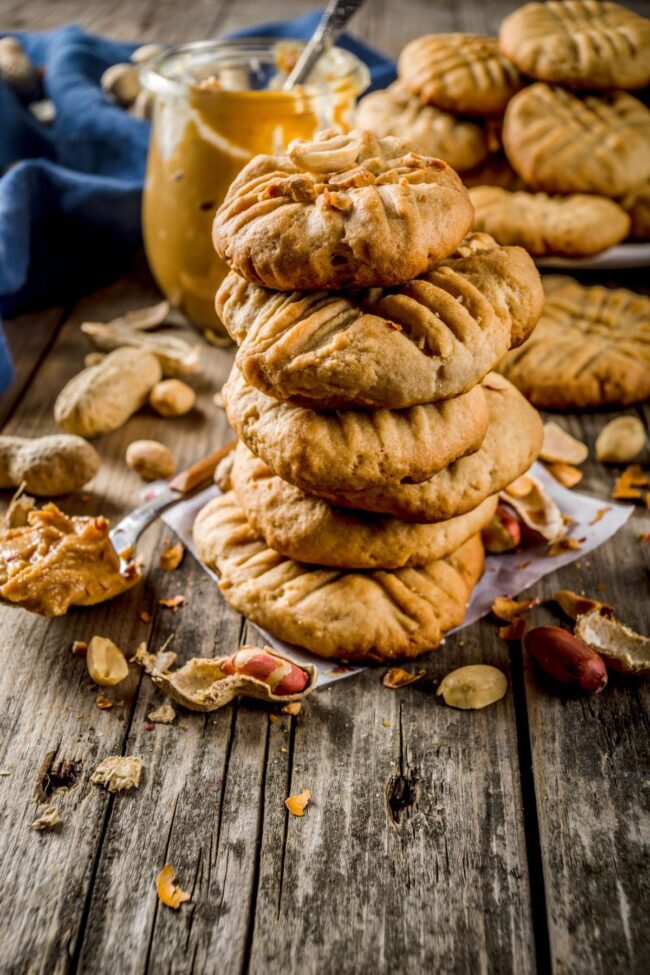
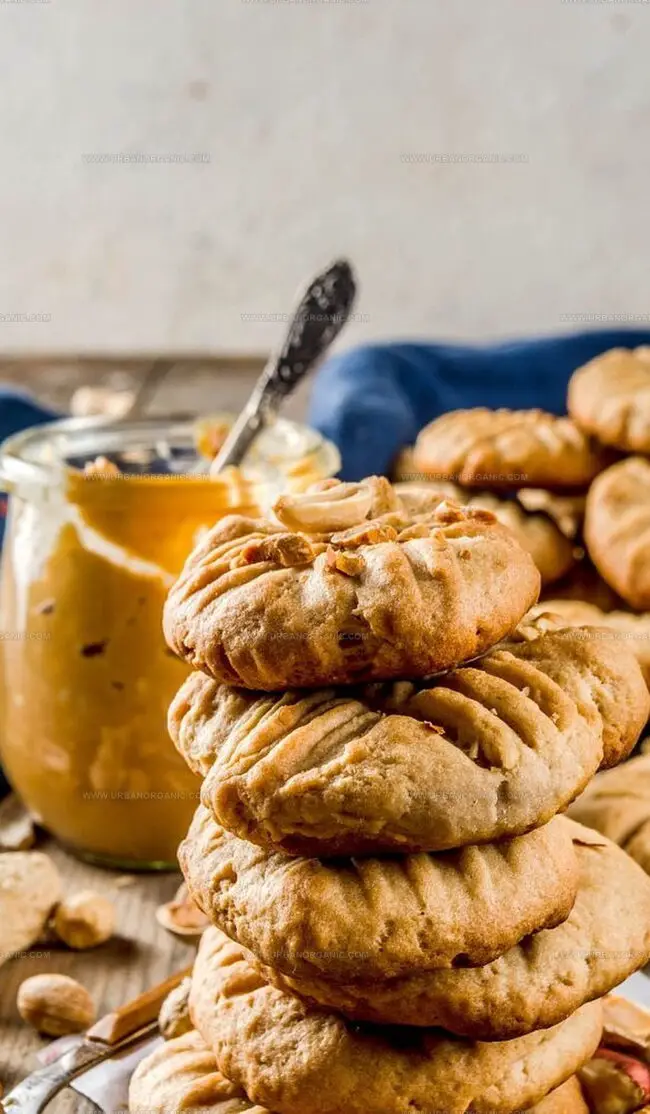
Crumbly edges and velvety centers create a symphony of textures that seduce every taste bud.
Buttery notes waltz with rich peanut essence, transforming simple ingredients into culinary magic.
These golden-brown delights carry whispers of childhood kitchens and cherished family moments.
Skilled home bakers can effortlessly craft these delectable treats with minimal effort and maximum satisfaction.
Each bite promises a delightful balance of sweetness and nuttiness that lingers deliciously.
Get ready to bake a batch that will make taste buds dance and memories flood back.
Quick Recipe Overview
Ingredients to Make Peanut Butter Cookies
For Creamy Base Ingredients:For Dry Mixture Ingredients:For Optional Finishing Touches:Tools for Baking Peanut Butter Cookies
How to Bake Classic Peanut Butter Cookies
Grab your mixer and blend butter, peanut butter, and sugars until they transform into a cloud-like, silky mixture. Crack in an egg and mix until everything comes together in smooth harmony.
Sift together flour, baking soda, and salt in a separate bowl. Gently fold these powdery ingredients into your butter mixture, stirring just until combined to keep the dough light and tender.
Tuck your cookie dough into the refrigerator for a quick rest, allowing flavors to mingle and making the dough easier to handle. While waiting, warm up the oven to a toasty 375°F and line baking sheets with parchment paper.
Roll the chilled dough into delightful little balls, spacing them nicely on the baking sheet. Use a fork to create the classic criss-cross pattern, giving each cookie its signature look and texture.
Slide the cookies into the oven and bake until the edges turn a beautiful golden brown, about 7-10 minutes. Let them relax on the baking sheet for a moment before transferring to a cooling rack, where they’ll crisp up and become irresistibly delicious.
Tips to Enhance Your Cookie Game
Fun Serving Options for Peanut Butter Cookies
How to Store and Freeze Peanut Butter Cookies
Print
Heavenly Peanut Butter Cookies Recipe
- Total Time: 15 minutes
- Yield: 24 1x
Description
Classic peanut butter cookies deliver rich, nutty comfort from grandma’s kitchen. Sweet, crumbly treats promise nostalgia and simple pleasure with each homemade bite.
Ingredients
- 1 cup (226 g/8 oz) unsalted butter
- 1 cup (256 g/9 oz) crunchy peanut butter
- 1 cup (200 g/7 oz) white sugar
- 1 cup (220 g/7.8 oz) packed brown sugar
- 2 large eggs
- 2 ½ cups (313 g/11 oz) all-purpose flour
- 1 ½ tsp baking soda
- 1 tsp baking powder
- ½ tsp salt
Instructions
- Mixture Preparation: Whip softened butter, creamy peanut butter, granulated sugar, and brown sugar with an electric mixer until achieving a light, airy consistency with complete ingredient integration.
- Dry Ingredient Blend: Sift all-purpose flour, baking soda, baking powder, and salt together, ensuring uniform distribution and eliminating potential lumps.
- Dough Formation: Gently incorporate dry ingredients into the butter mixture, folding carefully to create a cohesive dough without excessive manipulation.
- Chill and Rest: Refrigerate the prepared dough for one hour to intensify flavors and optimize cookie texture, allowing ingredients to meld harmoniously.
- Oven Preparation: Heat oven to 190 degrees Celsius (375 degrees Fahrenheit), ensuring precise temperature for optimal baking conditions.
- Cookie Shaping: Craft uniform 1-inch spheres from chilled dough, positioning them strategically on ungreased baking sheets with adequate spacing.
- Signature Marking: Imprint each cookie with a classic crisscross pattern using fork tines, creating distinctive textural indentations characteristic of peanut butter cookies.
- Baking and Finishing: Bake for 7-10 minutes until edges transform to a golden-brown hue and centers remain slightly tender, then allow brief resting on baking sheets before transferring to a wire rack for complete cooling.
Notes
- Chill for Perfection: Refrigerating the dough for an hour helps develop richer flavors and prevents excessive spreading during baking.
- Gentle Mixing Matters: Avoid overmixing the dough to maintain a tender, soft cookie texture and prevent tough, dense results.
- Fork Technique: Use a fork to create classic crisscross patterns, which not only provide visual appeal but also help cookies bake evenly.
- Watch Baking Time: Monitor cookies closely during the 7-10 minute baking window to achieve a golden-brown edge while keeping centers soft and chewy.
- Prep Time: 5 minutes
- Cook Time: 10 minutes
- Category: Desserts, Snacks
- Method: Baking
- Cuisine: British
Nutrition
- Serving Size: 24
- Calories: 246
- Sugar: 16 g
- Sodium: 172 mg
- Fat: 15 g
- Saturated Fat: 6 g
- Unsaturated Fat: 9 g
- Trans Fat: 0 g
- Carbohydrates: 28 g
- Fiber: 1 g
- Protein: 4 g
- Cholesterol: 37 mg
Michael Thompson
Founder & Culinary Director
Expertise
Classical & Contemporary Cooking Techniques, Global Cuisine Appreciation, Nutrition & Menu Engineering, Sustainable Cooking Practices, Farm-to-Table Cuisine
Education
Southwestern Oregon Community College
Michael grew up in Oregon, where he learned early that food tastes better when it’s fresh, local, and made with care.
After earning his degree from the Southwestern Oregon Community College, he focused his career on teaching others how to cook with the seasons, reduce food waste, and reconnect with what’s on their plate.
Michael keeps his cooking simple, sustainable, and full of flavor. His favorite part of the process? Watching people realize how easy and satisfying it can be to cook a single great meal from scratch.