Dreamy Healthy Chocolate Nice Cream Recipe for Sweet Cravings
Whipping up a delightful chocolate nice cream can satisfy your sweet tooth without guilt.
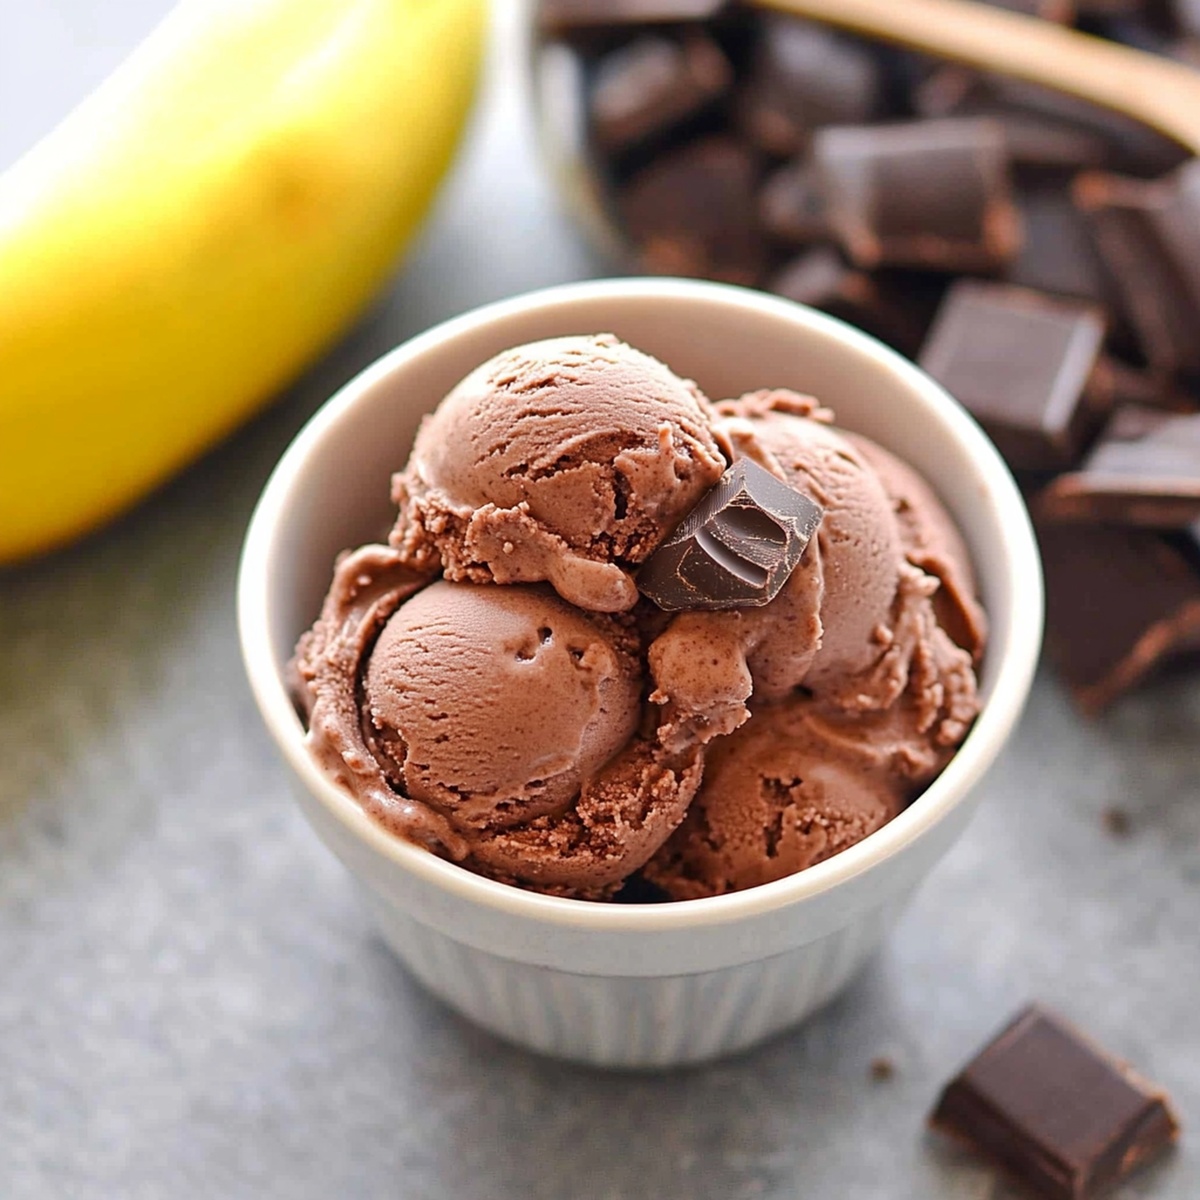
Creamy frozen bananas blend into a smooth, indulgent dessert that feels like pure magic.
Cold and rich, this treat packs a nutritious punch while mimicking traditional ice cream’s decadence.
Simple ingredients come together in minutes, proving healthy desserts can be incredibly delicious.
You’ll love how effortlessly this recipe transforms basic pantry staples into a spectacular chocolate dream.
Chilled and velvety, each spoonful delivers pure bliss that will make you forget about processed sugar bombs.
Dive into this guilt-free pleasure and experience a dessert that nourishes both body and soul.
Top Reasons People Are Loving Chocolate Nice Cream

Everything Needed for This Dairy-Free Frozen Dessert
Frozen Fruit Base:Dairy and Liquid Additions:Flavor and Enhancer Ingredients:Making Chocolate Nice Cream in Just a Few Steps

Step 1: Prepare Banana Base
Peel super ripe bananas and slice them into small chunks. Place banana pieces on a flat tray lined with parchment paper. Freeze the banana slices completely until solid, which typically takes about 4-6 hours or overnight.
Step 2: Create Creamy Chocolate Mixture
Gather these ingredients:Transfer frozen banana chunks into a powerful food processor or high-performance blender. Pulse and blend ingredients until they transform into a silky, smooth consistency. Stop occasionally to scrape down the sides, ensuring everything combines perfectly.
Step 3: Perfect the Texture
Check the mixture’s consistency. If the nice cream feels too thick, gradually add small splashes of almond milk. Continue blending until you achieve a luxurious, soft-serve texture that looks glossy and feels creamy.
Step 4: Serve and Enjoy
Scoop the chocolate nice cream directly into serving bowls for an immediate treat. For a firmer texture, transfer the mixture into a sealed container and freeze for 1-2 hours. This allows the nice cream to set and become more scoopable.
Optional Garnish Ideas
Tips for Excellent Chocolate Nice Cream
The Best Way to Store and Scoop Later
Great Combinations for Chocolate Nice Cream
Flavor Swaps for Different Tastes
Chocolate Nice Cream Q&A
Nice cream is significantly healthier because it’s made with whole fruits like bananas, contains no added sugars, uses natural cocoa powder, and avoids heavy cream and artificial ingredients found in traditional ice cream.
While a food processor works best, you can use a high-speed blender or powerful smoothie maker. Just blend carefully and pause to scrape down sides to achieve a smooth consistency.
Choose bananas with brown or black speckles, which are extremely ripe. These bananas are sweeter, softer, and blend more easily, creating a naturally sweet and creamy nice cream without added sugars.
Yes, you can substitute almond milk with other plant-based milks like coconut milk, oat milk, or regular dairy milk. Each will slightly change the flavor and texture of your nice cream.
Print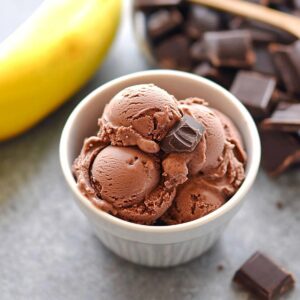
Healthy Chocolate Nice Cream Recipe
- Total Time: 10 minutes
- Yield: 2 1x
Description
Chocolate nice cream delivers a guilt-free dessert paradise for wellness enthusiasts seeking delicious frozen treats. Blended banana, cocoa, and maple syrup create a creamy, nutritious indulgence you can enjoy without compromising health goals.
Ingredients
Main Ingredients:
- 3 ripe bananas, sliced and frozen
- 2 tablespoons unsweetened cocoa powder
- ¼ cup (60 milliliters) unsweetened almond milk
Flavor Enhancers:
- 1 teaspoon vanilla extract
- Pinch of salt
Optional Add-ins:
- 1–2 tablespoons (15–30 milliliters) peanut butter
- 1 tablespoon (15 milliliters) honey or maple syrup
Instructions
- Prepare ripe bananas by peeling and cutting into uniform chunks, then freeze them completely solid for a minimum of 4-6 hours until they are rock-hard and crystallized.
- Transfer the frozen banana pieces into a robust food processor or high-performance blender, ensuring the machine has adequate power to handle frozen ingredients.
- Add rich cocoa powder, unsweetened almond milk, pure vanilla extract, and a delicate pinch of sea salt to the frozen banana chunks.
- Pulse and blend the mixture, periodically stopping to scrape down the container sides, creating a smooth and velvety texture that resembles soft-serve ice cream.
- If the mixture appears too dense or thick, gradually introduce small amounts of additional almond milk to achieve a silky, creamy consistency.
- For an immediate indulgence, serve the nice cream directly from the blender, enjoying its luxurious soft-serve texture and rich chocolate essence.
- Alternatively, for a more traditional ice cream experience, transfer the mixture into a freezer-safe container and allow it to solidify for 1-2 hours, creating a perfectly scoopable frozen dessert.
Notes
- Ripe bananas work best for natural sweetness and creamy texture, ensuring smoother nice cream without added sugar.
- Freeze bananas completely flat on a baking sheet to prevent clumping and make blending easier.
- Use unsweetened cocoa powder for a rich chocolate flavor while keeping the dessert low in added sugars.
- For dietary variations, swap almond milk with coconut milk for a different flavor profile or use oat milk for a nut-free alternative.
- Prep Time: 10 minutes (excluding freezing time)
- Cook Time: 0 minutes
- Category: Breakfast, Snacks, Desserts
- Method: Blending
- Cuisine: American
Nutrition
- Serving Size: 2
- Calories: 150
- Sugar: 18 g
- Sodium: 50 mg
- Fat: 7 g
- Saturated Fat: 4 g
- Unsaturated Fat: 2 g
- Trans Fat: 0 g
- Carbohydrates: 22 g
- Fiber: 3 g
- Protein: 1 g
- Cholesterol: 15 mg
Jessica Martinez
Pastry Chef & Recipe Developer
Expertise
Organic Baking Techniques, Gluten-Free Recipe Development, Southwestern Dessert Specialties, Food Styling and Photography
Education
Santa Fe Community College (SFCC)
Jessica brings the sweet side to Urban Organic with her passion for baking and love for the Southwest. She trained at Santa Fe Community College and has built a career creating beautiful, gluten-free, and organic desserts that feel both nostalgic and new.
She believes baking should be fun, creative, and open to everyone, no matter your diet or skill level. Jessica’s recipes are simple enough to follow, but special enough to remember.