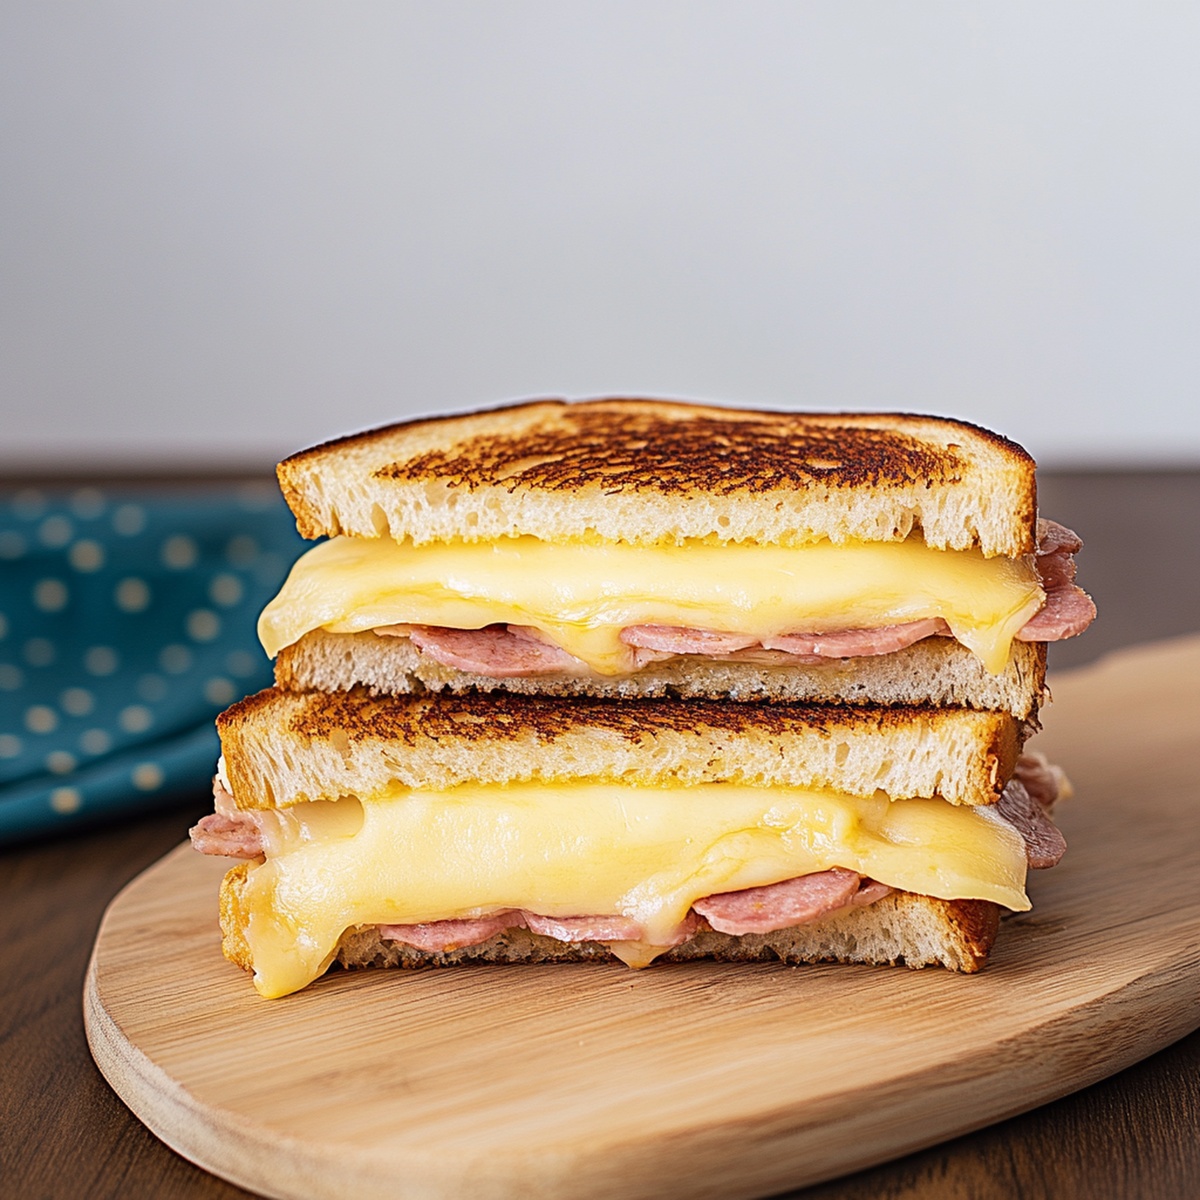
Tropical Paradise Hawaiian Grilled Cheese Recipe
Melty, gooey hawaiian grilled cheese brings tropical vibes right to your kitchen table.
Pineapple and ham create an unexpected flavor harmony that surprises taste buds.
Crispy bread with golden-brown edges promises a delightful crunch in every bite.
Our sandwich celebrates the perfect balance between sweet and savory ingredients.
Hawaiian cuisine inspires this playful twist on a classic comfort food.
Salt and sweetness dance together, creating a mouth-watering experience that feels like a mini vacation.
You’ll want to grab a plate and savor each delicious morsel of this delectable creation.
Why Hawaiian Grilled Cheese Brings a Sweet-Savory Combo
What to Layer Inside a Hawaiian Grilled Cheese
Bread and Spread:Protein and Cheese:Sweet and Tangy Elements:Cooking a Sandwich That’s Both Bold and Balanced

Step 1: Warm Up the Cooking Surface
Fire up a skillet or griddle over medium heat, creating the perfect canvas for your cheesy adventure.
Step 2: Butter Up the Bread
Generously coat one side of each bread slice with softened butter, ensuring a golden, crispy exterior.
Step 3: Build Your Flavor Masterpiece
Create your sandwich layer by layer:Step 4: Grill to Perfection
Cook the sandwich for 3-4 minutes on each side, applying gentle pressure with a spatula. Watch for:Tip: Listen for the sizzle and watch for the beautiful color transformation that signals your sandwich is ready to devour.
Tips for Toasty Bread and Melted Center
Store This Grilled Cheese for Later Bites
What to Serve with a Tropical Sandwich
Ideas to Remix the Hawaiian Grilled Cheese
Grilled Cheese Sandwich Questions? We’ve Got You
Yes, Swiss, provolone, or monterey jack work great and complement the ham and pineapple flavors perfectly.
BBQ sauce is optional but adds a tangy sweetness that enhances the overall flavor profile of the sandwich. If you don’t have BBQ sauce, you can skip it without compromising the taste.
Deli-style Black Forest ham or honey-glazed ham are excellent choices. They provide a rich, savory taste that pairs wonderfully with the sweet pineapple.
Absolutely! You can use a griddle, panini press, or even a grill pan. The key is to have a flat surface that allows even browning and melting of the cheese.
Print
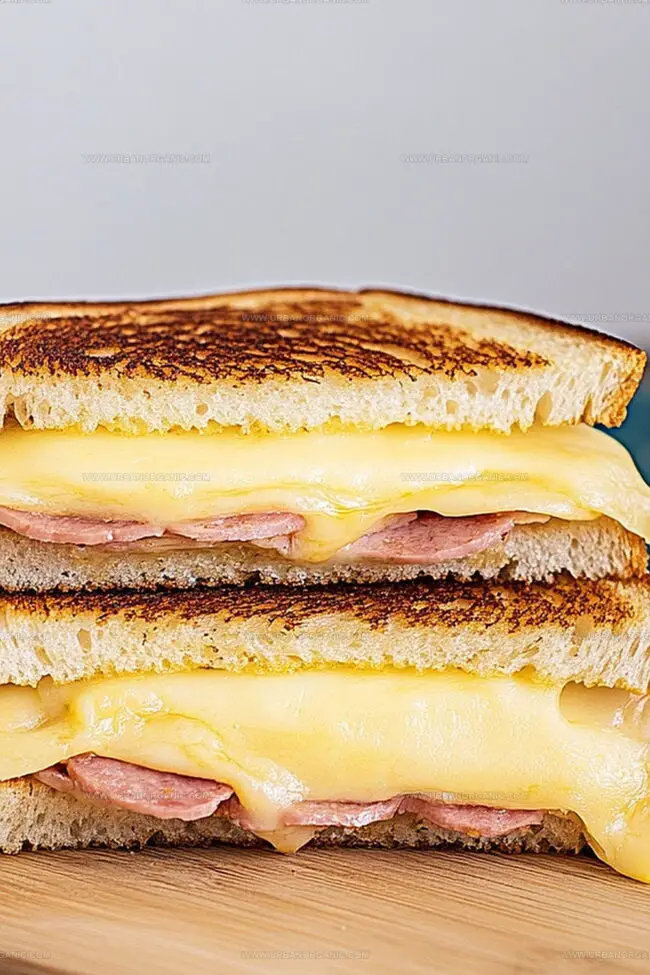
Hawaiian Grilled Cheese Recipe
- Total Time: 13 minutes
- Yield: 4 1x
Description
Melty Hawaiian grilled cheese brings tropical sunshine to classic comfort food. Pineapple, ham, and Swiss cheese meld perfectly between crispy buttered bread, whisking you to island paradise with one delicious bite.
Ingredients
Main Protein:
- 4 slices deli ham (or Canadian bacon)
Cheese:
- 4 slices Swiss cheese or mozzarella
Bread and Complementary Ingredients:
- 4 slices of sourdough or white sandwich bread
- 4 pineapple rings (fresh or canned, drained)
- 2 tablespoons (30 milliliters) butter, softened
- 2 tablespoons (30 milliliters) BBQ sauce (optional but tasty)
Instructions
- Warm a skillet or griddle to medium temperature, ensuring an even surface for grilling.
- Soften butter and generously coat one side of each bread slice, creating a golden crispy exterior.
- Position the first bread slice butter-side down onto the heated surface, establishing the sandwich foundation.
- Layer the first slice with a cheese slice, creating a melty base for subsequent ingredients.
- Arrange ham slices evenly across the cheese, ensuring complete coverage and uniform distribution.
- Carefully place pineapple rings atop the ham, creating a tropical flavor profile and moisture barrier.
- Optional: Drizzle BBQ sauce sparingly for an additional tangy dimension to the sandwich.
- Crown the ingredients with another cheese slice, providing a creamy, binding element.
- Complete the sandwich assembly by positioning the second bread slice, butter-side facing upward.
- Grill the sandwich for approximately 3-4 minutes on each side, applying gentle pressure with a spatula.
- Monitor the bread’s transformation to a rich golden-brown color and ensure the cheese melts completely.
- Remove from heat when the exterior achieves a crisp, caramelized texture and ingredients are thoroughly heated.
Notes
- Choose Hawaiian bread or brioche for an extra touch of sweetness and richer flavor profile.
- Use fresh grilled pineapple instead of canned to enhance the smoky-sweet caramelized notes.
- Pat pineapple rings dry before adding to prevent excess moisture from making the sandwich soggy.
- Experiment with different cheese varieties like pepper jack or smoked gouda for added complexity and depth of flavor.
- Prep Time: 5 minutes
- Cook Time: 8 minutes
- Category: Breakfast, Lunch, Snacks
- Method: Grilling
- Cuisine: Hawaiian
Nutrition
- Serving Size: 4
- Calories: 370
- Sugar: 32 g
- Sodium: 140 mg
- Fat: 20 g
- Saturated Fat: 7 g
- Unsaturated Fat: 13 g
- Trans Fat: 0 g
- Carbohydrates: 43 g
- Fiber: 2 g
- Protein: 4 g
- Cholesterol: 70 mg
Jessica Martinez
Pastry Chef & Recipe Developer
Expertise
Organic Baking Techniques, Gluten-Free Recipe Development, Southwestern Dessert Specialties, Food Styling and Photography
Education
Santa Fe Community College (SFCC)
Jessica brings the sweet side to Urban Organic with her passion for baking and love for the Southwest. She trained at Santa Fe Community College and has built a career creating beautiful, gluten-free, and organic desserts that feel both nostalgic and new.
She believes baking should be fun, creative, and open to everyone, no matter your diet or skill level. Jessica’s recipes are simple enough to follow, but special enough to remember.