
Quick Yorkshire Pudding Recipe: Fluffy British Sunday Magic
Yorkshire pudding emerges as a culinary jewel that transforms mundane ingredients into a spectacular British delicacy.
Family kitchens across England have long cherished this crispy, golden wonder as more than just a side dish.
Generations of passionate cooks have perfected the art of creating these light, airy pastry pockets that dance alongside roasted meats.
Professional chefs and home cooks alike understand the delicatealchemy required to achieve its signature puffy texture.
A handful of simple ingredients become something magical when treated with respect and precision.
Temperature, technique, and timing blend together like a gastronomic symphony, promising a mouthwatering experience.
Check out this classic recipe and unleash your inner culinary artist.
Quick Recipe Overview
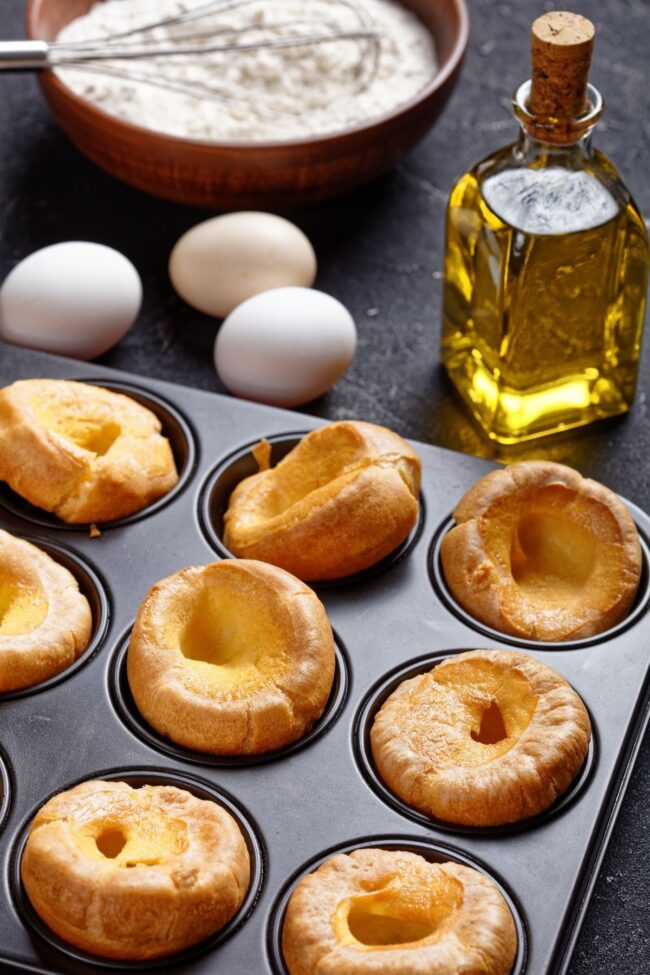
Key Ingredients for Yorkshire Pudding
For Dry Ingredients:For Liquid Ingredients:For Binding and Enriching:Equipment Needed for Making Yorkshire Pudding
Steps for Baking Light and Crispy Yorkshire Pudding
Pull out all ingredients and let them relax at room temperature for about half an hour, allowing them to reach a cozy 75°F.
Swirl flour and salt together in a spacious mixing bowl, creating a smooth, even blend.
Splash milk and water into the bowl, whisking until the mixture becomes light and airy with delicate bubbles dancing across the surface.
Crack eggs into the swirling mixture, beating until tiny air pockets form and the batter looks silky smooth.
Cover the bowl and tuck it into the refrigerator for an hour, letting flavors mingle and develop depth.
Rescue batter from the cold, allowing it to return to room temperature. Give it a quick whisk to reawaken its fluffy personality.
Crank the oven to a scorching 400°F, creating the perfect toasty environment.
Slide a metal cupcake pan into the oven for a quick 5-minute warm-up, making it sizzling hot.
Carefully drizzle melted butter or rich beef drippings into each cavity, creating a golden base.
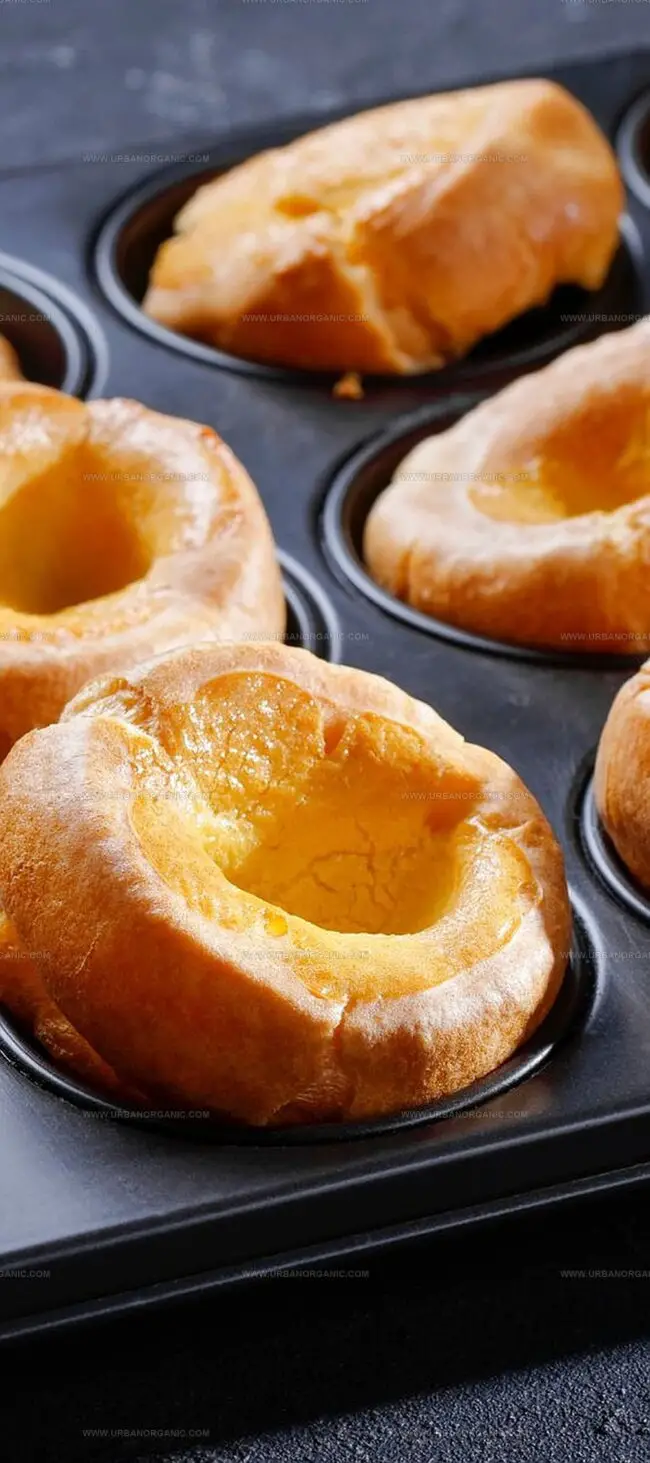
Pour batter into the pan, then slide into the oven. Bake at 400°F for 20 minutes, then drop to 350°F for another 15 minutes until the puddings puff up and turn a gorgeous golden brown.
Rescue these puffy delights from the oven and rush them to the table while they’re at their absolute best – crispy, light, and irresistibly delicious.
Tips for Getting Yorkshire Pudding Just Right
Replace beef drippings with duck fat, bacon grease, or olive oil for unique flavor profiles that transform the traditional recipe.
Sprinkle dried thyme, rosemary, or chives into the mixture to add subtle herbal notes that complement roasted meats.
Substitute all-purpose flour with gluten-free flour blend and add a teaspoon of xanthan gum to maintain the signature puffy texture.
Prepare batter up to 24 hours in advance and store covered in the refrigerator to develop deeper, more complex flavors before baking.
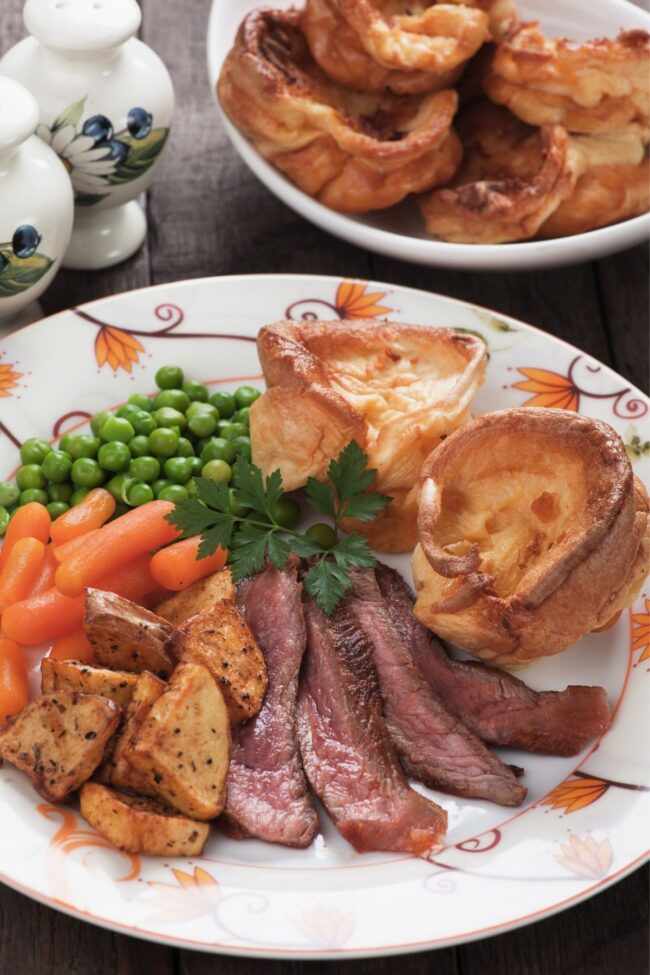
How to Serve Yorkshire Pudding with Meals

How to Store and Reheat Yorkshire Pudding
Print
Fluffy Yorkshire Pudding Recipe
- Total Time: 50 minutes
- Yield: 4 1x
Description
Classic Yorkshire pudding brings British culinary tradition to kitchen tables with simple ingredients and precise techniques. Home cooks can easily master this crispy, golden side dish that complements roast meats perfectly.
Ingredients
- 2 eggs
- 7/8 cup (210 ml) flour
- ½ cup (120 ml) milk
- ½ cup (120 ml) water
- ½ tsp salt
- ¼ cup (60 ml) melted butter (optional)
Instructions
- Temperature Calibration: Allow all ingredients to reach room temperature (68-75°F) for optimal blending and consistent texture.
- Dry Ingredient Preparation: Whisk flour and salt in a spacious mixing bowl, ensuring uniform distribution and eliminating potential clumping.
- Liquid Integration: Gradually pour milk and water into flour mixture, whisking continuously to create a smooth, velvety batter without lumps.
- Egg Emulsification: Incorporate eggs one at a time, beating vigorously to develop air bubbles and achieve a silky, homogeneous consistency.
- Batter Maturation: Refrigerate mixture for 60 minutes, allowing gluten to relax and flavors to harmonize, then rest at room temperature for 15-20 minutes before gently re-whisking.
- Oven Preparation: Position rack in lower-middle section and preheat to 400°F, simultaneously heating a 12-cup metal muffin tin to generate intense thermal environment.
- Fat Distribution: Remove heated pan and evenly coat each compartment with melted butter or beef drippings, filling sections halfway with prepared batter.
- Baking Process: Roast at 400°F for 20 minutes, then reduce temperature to 350°F and continue baking 15-20 minutes until popovers develop a golden-brown exterior and dramatic rise.
- Serving Recommendation: Present immediately to maintain optimal crispness and textural integrity.
Notes
- Chill Batter for Success: Refrigerating the batter for at least an hour allows gluten to relax, creating a lighter, more delicate texture with enhanced flavor depth.
- Preheat Pan Properly: Heating the muffin tin before adding batter is crucial for achieving dramatic, crispy-edged popovers that rise impressively and develop a golden-brown exterior.
- Temperature Matters: Use room temperature ingredients to ensure smooth mixing and consistent batter quality, preventing lumps and promoting even rising.
- Serve Quickly: Yorkshire puddings are best enjoyed immediately after baking to maintain their signature crisp exterior and airy, puffy structure.
- Prep Time: 15 minutes
- Cook Time: 35 minutes
- Category: Dinner, Appetizer
- Method: Baking
- Cuisine: American
Nutrition
- Serving Size: 4
- Calories: 182
- Sugar: 1 g
- Sodium: 115 mg
- Fat: 7 g
- Saturated Fat: 4 g
- Unsaturated Fat: 3 g
- Trans Fat: 0 g
- Carbohydrates: 24 g
- Fiber: 1 g
- Protein: 6 g
- Cholesterol: 143 mg
Michael Thompson
Founder & Culinary Director
Expertise
Classical & Contemporary Cooking Techniques, Global Cuisine Appreciation, Nutrition & Menu Engineering, Sustainable Cooking Practices, Farm-to-Table Cuisine
Education
Southwestern Oregon Community College
Michael grew up in Oregon, where he learned early that food tastes better when it’s fresh, local, and made with care.
After earning his degree from the Southwestern Oregon Community College, he focused his career on teaching others how to cook with the seasons, reduce food waste, and reconnect with what’s on their plate.
Michael keeps his cooking simple, sustainable, and full of flavor. His favorite part of the process? Watching people realize how easy and satisfying it can be to cook a single great meal from scratch.