Snag Ina Garten’s Fluffy Buttermilk Scones Recipe!
Buttermilk scones unlock a world of breakfast bliss with their golden, crumbly perfection.
These heavenly pastries burst with rich, tangy flavor that dances across your palate.
Soft as a morning cloud and packed with buttery goodness, they transform ordinary meals into memorable feasts.
Each scone tells a story of comfort and culinary craft, inviting hungry souls to savor every delicate morsel.
Versatile and charming, they welcome both sweet and savory additions with open arms.
Light as air yet deeply satisfying, these scones promise a delightful start to any day.
Let’s create a batch of pure morning magic that will make your taste buds sing.
Quick Recipe Overview
Ingredients to Bake Ina Garten’s Buttermilk Scones
For Dry Mix:For Dairy Components:For Optional Enhancement:Tools Required for Ina’s Flaky Buttermilk Scones
Ina Garten’s Method for Buttermilk Scones
Get your oven roaring hot at 400°F with the rack nestled right in the center for perfect baking magic.
Grab a big bowl and toss in flour, sugar, salt, baking powder, and baking soda. Give them a wild whirl with a whisk until they’re best friends.
Chop cold butter into tiny cubes and dive your fingers into the dry mix. Massage and crumble until the mixture looks like sandy beach crumbs.
Pour buttermilk into your mixture and stir gently. Fold in currants if you want an extra flavor punch. Don’t overmix – keep the dough looking relaxed and rough.
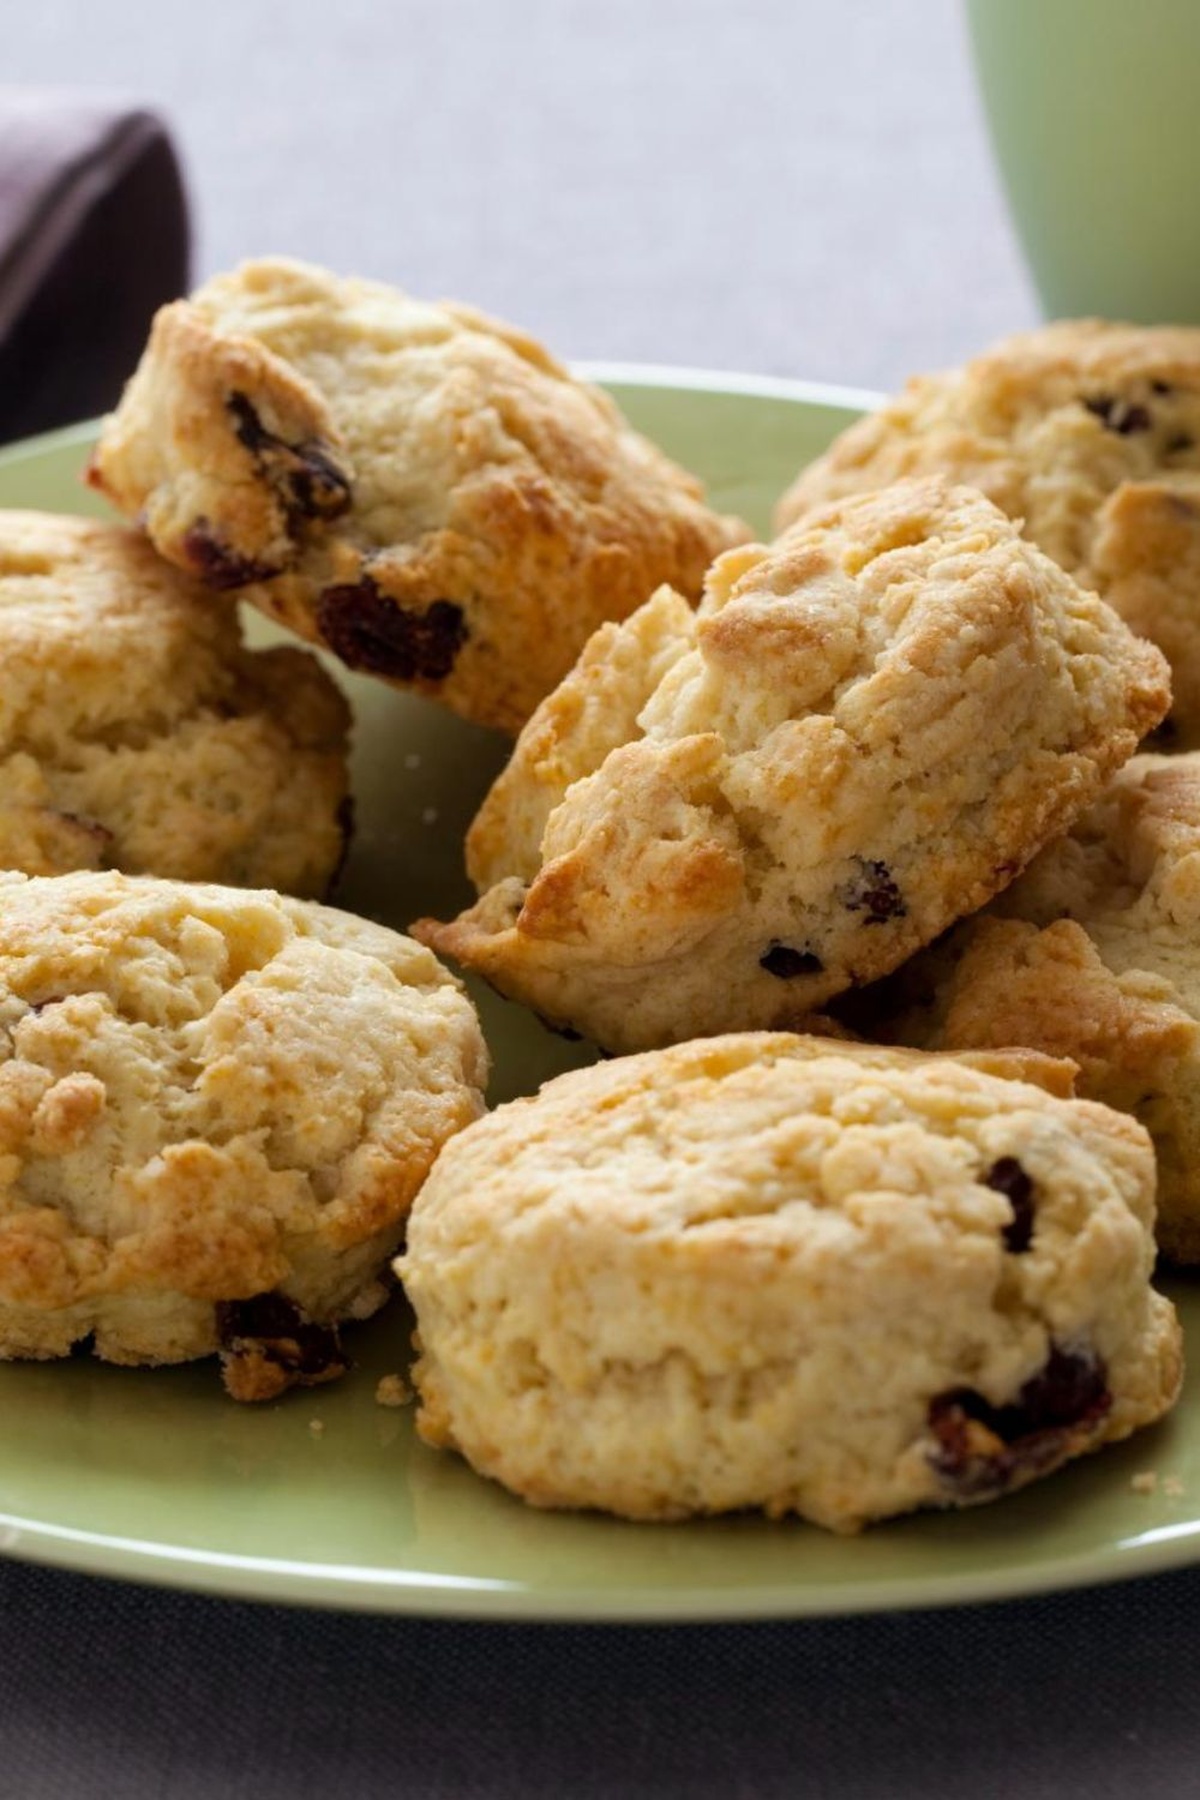
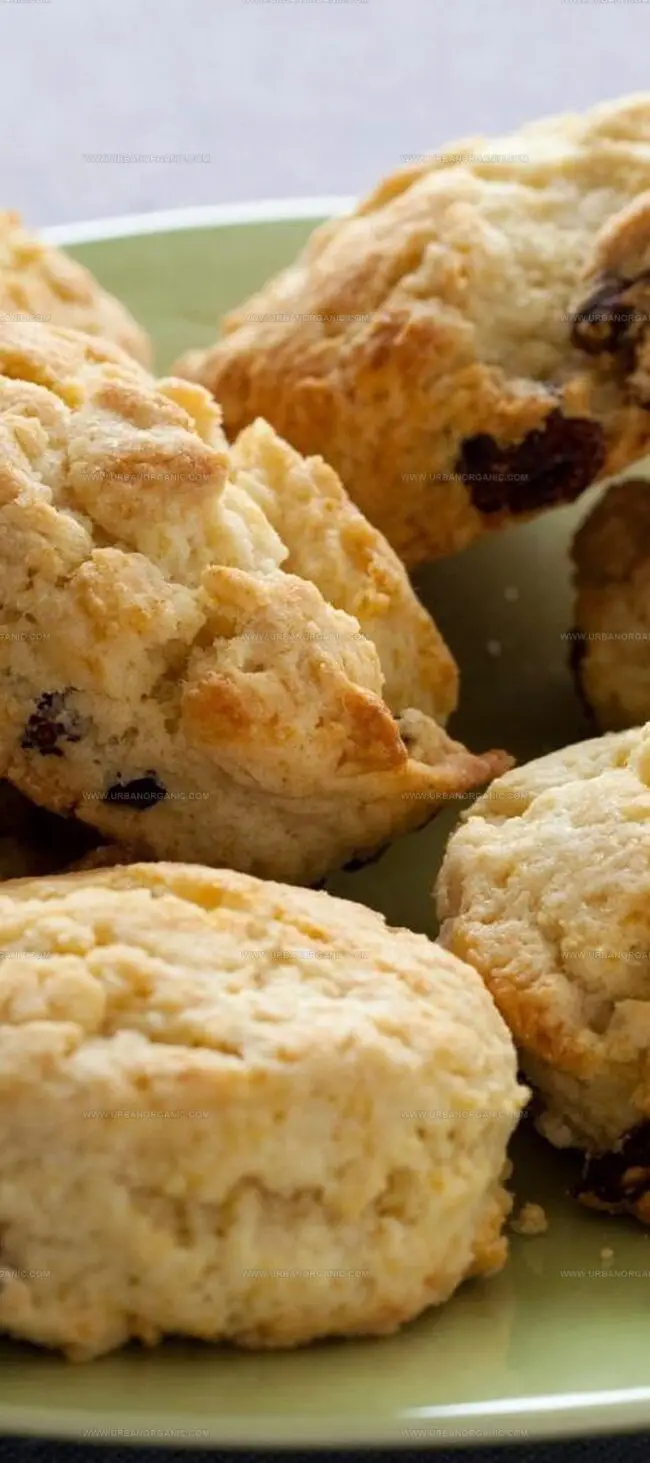
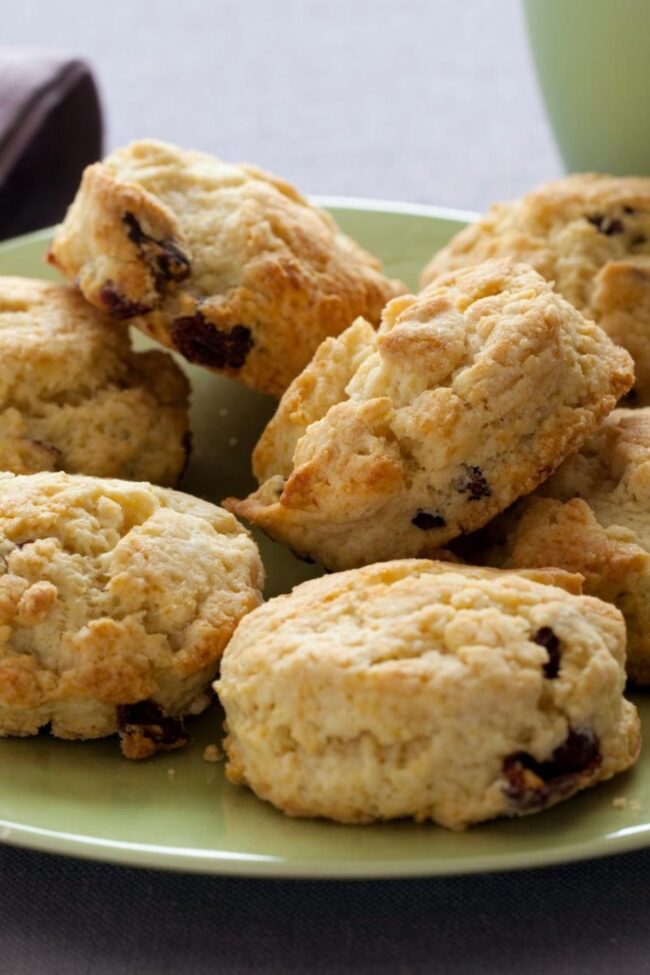
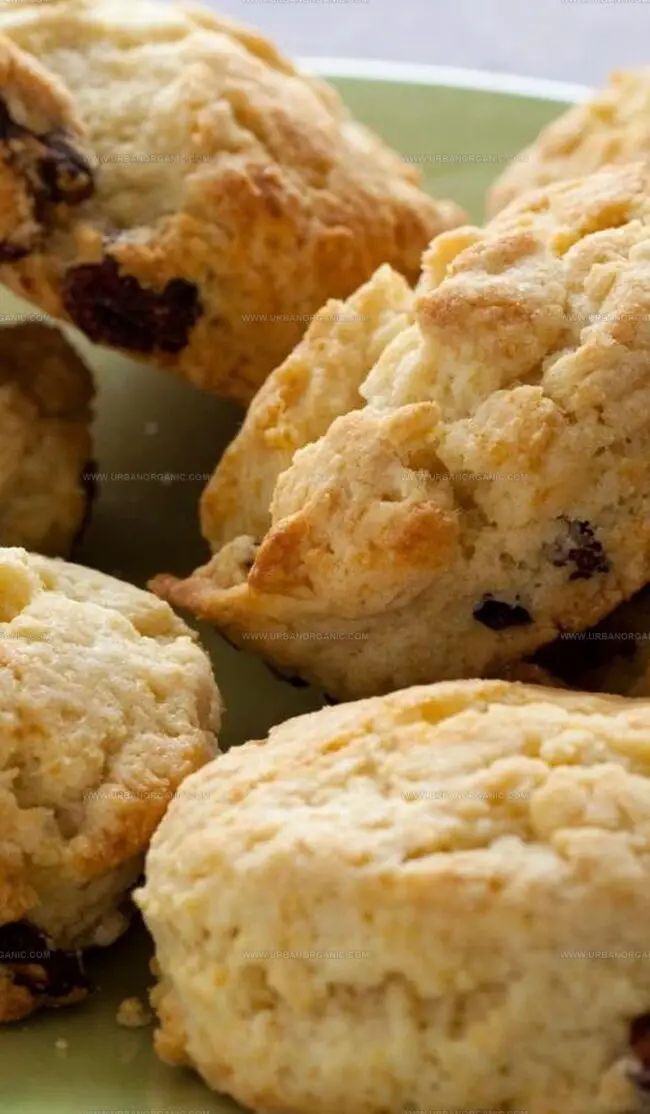
Dust your counter with flour and plop the dough down. Split into two rounds about three-quarters of an inch thick. Slice each round into eight gorgeous wedges that look like delicious pizza slices.
Place wedges on a greased baking sheet with a little breathing room. Brush the tops with cream so they’ll turn a stunning golden brown that’ll make your mouth water.
Slide those beauties into the oven for around 15 minutes until the edges look perfectly toasted. Let them cool just enough so you don’t burn your tongue, then slather with butter and jam. Enjoy your homemade masterpiece!
Pro Baking Tips for Ina Garten’s Scones
How to Present and Enjoy Ina’s Buttermilk Scones
Best Ways to Store and Reheat Scones from Ina
Print
Fluffy Ina Garten Buttermilk Scones Recipe
- Total Time: 35 minutes
- Yield: 8 1x
Description
Ina Garten’s buttermilk scones blend British baking tradition with American comfort. Crumbly, buttery pastries emerge from your oven, promising a delightful breakfast or afternoon treat.
Ingredients
- 3 cups (360 g) flour
- ¾ cup (170 g) unsalted butter (1 ½ sticks)
- 1 cup (240 ml) buttermilk
- ⅓ cup (67 g) sugar
- ½ cup (75 g) currants
- 2 ½ tsps (12.5 g) baking powder
- 1 tsp (6 g) salt
- ½ tsp (2.5 g) baking soda
- 1 tbsp (15 ml) heavy cream (for brushing)
Instructions
- Oven Preparation: Preheat oven to 400°F (200°C), establishing the optimal thermal environment for scone baking.
- Dry Ingredient Fusion: Sift flour, sugar, salt, baking powder, and baking soda into a large mixing bowl, creating a uniform dry foundation.
- Butter Integration: Cube cold unsalted butter and delicately incorporate into the dry mixture, massaging with fingertips until the texture resembles coarse, sandy crumbs.
- Liquid Incorporation: Form a central well in the flour mixture, gently pour buttermilk, and fold with minimal manipulation to preserve the dough’s delicate structure. Carefully distribute currants throughout the mixture.
- Dough Shaping: Transfer the soft dough onto a floured surface, dividing into two equal rounds approximately 3/4-inch thick. Slice each round into eight precise triangular wedges.
- Baking Preparation: Arrange scone wedges on a lightly greased baking sheet, ensuring slight separation for even browning. Generously brush tops with heavy cream to achieve a lustrous, golden finish.
- Baking Process: Slide the baking sheet into the preheated oven, baking for 15-18 minutes until the scones develop a light golden-brown complexion.
- Serving: Transfer scones to a wire rack for brief cooling, then present warm with softened butter and complementary marmalade for an exquisite teatime experience.
Notes
- Butter Handling: Cut cold butter into tiny cubes and work quickly to keep it chilled, preventing a tough scone texture.
- Minimal Mixing Matters: Stir ingredients just until combined to ensure tender, flaky scones with delicate crumb structure.
- Cream Brushing Technique: Generously coat scone tops with heavy cream for a glossy, beautifully caramelized golden finish.
- Serving Suggestion: Enjoy warm within 2-3 hours of baking for peak freshness and optimal taste experience.
- Prep Time: 20 minutes
- Cook Time: 15 minutes
- Category: Breakfast, Snacks, Desserts
- Method: Baking
- Cuisine: American
Nutrition
- Serving Size: 8
- Calories: 300
- Sugar: 8 g
- Sodium: 250 mg
- Fat: 18 g
- Saturated Fat: 11 g
- Unsaturated Fat: 7 g
- Trans Fat: 0 g
- Carbohydrates: 34 g
- Fiber: 1 g
- Protein: 4 g
- Cholesterol: 60 mg
Michael Thompson
Founder & Culinary Director
Expertise
Classical & Contemporary Cooking Techniques, Global Cuisine Appreciation, Nutrition & Menu Engineering, Sustainable Cooking Practices, Farm-to-Table Cuisine
Education
Southwestern Oregon Community College
Michael grew up in Oregon, where he learned early that food tastes better when it’s fresh, local, and made with care.
After earning his degree from the Southwestern Oregon Community College, he focused his career on teaching others how to cook with the seasons, reduce food waste, and reconnect with what’s on their plate.
Michael keeps his cooking simple, sustainable, and full of flavor. His favorite part of the process? Watching people realize how easy and satisfying it can be to cook a single great meal from scratch.