Irresistibly Light Fluffy Glazed Doughnuts Recipe For Beginners
Sweet mornings call for homemade glazed doughnuts that melt in your mouth with their incredible fluffy texture.
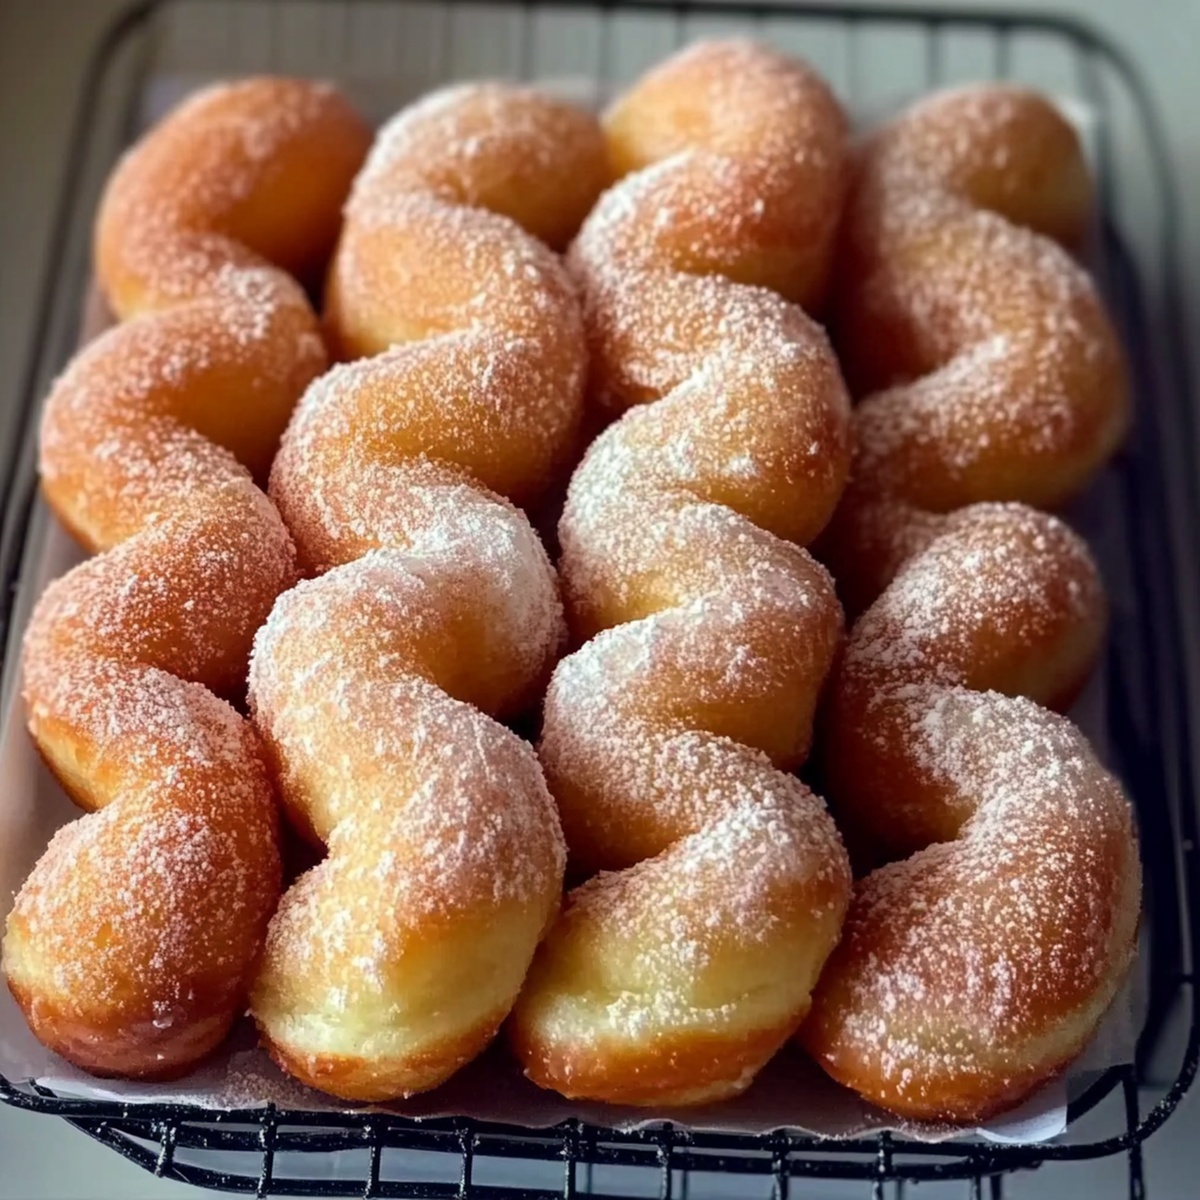
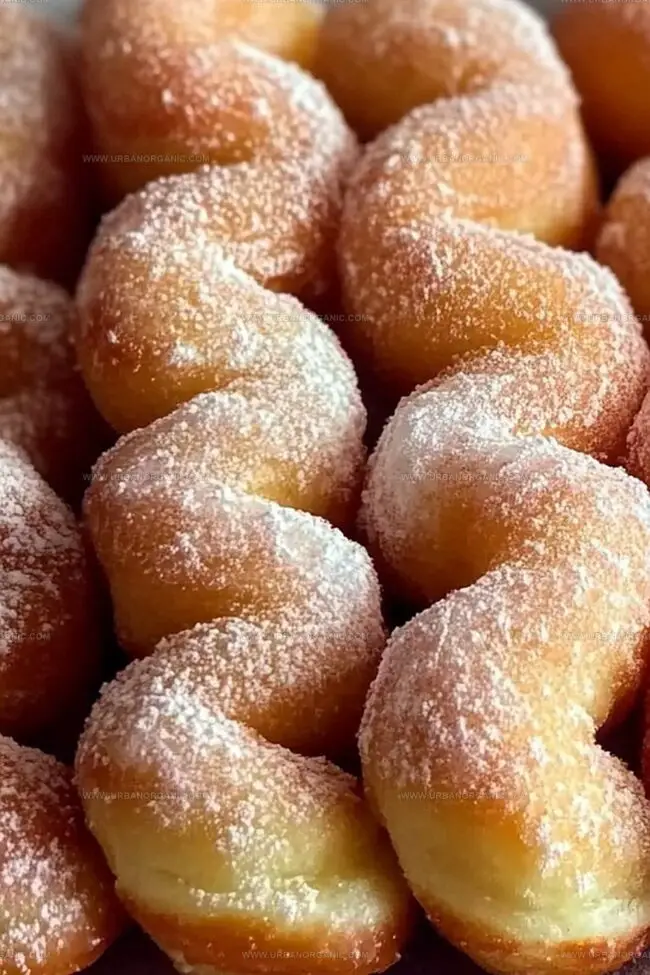
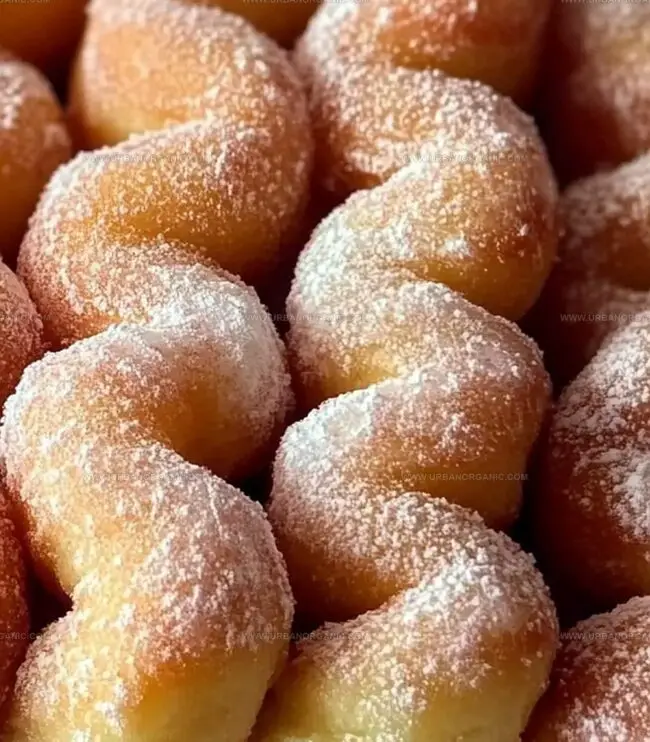
These classic golden-brown doughnuts with their perfectly smooth glaze will transport you to bakery bliss.
Every bite of these soft, pillowy doughnuts promises pure comfort and indulgence.
The delicate dough rises beautifully, creating a light and airy treat that beats store-bought versions.
Rich with hints of vanilla and a silky sugar glaze, these doughnuts offer a nostalgic flavor that feels like a warm hug.
Whipping up this simple recipe takes less than an hour, making it perfect for weekend breakfast or surprising loved ones with a delectable homemade treat.
You’ll fall in love with every sweet, tender morsel of these irresistible doughnuts.
Quick Recipe Overview
Homemade Glazed Doughnuts Ingredient Rundown
For The Dough Base:For Frying:For Glaze:Tools for Frying and Glazing Homemade Doughnuts
How to Make Glazed Doughnuts That Are Soft Inside
Combine yeast with warm water and let it bubble up and become frothy for a few minutes.
Blend warm milk, sugar, salt, melted butter, egg, and activated yeast into a smooth liquid mixture.
Slowly fold in flour until a soft, pliable dough emerges. Knead the dough on a lightly dusted surface until it becomes smooth and stretchy.
Place dough in a greased container, cover, and allow it to expand in a cozy spot until it doubles in size.
Roll out the risen dough and cut into classic circular shapes using round cutters.
Let cut doughnuts rest and puff up slightly. Heat oil in a deep pan until it reaches the perfect frying temperature.
Carefully lower doughnuts into hot oil, cooking each side until they turn a beautiful golden brown.
Dip warm doughnuts into sweet glaze, letting excess drip off, and set on a cooling rack to set.
Add-Ins for Unique Doughnut Dough or Coatings
Serve Homemade Doughnuts Warm for Best Results
Storing Glazed Doughnuts for Sweet Days Ahead
Print
Fluffy Glazed Doughnuts Recipe
- Total Time: 35 minutes
- Yield: 13 1x
Description
Irresistible homemade glazed doughnuts promise pure delight with their golden-brown exterior and silky sweet coating. Crisp yet tender pastries invite indulgence, delivering comfort from first delectable bite to last satisfying crumb.
Ingredients
- 1 large egg
- 1 packet (2 ¼ tsps) active dry yeast
- 2 tbsps warm water (about 110°F)
- ¾ cup warm milk (about 110°F)
- ¼ cup granulated sugar
- ½ tsp salt
- ¼ cup unsalted butter, melted
- 2 ½ cups all-purpose flour (plus more for dusting)
- Vegetable oil, for frying
- 2 cups powdered sugar
- ¼ cup milk
- 1 tsp vanilla extract
Instructions
- Activate Yeast: Dissolve yeast in warm water, allowing it to bloom and become frothy for about 5-10 minutes.
- Create Dough Base: Blend warm milk, sugar, salt, melted butter, egg, and activated yeast in a large mixing bowl until thoroughly combined.
- Develop Dough Texture: Incorporate flour gradually, kneading on a floured surface for 5-7 minutes until the dough becomes smooth, elastic, and slightly tacky.
- First Proofing: Transfer dough to a greased bowl, cover, and let rise in a warm environment for 1-1.5 hours until the volume doubles.
- Shape and Prepare: Roll out dough to 1/2-inch thickness, cut into classic doughnut shapes using round cutters, and arrange on a floured tray.
- Second Proofing: Allow cut doughnuts to rest and rise for an additional 30 minutes, ensuring a light, airy texture.
- Frying Process: Heat vegetable oil to 350°F in a deep skillet, carefully frying doughnuts in small batches until they achieve a golden-brown exterior, approximately 1 minute per side.
- Finishing Touch: Drain fried doughnuts on paper towels, then promptly glaze while still warm, placing them on a wire rack to set and cool.
Notes
- Ensure water temperature is between 100-110°F to properly activate yeast without killing it; lukewarm water helps yeast bloom correctly.
- Add flour gradually to achieve soft, elastic dough without becoming too dry or sticky; consistency is key for perfect texture.
- Use a thermometer to keep oil at steady 350°F during frying; fluctuating temperatures result in greasy or undercooked doughnuts.
- Place dough in warm, draft-free area around 80-85°F for optimal rising; covering with damp cloth helps prevent dough from drying out.
- Prep Time: 15 minutes
- Cook Time: 20 minutes
- Category: Breakfast, Snacks, Desserts
- Method: Frying
- Cuisine: American
Nutrition
- Serving Size: 13
- Calories: 210
- Sugar: 10 g
- Sodium: 150 mg
- Fat: 8 g
- Saturated Fat: 4 g
- Unsaturated Fat: 3 g
- Trans Fat: 0 g
- Carbohydrates: 30 g
- Fiber: 1 g
- Protein: 3 g
- Cholesterol: 30 mg
Michael Thompson
Founder & Culinary Director
Expertise
Classical & Contemporary Cooking Techniques, Global Cuisine Appreciation, Nutrition & Menu Engineering, Sustainable Cooking Practices, Farm-to-Table Cuisine
Education
Southwestern Oregon Community College
Michael grew up in Oregon, where he learned early that food tastes better when it’s fresh, local, and made with care.
After earning his degree from the Southwestern Oregon Community College, he focused his career on teaching others how to cook with the seasons, reduce food waste, and reconnect with what’s on their plate.
Michael keeps his cooking simple, sustainable, and full of flavor. His favorite part of the process? Watching people realize how easy and satisfying it can be to cook a single great meal from scratch.