
Flaky Pie Crust Recipe by Pioneer Woman for Perfect Homemade Pies
The pioneer woman’s pie crust reigns supreme in the world of baking, turning ordinary pastry into a culinary masterpiece.
Its legendary status stems from an ingenious blend of simplicity and technique that makes even novice bakers feel like pros.
Generations of families have whispered about this magical recipe, passing down its secrets like precious heirlooms.
Flaky, tender, and impossibly consistent, this crust transforms ordinary ingredients into extraordinary desserts.
Professional chefs and weekend kitchen warriors alike swear by its foolproof method that guarantees delectable results every single time.
Each bite tells a story of tradition, skill, and pure deliciousness.
You’ll soon discover why this recipe has become the gold standard for pie perfection – so grab your rolling pin and let the baking adventure begin!
Quick Recipe Overview

Essentials You Need for Pioneer Woman Pie Crust
For the Dough Base:For Liquid Binders:For Dusting and Handling:For Optional Pre-Baking:Cooking Equipment List for Pioneer Woman Pie Crust
Cooking Steps for Pioneer Woman Pie Crust
Blend flour and shortening in a spacious mixing bowl using a pastry cutter until the mixture resembles small crumbs. Whisk an egg separately and combine with the flour blend, adding splashes of cold water, vinegar, and a pinch of salt. Gently mix until the ingredients form a cohesive texture.
Separate the dough into two or three sections depending on desired crust thickness. Roll each portion into smooth balls and nestle them inside large sealed bags. Gently press each ball to create a flat disc about half an inch thick. Slide the bags into the freezer for a quick 20-minute chill.
Remove dough from freezer and allow it to soften for quarter of an hour. Dust a clean countertop with a light layer of flour. Roll the dough from its center outward, rotating and adding flour as needed to prevent sticking. Aim to extend the dough slightly beyond the pie pan’s edge.
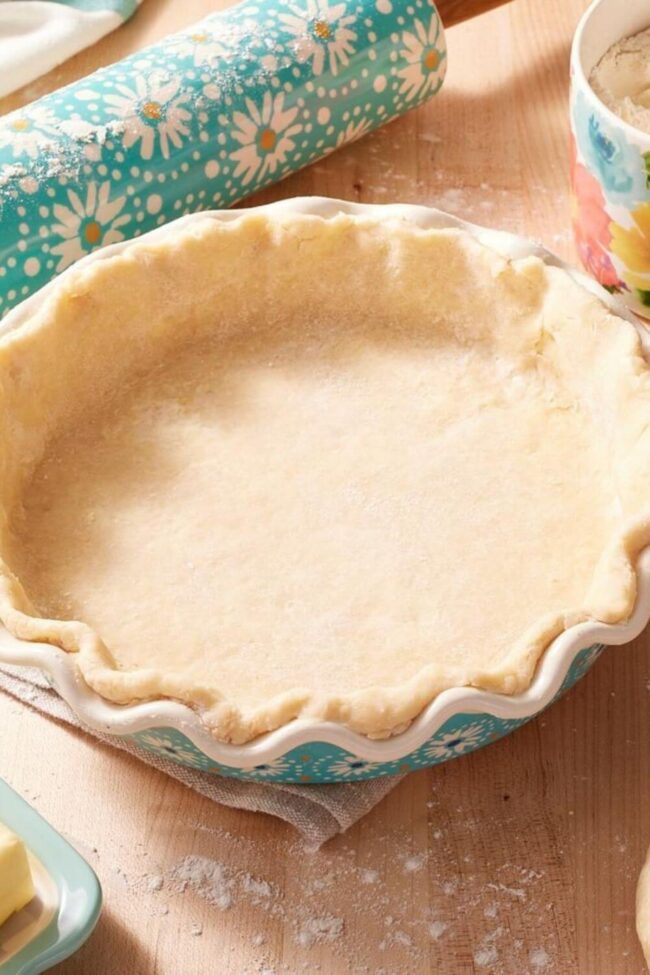
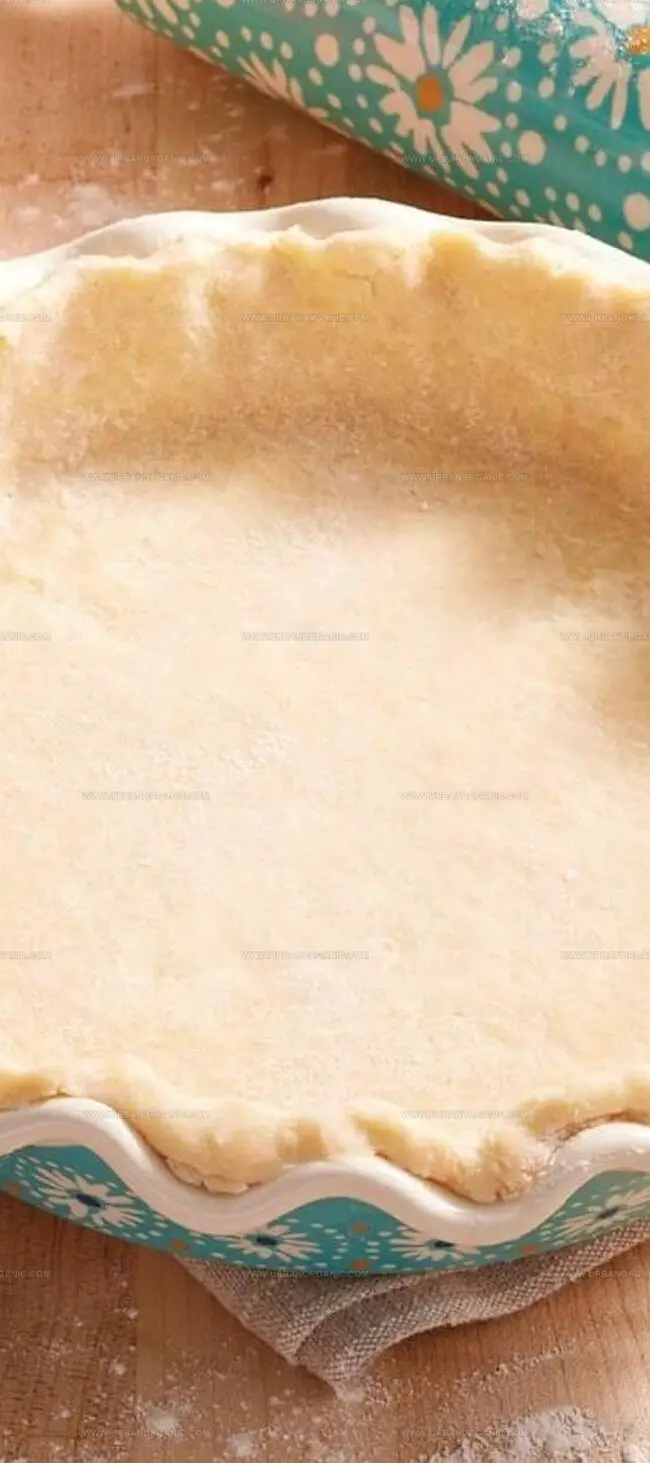
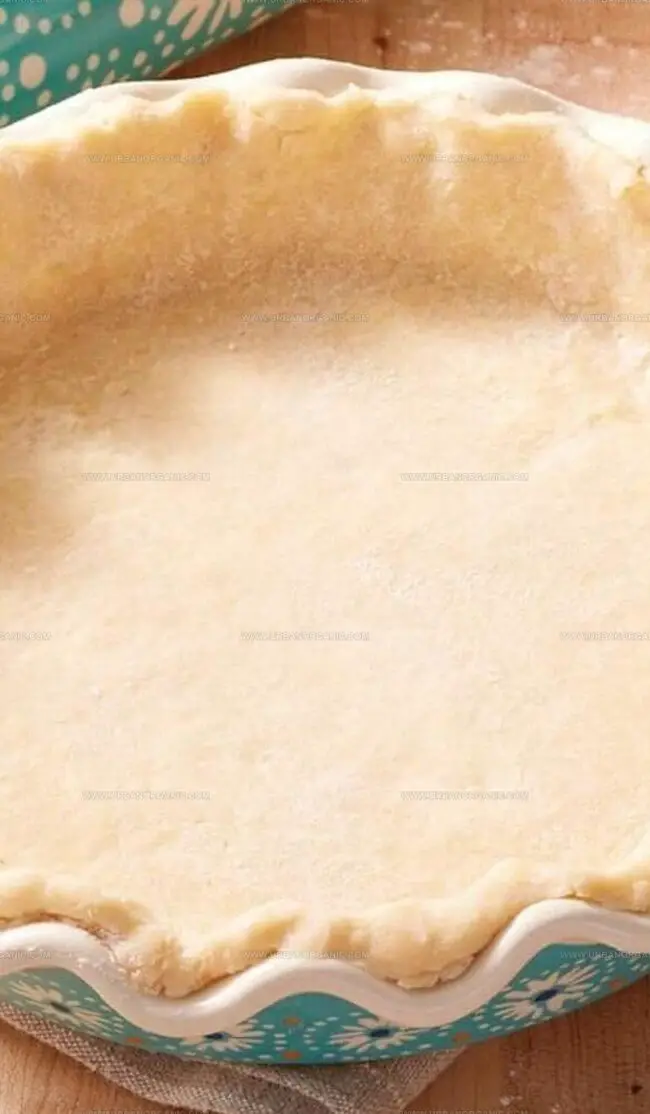
Carefully lift the rolled dough using a metal spatula and drape it into the pie pan. Softly press the dough against the pan’s bottom and sides, trimming any excess around the edges. Create a decorative border by pinching and shaping the crust’s rim.
For recipes requiring a pre-baked crust, puncture the dough’s bottom with a fork. Bake in a preheated oven at 400°F until the crust turns a delicate golden shade. Allow the crust to cool completely on a wire rack before adding your desired filling.
Helpful Hints to Improve Pioneer Woman Pie Crust
What to Pair With Pioneer Woman Pie Crust
How to Store Leftovers of Pioneer Woman Pie Crust
Print
Flaky Pioneer Woman Pie Crust Recipe
- Total Time: 45 minutes
- Yield: 2 1x
Description
Mastering the pioneer woman pie crust requires minimal ingredients and simple techniques for baking success. Flaky, buttery pastry creates perfect pies that home bakers can confidently prepare with practice.
Ingredients
- 3 cups (360 g) all-purpose flour
- 1 ½ cups (360 g) crisco (vegetable shortening)
- 1 large egg
- 5 tbsps (75 ml) cold water
- 1 tbsp (15 ml) white vinegar
- 1 tsp (5 g) salt
Instructions
- Mixing Base: In a large mixing bowl, combine flour and chilled vegetable shortening. Use a pastry blender to blend until the mixture resembles coarse, uneven breadcrumbs, creating a textured foundation for the pie crust.
- Liquid Integration: Whisk the egg in a separate container, then pour into the flour mixture. Add cold water, white vinegar, and salt. Gently mix until the ingredients form a cohesive dough, being careful not to overwork the mixture.
- Dough Preparation: Divide the dough into two or three equal portions. Place each portion into a large resealable plastic bag, gently flattening to about 1/2-inch thickness. Chill in the freezer for at least 20 minutes to relax the gluten and improve handling.
- Rolling and Shaping: Remove dough from the freezer and let it soften slightly for 15 minutes. Dust a work surface with flour. Using a rolling pin, roll the dough from the center outward, rotating to maintain an even circular shape. Add flour as needed to prevent sticking.
- Crust Placement: Carefully transfer the rolled dough to the pie pan using a metal spatula or by folding it in half. Gently press the dough against the pan’s bottom and sides, trimming excess around the edges. Create a decorative crimped edge by pinching the perimeter to seal and enhance appearance.
- Pre-Baking (Optional): For a pre-baked crust, puncture the bottom with a fork to prevent bubbling. Bake in a preheated oven at 400°F (204°C) for 12-15 minutes until light golden brown. Cool completely on a wire rack before adding filling.
Notes
- Chill Ingredients Thoroughly: Keep shortening, water, and eggs extremely cold to ensure a flaky, tender pie crust with perfect texture.
- Handle Dough Minimally: Mix ingredients gently and avoid overworking to prevent tough, dense crust; less handling means more delicate pastry.
- Freeze Before Rolling: Letting dough rest in freezer relaxes gluten and stabilizes fat, making rolling easier and preventing shrinkage during baking.
- Use Precise Technique: Roll dough from center outward, rotating frequently to maintain even thickness and prevent uneven baking or tearing.
- Prep Time: 20 minutes
- Cook Time: 25 minutes
- Category: Desserts
- Method: Baking
- Cuisine: American
Nutrition
- Serving Size: 2
- Calories: 420
- Sugar: 0 g
- Sodium: 180 mg
- Fat: 30 g
- Saturated Fat: 14 g
- Unsaturated Fat: 16 g
- Trans Fat: 0 g
- Carbohydrates: 40 g
- Fiber: 2 g
- Protein: 4 g
- Cholesterol: 37 mg
Michael Thompson
Founder & Culinary Director
Expertise
Classical & Contemporary Cooking Techniques, Global Cuisine Appreciation, Nutrition & Menu Engineering, Sustainable Cooking Practices, Farm-to-Table Cuisine
Education
Southwestern Oregon Community College
Michael grew up in Oregon, where he learned early that food tastes better when it’s fresh, local, and made with care.
After earning his degree from the Southwestern Oregon Community College, he focused his career on teaching others how to cook with the seasons, reduce food waste, and reconnect with what’s on their plate.
Michael keeps his cooking simple, sustainable, and full of flavor. His favorite part of the process? Watching people realize how easy and satisfying it can be to cook a single great meal from scratch.