
Sweet Holiday Magic: Pioneer Woman’s Zesty Rum Balls Recipe
Rum balls dance with decadent charm, offering a no-bake symphony of flavor that electrifies holiday gatherings.
These seductive spheres pack a punch of rich, velvety delight that melts effortlessly on your tongue.
Crumbly cookie foundations mingle with deep rum whispers, weaving an intoxicating sensory tapestry.
Luxurious chocolate undertones swirl through each bite, creating a complex landscape of sweet and spirited indulgence.
Nutty nuances add unexpected depth, transforming these tiny treats into conversation-starting delicacies.
Intense and unapologetically bold, these rum-infused morsels promise a gourmet experience that elevates any festive spread.
Unleash a wave of culinary magic that will leave everyone craving more.
Quick Recipe Overview

Rum Balls Ingredient Breakdown
For Base Crumbs:For Liquid Binders:For Coating Options:Prep Tools for Rolling Rum Balls
How to Make Rum Balls from Scratch

Toss vanilla wafers and pecans into a food processor. Pulse until finely ground. Add powdered sugar, cocoa powder, and salt. Blend briefly to create a uniform mixture.
Pour dark rum, honey, and vanilla extract into the ground mixture. Stir until the ingredients meld into a smooth, cohesive blend that holds together easily.
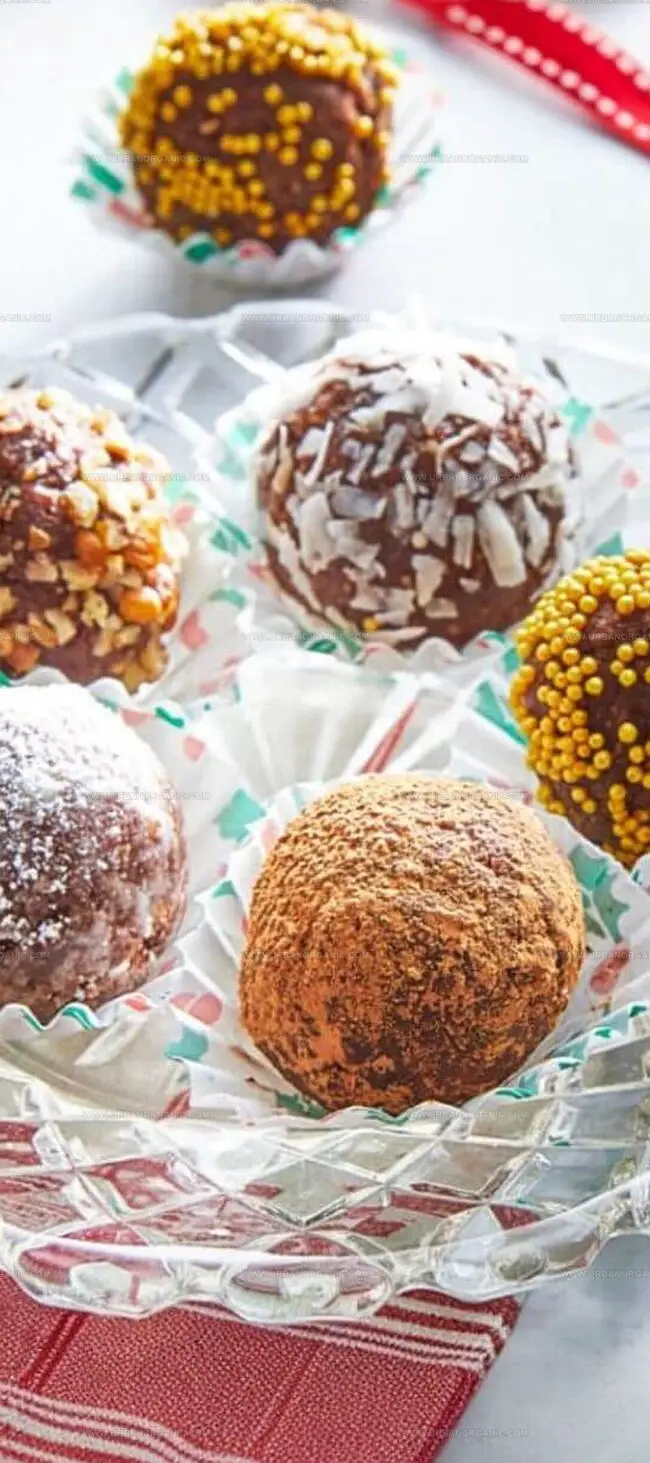
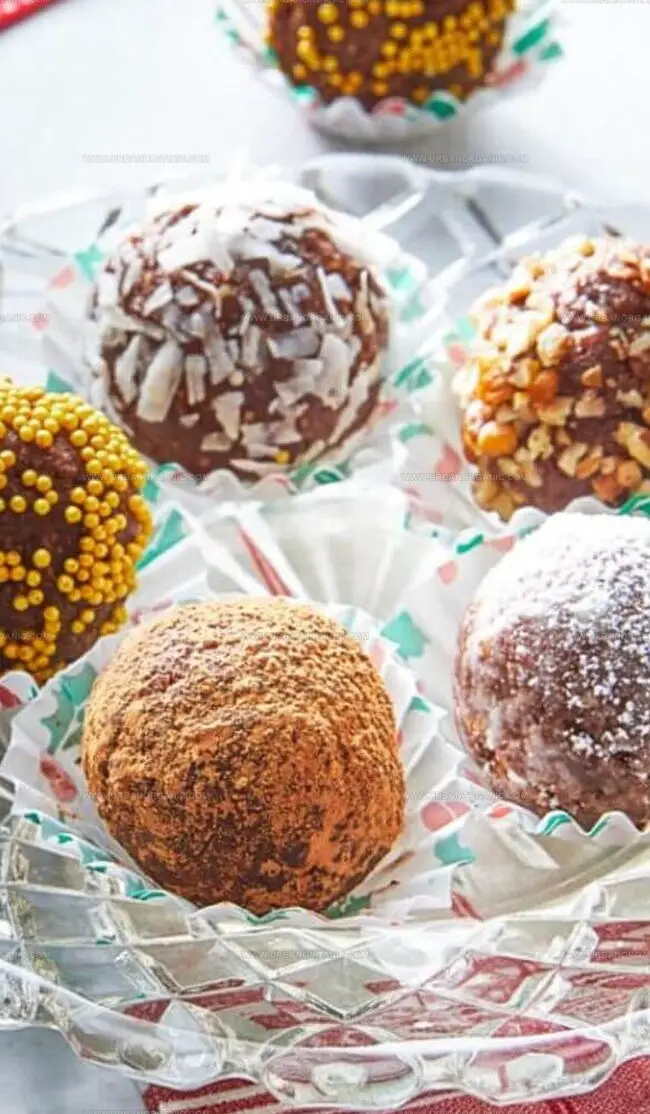
Scoop small portions of the mixture and roll into bite-sized spheres using your hands. Roll each ball in your favorite topping – choose from chopped nuts, cocoa powder, or festive sprinkles. Ensure each ball is completely covered in the coating.
Refrigerate the rum balls for at least an hour to firm up and intensify flavors. When ready to serve, give them a quick dusting of powdered sugar for extra sweetness. These boozy treats will keep well in the refrigerator for several days, making them perfect for advance party preparation or spontaneous dessert cravings.
Flavor Add-ins for Your Rum Balls
Ways to Serve Pioneer Woman Rum Balls
Tips for Keeping Rum Balls Fresh
Print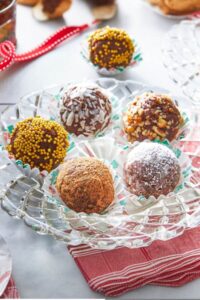
Festive Pioneer Woman Rum Balls Recipe
- Total Time: 25 minutes
- Yield: 24 1x
Description
Sweet rum balls from Texas blend rich chocolate cookie crumbs with smooth rum and cocoa powder, creating an indulgent no-bake dessert. Quick holiday treats delight guests with intense flavor and easy preparation, inviting you to savor each delectable bite.
Ingredients
- 11 oz (312 g) vanilla wafers
- 1 cup (100 g) pecans, toasted and finely chopped
- ½ cup (120 ml) dark rum
- 1 cup (120 g) powdered sugar, plus extra for rolling
- ¼ cup (25 g) unsweetened cocoa powder
- 2 tbsps (30 ml) honey
- 1 tsp vanilla extract
- ½ tsp kosher salt
- unsweetened cocoa powder (for topping)
- finely shredded coconut (for topping)
- finely chopped pecans (for topping)
- nonpareils (for topping)
Instructions
- Pulverize: Utilize a food processor to transform vanilla wafers and pecans into a fine, uniform crumb texture, pulsing for approximately 15 seconds.
- Blend Dry Components: Integrate powdered sugar, cocoa powder, and salt into the crumb mixture, gently pulsing to ensure even distribution.
- Create Mixture: Transfer crumb blend to a large mixing bowl, introducing dark rum, pure honey, and vanilla extract. Mix thoroughly until a cohesive, moldable consistency develops.
- Shape and Coat: Using a tablespoon, portion the mixture and roll between moistened palms to create compact 1-inch spheres. Delicately rotate each rum ball through selected toppings like powdered sugar, cocoa powder, or finely chopped nuts, ensuring complete coverage.
- Chill and Store: Arrange coated rum balls on a parchment-lined baking sheet, maintaining space between each sphere. Refrigerate in an airtight container, where these delectable treats will maintain optimal flavor for up to 5 days.
- Serve and Refresh: Before presenting, inspect the rum balls. If the coating appears absorbed, gently re-roll to restore a pristine, powdery exterior that enhances both visual appeal and taste.
Notes
- Precision Crumbing: Use a food processor for uniform, fine crumbs to ensure consistent texture and smooth rum ball formation.
- Moisture Management: Keep palms slightly damp when rolling to prevent mixture from sticking and create perfectly round spheres.
- Topping Technique: Rotate rum balls gently in coatings for complete, even coverage without clumping or uneven distribution.
- Storage Strategy: Refrigerate in airtight container to preserve flavor intensity and maintain ideal texture for up to 5 days.
- Prep Time: 25 minutes
- Cook Time: 0 minutes
- Category: Desserts, Snacks
- Method: Blending
- Cuisine: American
Nutrition
- Serving Size: 24
- Calories: 150
- Sugar: 14 g
- Sodium: 30 mg
- Fat: 7 g
- Saturated Fat: 1 g
- Unsaturated Fat: 6 g
- Trans Fat: 0 g
- Carbohydrates: 19 g
- Fiber: 1 g
- Protein: 2 g
- Cholesterol: 0 mg
Michael Thompson
Founder & Culinary Director
Expertise
Classical & Contemporary Cooking Techniques, Global Cuisine Appreciation, Nutrition & Menu Engineering, Sustainable Cooking Practices, Farm-to-Table Cuisine
Education
Southwestern Oregon Community College
Michael grew up in Oregon, where he learned early that food tastes better when it’s fresh, local, and made with care.
After earning his degree from the Southwestern Oregon Community College, he focused his career on teaching others how to cook with the seasons, reduce food waste, and reconnect with what’s on their plate.
Michael keeps his cooking simple, sustainable, and full of flavor. His favorite part of the process? Watching people realize how easy and satisfying it can be to cook a single great meal from scratch.