Classic Joy of Cooking Eggnog Recipe for Holiday Cheers
Indulge in the joy of cooking’s eggnog, a liquid symphony of winter’s most cherished memories.
This creamy elixir whispers tales of festive gatherings and heartwarming traditions.
Velvety egg yolks and sugar waltz together, creating a decadent dance of flavors that caress your palate.
Whipped cream adds a luxurious dimension, elevating this classic beverage beyond mere refreshment.
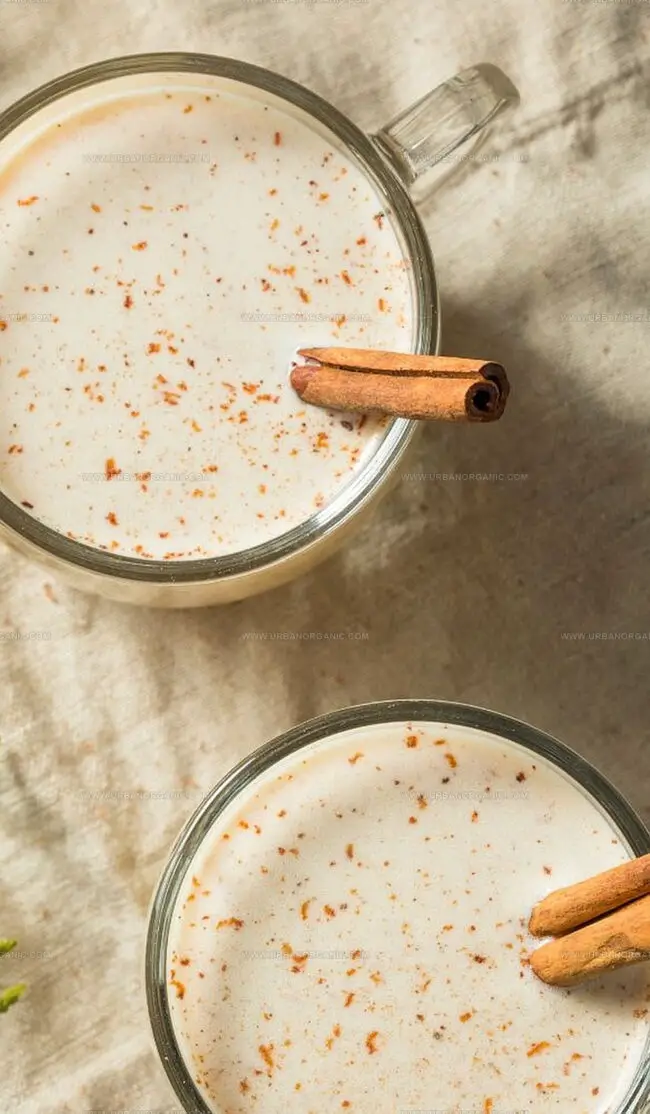
Delicate nutmeg dusts the surface, evoking nostalgic scenes of crackling fireplaces and intimate family moments.
Each sip carries the essence of generations who treasured this beloved recipe.
You’ll fall in love with this enchanting concoction that transforms simple ingredients into a magical winter experience.
Quick Recipe Overview
What Goes into Making Eggnog
For Dairy Base:For Sweeteners:For Protein Foundation:For Flavor Boosters:For Aromatic Enhancers:For Garnish and Finishing:Eggnog-Making Essentials and Tools
How to Mix a Homemade Eggnog
Grab a mixing bowl and combine egg whites with sugar. Energetically whisk until the mixture transforms into fluffy, cloud-like peaks that look light and airy.
Grab a saucepan and pour in cream and milk. Sprinkle in warm spices like nutmeg and a tiny pinch of salt. Heat gently, stirring constantly until the liquid steams but doesn’t boil.
Slowly introduce hot milk into egg whites, adding small amounts while whisking vigorously. This technique prevents scrambling and creates a silky smooth foundation for your drink.
Transfer the blended mixture back to the saucepan. Continuously stir and cook until the liquid reaches a safe temperature and starts to slightly thicken, which guarantees a rich, velvety texture.
Pull the saucepan off the heat. Splash in vanilla extract and optional splash of festive spirits for an extra kick of flavor.
Strain the liquid through a fine mesh to ensure ultimate smoothness. Cover and refrigerate until completely cold and refreshing.
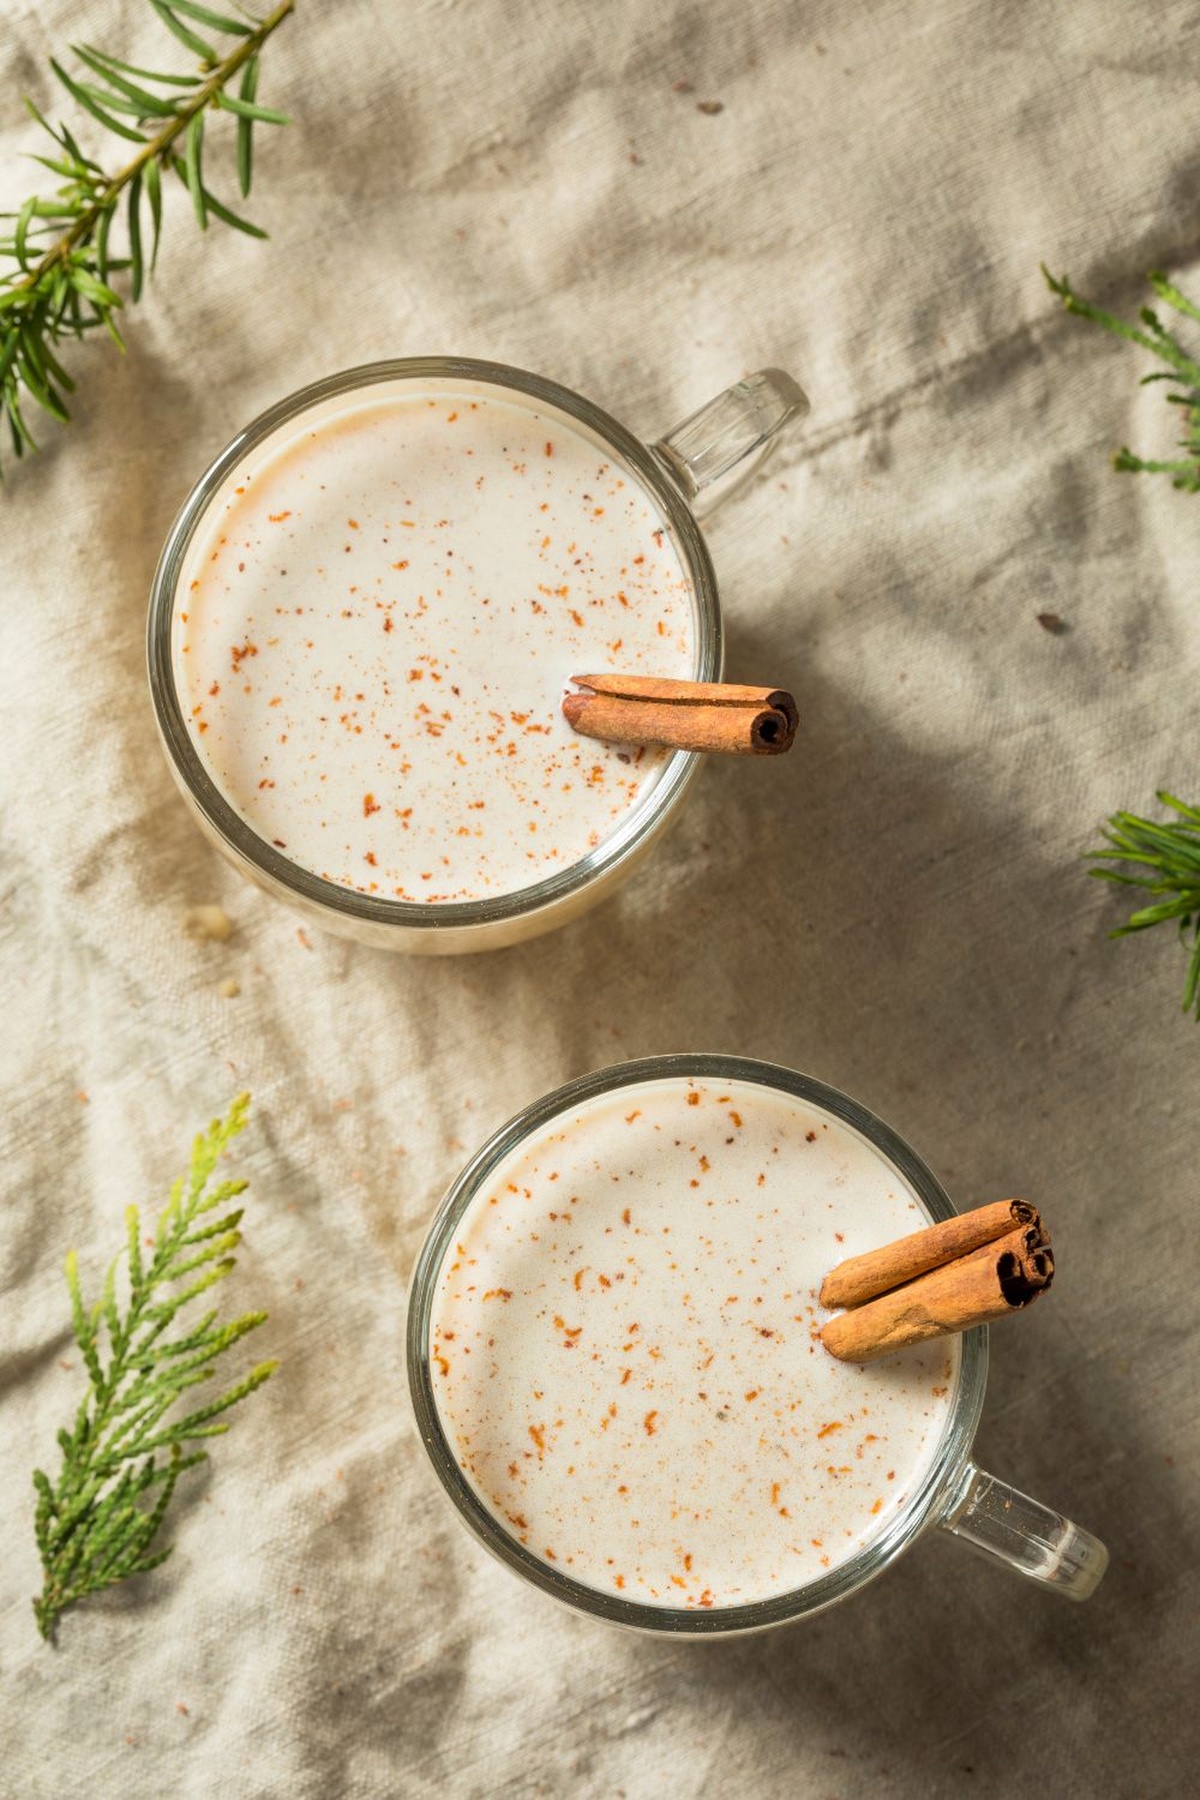
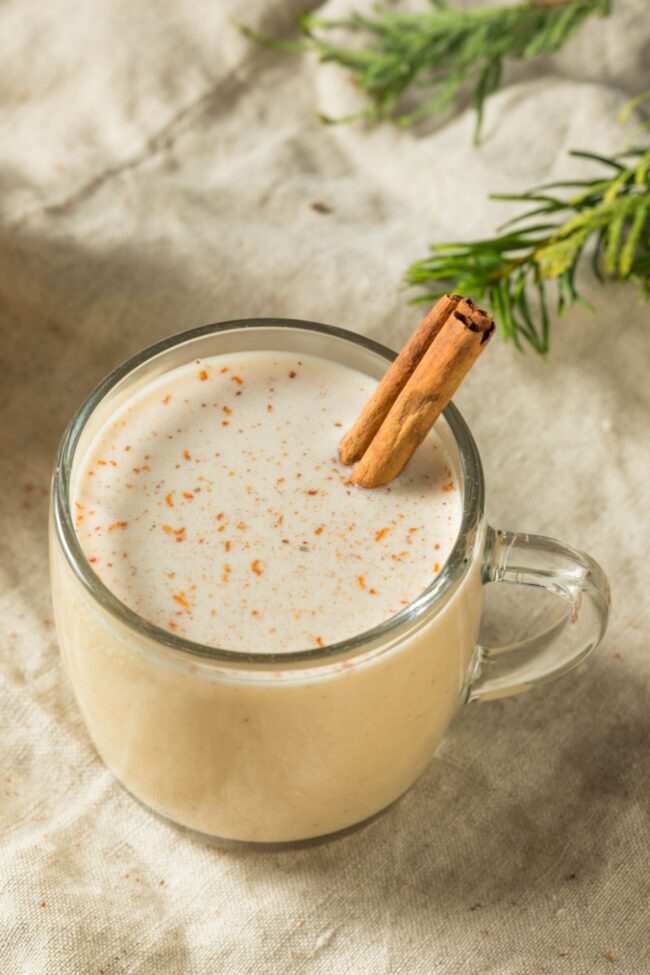
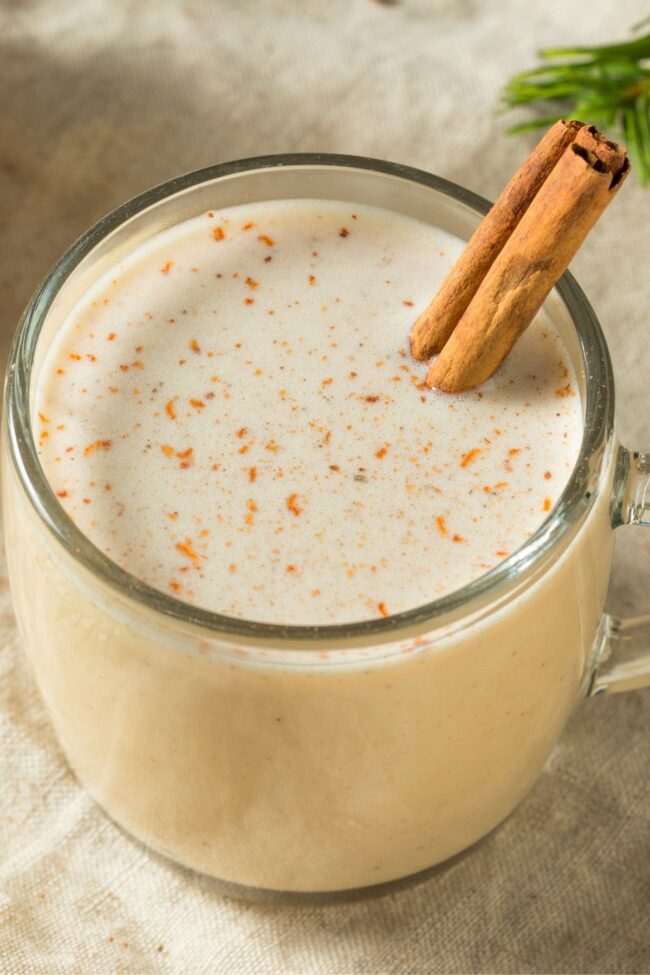
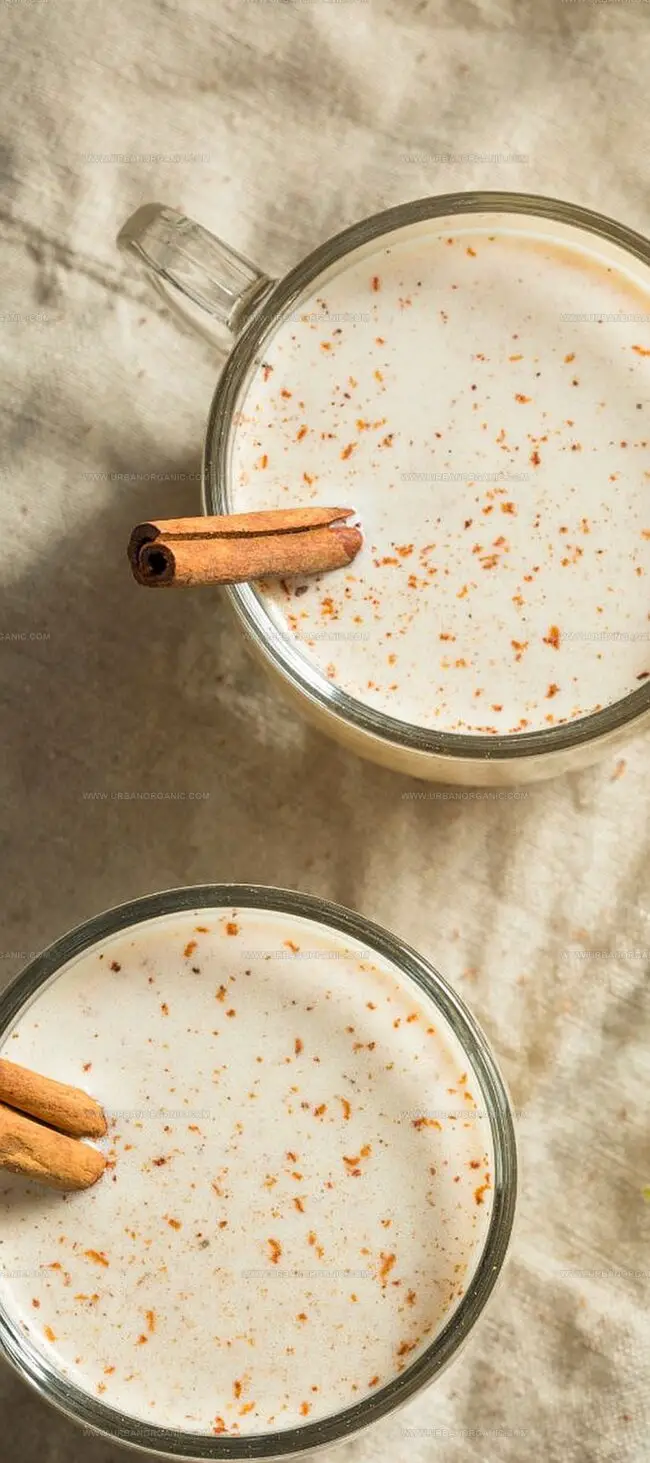
Pour into glasses, dust with fresh nutmeg, and top with a dollop of whipped cream. For a perfect consistency, thin with milk if needed.
Tips and Extras for Better Eggnog
Serving Eggnog Cold or Warm
Storing Eggnog Safely in the Fridge
Print
Festive Eggnog Recipe
- Total Time: 25 minutes
- Yield: 5 1x
Description
Classic homemade eggnog from traditional family recipes delights holiday gatherings with rich, creamy goodness. Warm spices and smooth rum create festive cheer you’ll savor with each delightful sip.
Ingredients
- 6 large egg yolks
- ½ cup granulated sugar
- 2 cups milk
- 1 cup heavy whipping cream
- ¼ tsp (teaspoon) vanilla extract
- ½ tsp ground nutmeg
- 1 pinch salt
- Ground cinnamon (for topping)
- Alcohol (optional)
Instructions
- Whisk Preparation: Vigorously blend granulated sugar and egg whites in a medium bowl until achieving a light, frothy consistency with a pale hue.
- Dairy Infusion: In a saucepan, combine heavy cream, whole milk, ground nutmeg, and salt, heating over medium-high flame while stirring consistently to prevent burning and promote uniform temperature distribution.
- Tempering Process: Gradually introduce heated milk mixture into egg blend, whisking meticulously to prevent curdling and create a seamless, integrated liquid foundation.
- Custard Development: Return the tempered mixture to the saucepan, maintaining gentle heat and continuous whisking until reaching 160°F, ensuring egg safety and achieving a slightly thickened custard texture.
- Flavor Enhancement: Remove from heat and incorporate pure vanilla extract and optional rum or bourbon, stirring thoroughly to distribute aromatic elements evenly throughout the mixture.
- Refinement Stage: Strain the eggnog through a fine-mesh sieve into a clean container, eliminating potential egg solids and guaranteeing a velvety, smooth consistency.
- Chilling and Maturation: Refrigerate the strained mixture for several hours, allowing the flavors to meld and develop a rich, harmonious profile.
- Serving Presentation: Before serving, optionally garnish with freshly grated nutmeg, a dollop of whipped cream, or a cinnamon stick to elevate the sensory experience.
- Storage Protocol: Preserve the eggnog in a sealed container within the refrigerator, consuming within 5-7 days to maintain optimal taste and quality.
Notes
- Prevent Curdling: Carefully temper eggs by adding hot milk slowly while whisking continuously to avoid scrambled egg chunks in your eggnog.
- Temperature Safety: Heat mixture to exactly 160°F to eliminate harmful bacteria in raw eggs, ensuring a safe and delicious holiday drink.
- Strain for Smoothness: Always use a fine-mesh strainer to remove any potential egg solids, creating an ultra-silky, professional-quality eggnog texture.
- Flavor Development: Refrigerate for several hours before serving, allowing ingredients to meld and intensify the rich, creamy flavor profile.
- Prep Time: 10 minutes
- Cook Time: 15 minutes
- Category: Drinks, Desserts
- Method: Simmering
- Cuisine: British
Nutrition
- Serving Size: 5
- Calories: 400
- Sugar: 30 g
- Sodium: 50 mg
- Fat: 28 g
- Saturated Fat: 17 g
- Unsaturated Fat: 11 g
- Trans Fat: 0 g
- Carbohydrates: 36 g
- Fiber: 0 g
- Protein: 8 g
- Cholesterol: 250 mg
Michael Thompson
Founder & Culinary Director
Expertise
Classical & Contemporary Cooking Techniques, Global Cuisine Appreciation, Nutrition & Menu Engineering, Sustainable Cooking Practices, Farm-to-Table Cuisine
Education
Southwestern Oregon Community College
Michael grew up in Oregon, where he learned early that food tastes better when it’s fresh, local, and made with care.
After earning his degree from the Southwestern Oregon Community College, he focused his career on teaching others how to cook with the seasons, reduce food waste, and reconnect with what’s on their plate.
Michael keeps his cooking simple, sustainable, and full of flavor. His favorite part of the process? Watching people realize how easy and satisfying it can be to cook a single great meal from scratch.