Easy Zesty Lemon Cookie Cups Recipe: Sweet Bite-Sized Joy
Sweet summer memories come flooding back with these delightful lemon cookie cups that capture sunshine in every bite.
Memories of grandma’s kitchen dance through crisp, buttery edges.
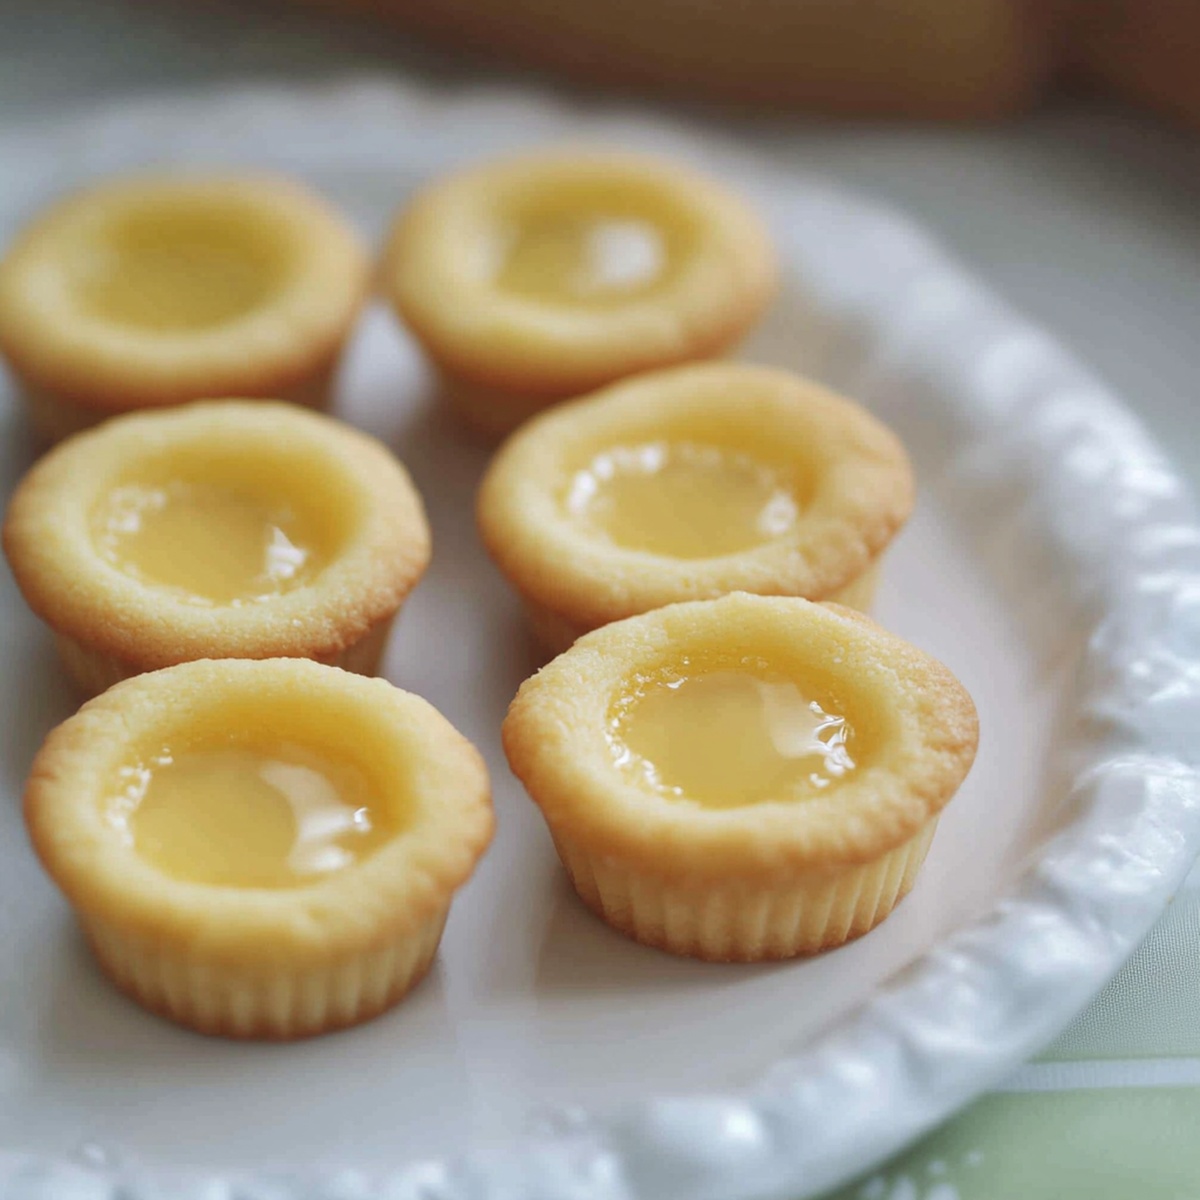
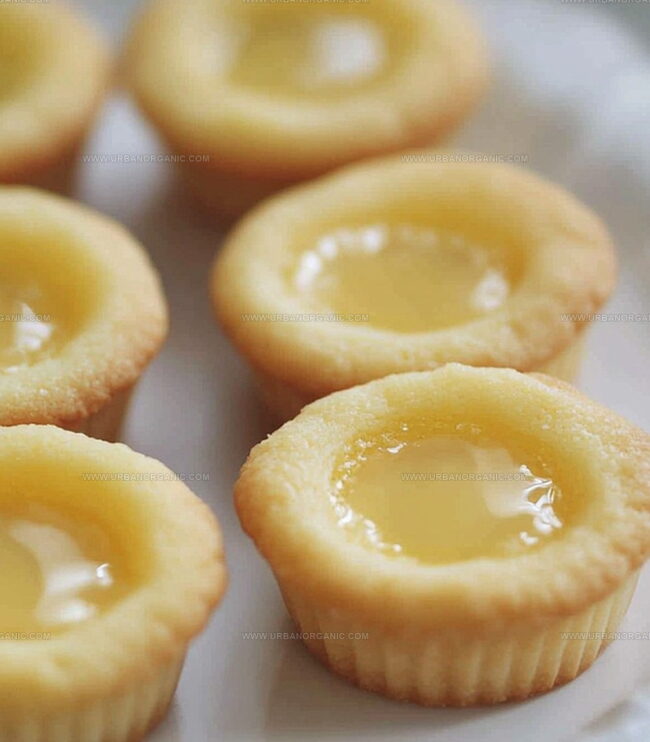
Delicate pastry shells cradle a bright, zesty filling that whispers of refreshing afternoons.
Tangy cream nestles perfectly in golden-brown cookie bases, creating a miniature dessert masterpiece.
Baking these treats feels like a gentle celebration of simple pleasures.
Crisp textures and vibrant flavors will have you reaching for seconds before the first batch cools.
You won’t be able to resist these charming little morsels that promise pure delight.
Lemon Cookie Cups Made for Citrus Lovers

Ingredients You’ll Need to Create Lemon Cookie Cups
Base Ingredients:Leavening and Seasoning:Moisture and Flavor Enhancers:Step-by-Step Instructions for Baking Lemon Cookie Cups
Step 1: Prepare Baking Station
Warm up the oven to 350F (175C). Grab a mini muffin pan and give it a light coating of cooking spray or butter to prevent sticking.
Step 2: Create Creamy Base
In a spacious mixing bowl, combine:Whip these ingredients together until they transform into a fluffy, cloud-like mixture that looks light and airy.
Step 3: Introduce Moisture
Gently fold in:Blend until the mixture becomes smooth and well-integrated.
Step 4: Combine Dry Elements
In a separate bowl, mix:Whisk these ingredients until they’re perfectly combined and free of lumps.
Step 5: Merge Wet and Dry Ingredients
Slowly incorporate the dry mixture into the creamy base. Stir gently until a soft, pliable dough forms. Be careful not to overmix.
Step 6: Shape Cookie Cups
Scoop a tablespoon of dough into each muffin cup. Use your fingers or the back of a spoon to create a gentle indent in the center of each dough ball.
Step 7: Bake to Golden Perfection
Slide the pan into the preheated oven. Bake for 10-12 minutes until the edges turn a beautiful golden brown. Watch carefully to avoid overcooking.
Step 8: Create Cookie Cup Cavities
Immediately after removing from the oven, use a small spoon or tart shaper to press down the centers, creating a perfect cup shape. This creates a beautiful well for filling later.
Step 9: Cool and Set
Let the cookie cups rest in the pan for 5 minutes. Carefully transfer to a wire rack to cool completely. The cups will firm up and become wonderfully crisp.
Baking Advice for the Best Lemon Cookie Cup Results
How to Store Lemon Cookie Cups and Keep Them Fresh
Perfect Pairings for Sweet Lemon Cookie Cups
Creative Ways to Customize Lemon Cookie Cups
Most Asked Questions About Lemon Cookie Cups
Yes, you can use salted butter, but reduce or omit any additional salt in the recipe to prevent the cookies from becoming too salty.
Make sure to thoroughly grease the mini muffin pan with butter or cooking spray before adding the dough. This will help the cookie cups release easily after baking.
You can use a regular muffin pan, but the cookie cups will be larger. Adjust the baking time accordingly and check for doneness by observing the golden edges.
Yes, you can prepare the cookie dough in advance and refrigerate it for up to 2 days. Just let the dough come to room temperature before scooping and baking.
Print
Easy Lemon Cookie Cups Recipe
- Total Time: 30 minutes
- Yield: 12 1x
Description
Delightful Lemon Cookie Cups bring zesty citrus magic to classic dessert lovers. Creamy lemon filling nestled in buttery cookie shells creates a perfect balance of sweet and tangy flavors you’ll crave.
Ingredients
Main Ingredients:
- 2 cups all-purpose flour
- 1 cup (2 sticks) unsalted butter, softened
- ¾ cup granulated sugar
Dairy and Binding Ingredients:
- 1 large egg
- 4 ounces (113 grams) cream cheese, softened
- ¼ cup powdered sugar
Flavoring and Finishing Ingredients:
- 1 teaspoon vanilla extract
- ½ teaspoon baking powder
- ¼ teaspoon salt
- ½ cup lemon curd (store-bought or homemade)
- 1 teaspoon lemon zest
- Powdered sugar (for dusting)
- Lemon zest or small lemon slices
Instructions
- Warm the oven to a moderate temperature and prepare a mini muffin tray by lightly coating each cavity with a thin layer of cooking spray or butter.
- In a spacious mixing bowl, thoroughly blend softened butter with granulated sugar until the mixture becomes airy and pale, creating a smooth consistency.
- Incorporate a single egg and pure vanilla extract into the butter-sugar mixture, stirring until completely integrated and the texture remains uniform.
- In a separate vessel, carefully sift together flour, leavening agent, and a pinch of mineral salt, ensuring no lumps remain in the dry ingredients.
- Gently fold the dry ingredient mixture into the wet ingredients, stirring with deliberate motions until a malleable dough emerges that holds its shape without crumbling.
- Using a small scoop or tablespoon, distribute the dough evenly across the mini muffin cavities, pressing softly into the center to create a delicate depression that will later cradle the filling.
- Place the tray in the preheated oven and bake until the edges transform into a delicate golden hue, indicating the cookies have reached perfect doneness. Immediately after removing from the oven, use a rounded utensil to reshape the centers, creating a more pronounced cup-like indentation.
- Allow the cookie vessels to rest in the pan for a brief cooling period, then carefully transfer to a wire cooling rack, permitting them to reach room temperature and firm up completely.
Notes
- Swap butter for coconut oil to create a dairy-free version that’s just as delicious and tender.
- Use almond flour instead of all-purpose flour to transform these cookies into a gluten-free treat that’s light and crispy.
- Create a zesty twist by adding fresh lemon zest directly into the cookie dough for an extra burst of citrusy flavor that brightens the entire dessert.
- To prevent sticking, generously grease the mini muffin pan with cooking spray or use silicone liners for effortless cookie cup removal.
- Prep Time: 15 minutes
- Cook Time: 15 minutes
- Category: Desserts, Snacks
- Method: Baking
- Cuisine: American
Nutrition
- Serving Size: 12
- Calories: 240
- Sugar: 18 g
- Sodium: 25 mg
- Fat: 20 g
- Saturated Fat: 12 g
- Unsaturated Fat: 8 g
- Trans Fat: 0 g
- Carbohydrates: 22 g
- Fiber: 2 g
- Protein: 2 g
- Cholesterol: 70 mg
Jessica Martinez
Pastry Chef & Recipe Developer
Expertise
Organic Baking Techniques, Gluten-Free Recipe Development, Southwestern Dessert Specialties, Food Styling and Photography
Education
Santa Fe Community College (SFCC)
Jessica brings the sweet side to Urban Organic with her passion for baking and love for the Southwest. She trained at Santa Fe Community College and has built a career creating beautiful, gluten-free, and organic desserts that feel both nostalgic and new.
She believes baking should be fun, creative, and open to everyone, no matter your diet or skill level. Jessica’s recipes are simple enough to follow, but special enough to remember.